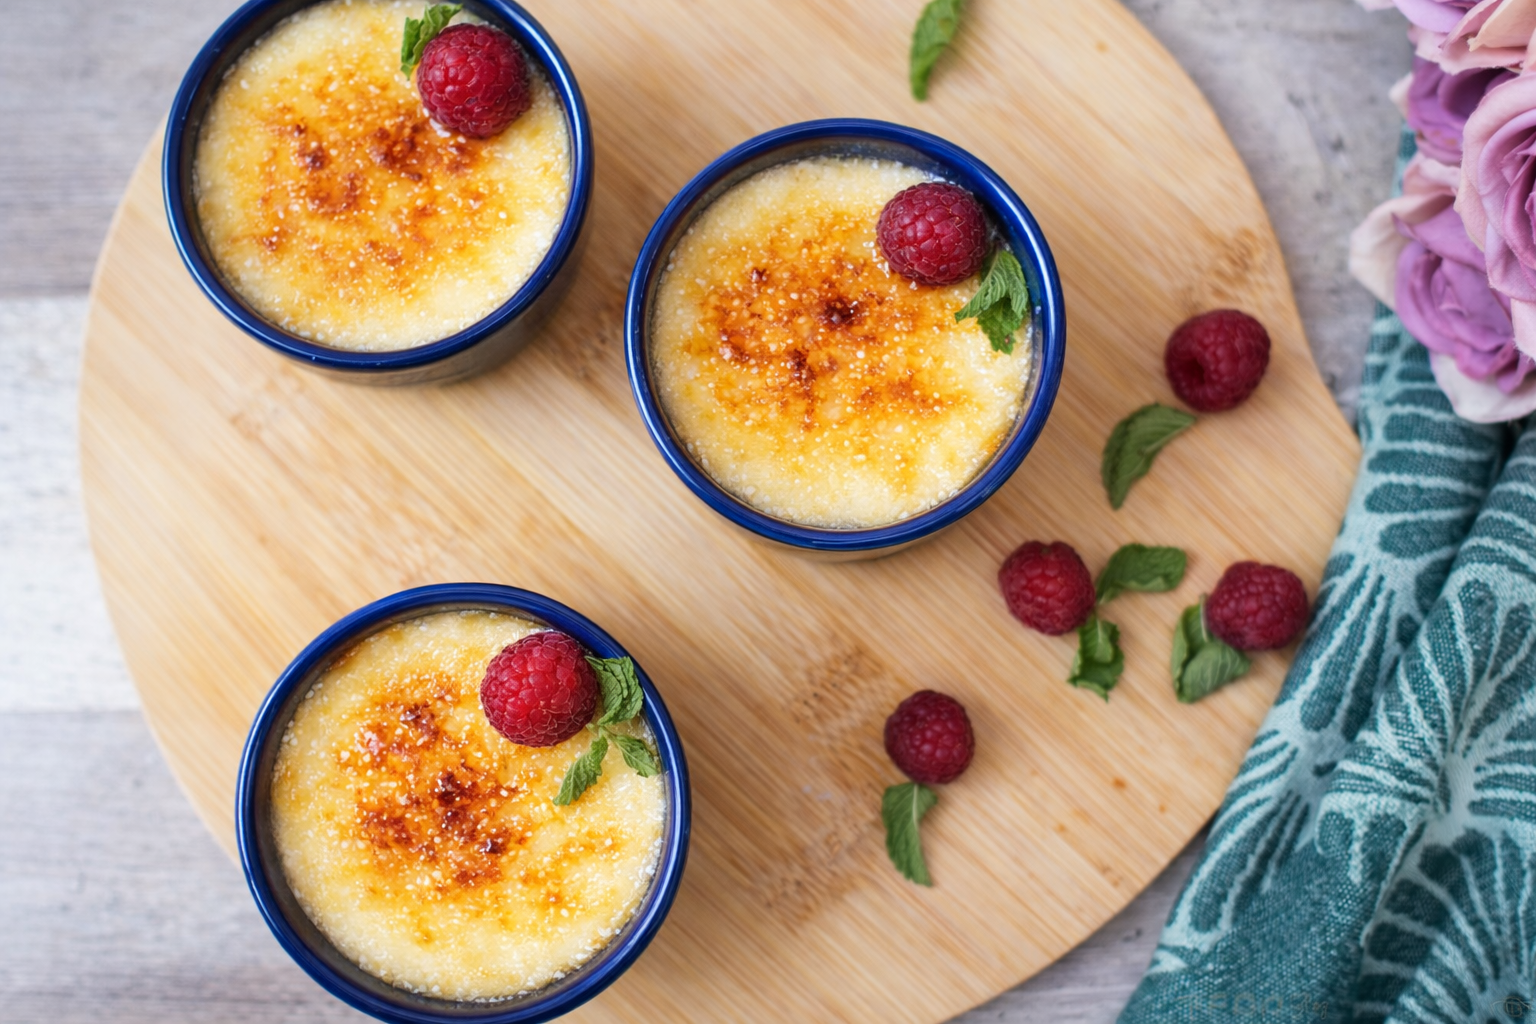
Crème brûlée is one of those desserts that looks impressive but uses just a handful of simple ingredients. This traditional crème brûlée recipe has a silky vanilla custard underneath a thin layer of caramelized sugar that cracks when you tap it with a spoon.
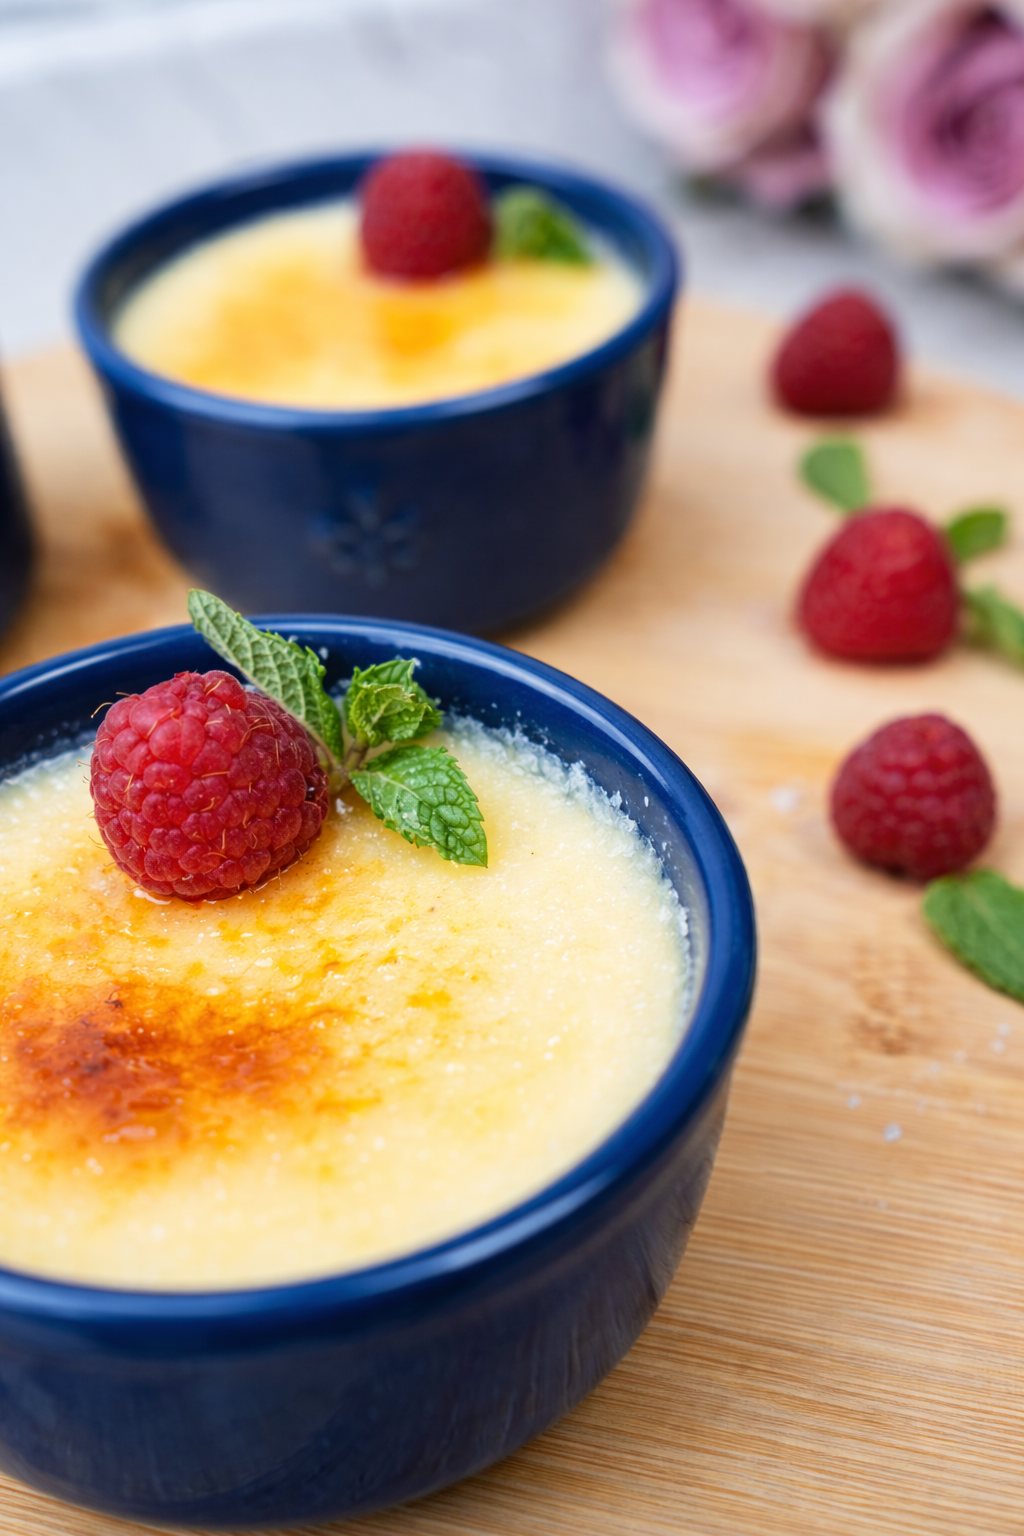
The key is gentle heat. Warm the cream without boiling it, temper the egg yolks slowly, strain the custard, and bake the ramekins in a water bath until the edges are set but the centers still have a slight jiggle. After chilling, a thin layer of sugar and a kitchen torch create that signature crisp caramel top.
If creamy chilled desserts are what you’re after, my Yogurt Cheesecake has a completely different tangy yogurt filling and coffee-caramel top, while Lemon Posset Brûlée combines creamy citrus with another crisp caramelized finish.
For individual desserts, these Mini Yogurt Cream Cakes bake right in ramekins too, and my Dark Chocolate Truffles are the easy no-bake option when turning on the oven feels like too much commitment.
Table of contents
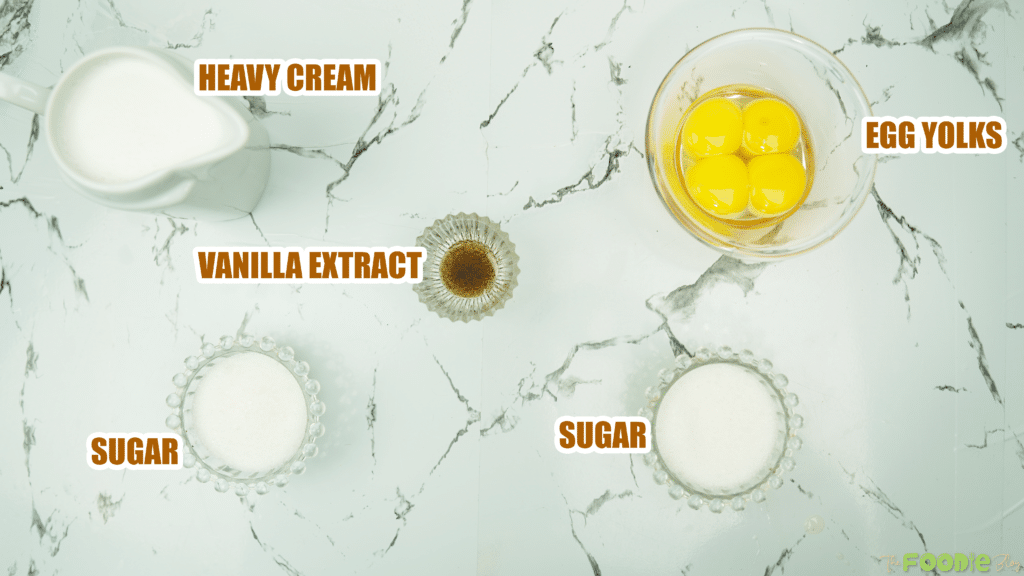
Ingredients
How to Make Crème Brûlée
- Whisk yolks + sugar In a bowl, whisk the egg yolks and sugar until smooth and slightly lighter in color.

- Warm the cream Pour heavy cream into a saucepan and heat until steaming and hot (but not boiling), on medium-low. Stir occasionally.
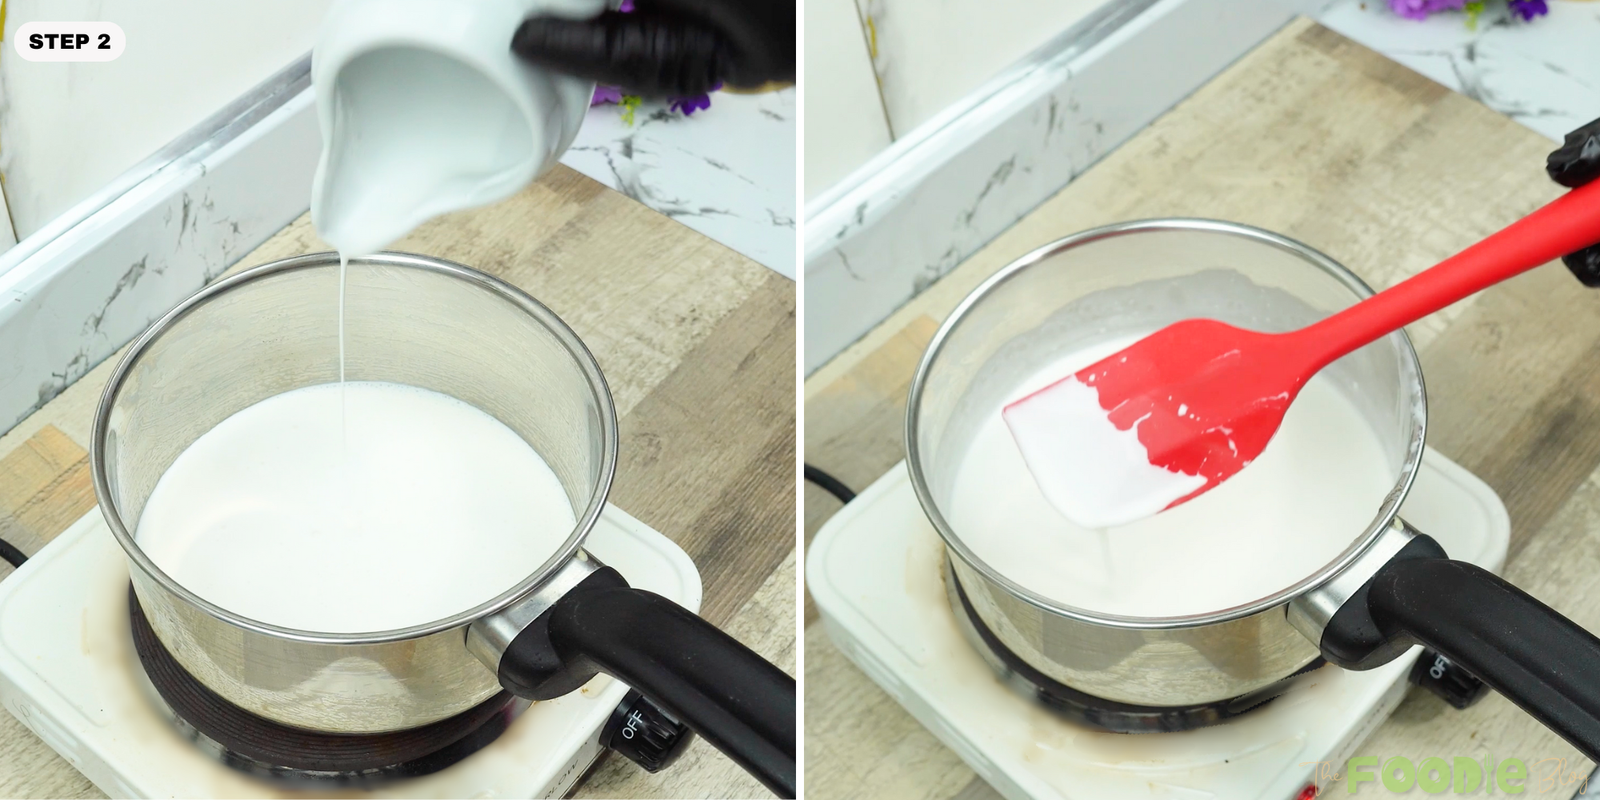
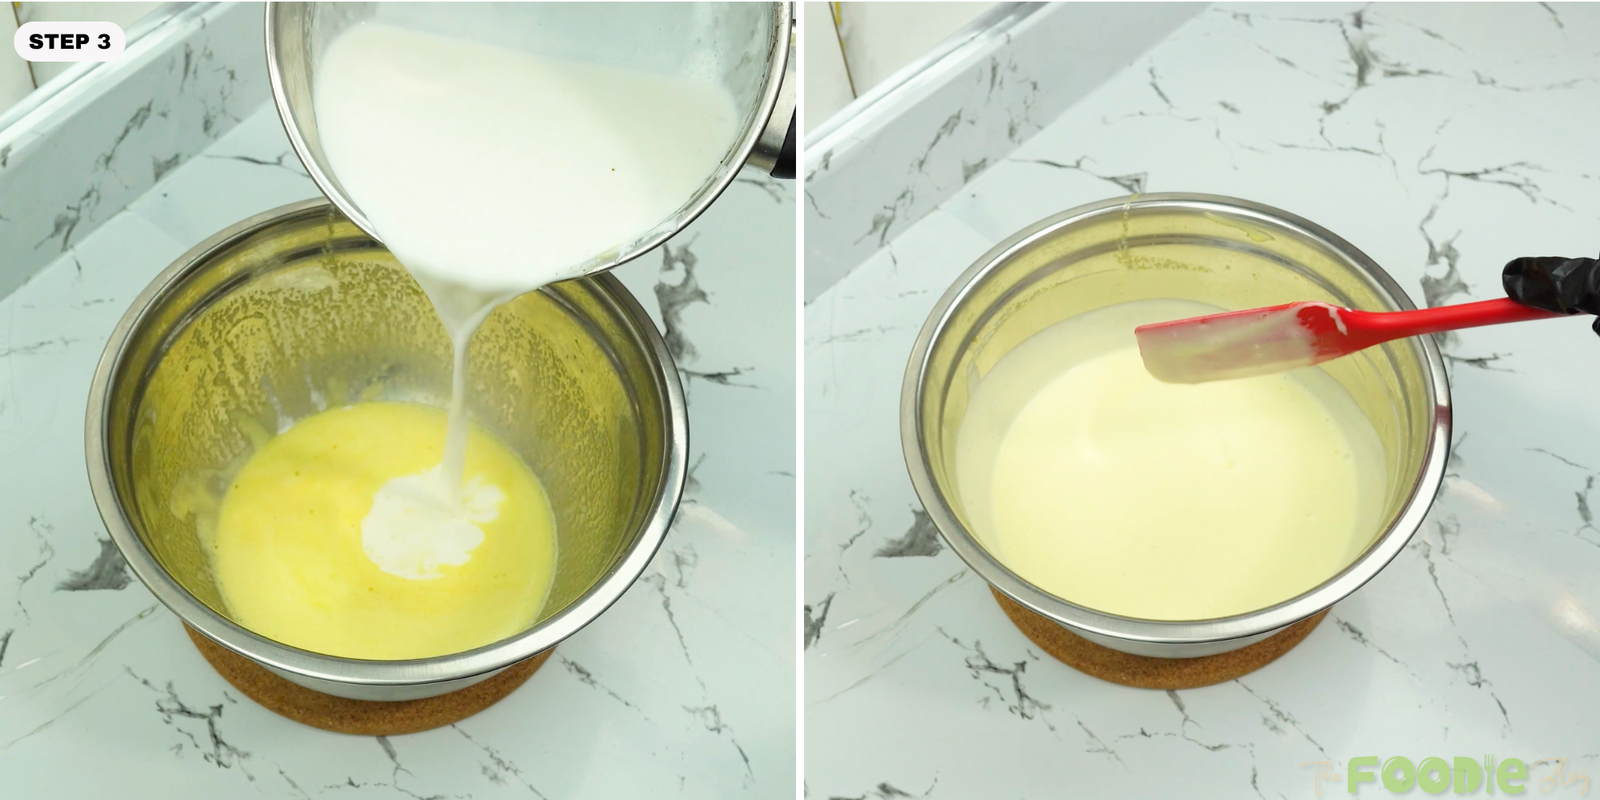
- Temper and combine Slowly pour the hot cream into the yolk mixture while whisking constantly. Whisk in the vanilla, then strain through a fine-mesh sieve and fill the ramekins.
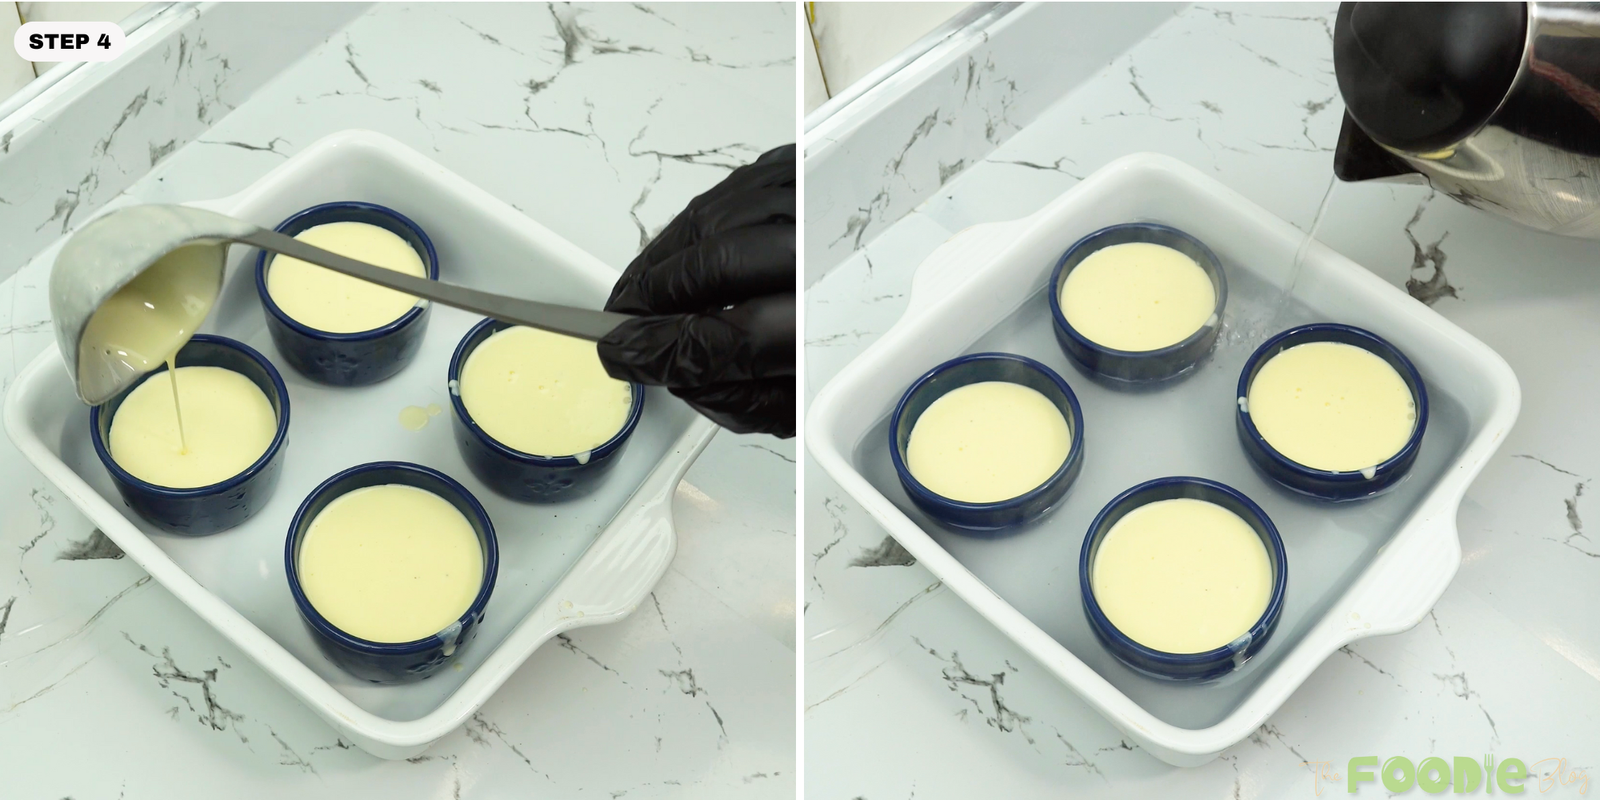
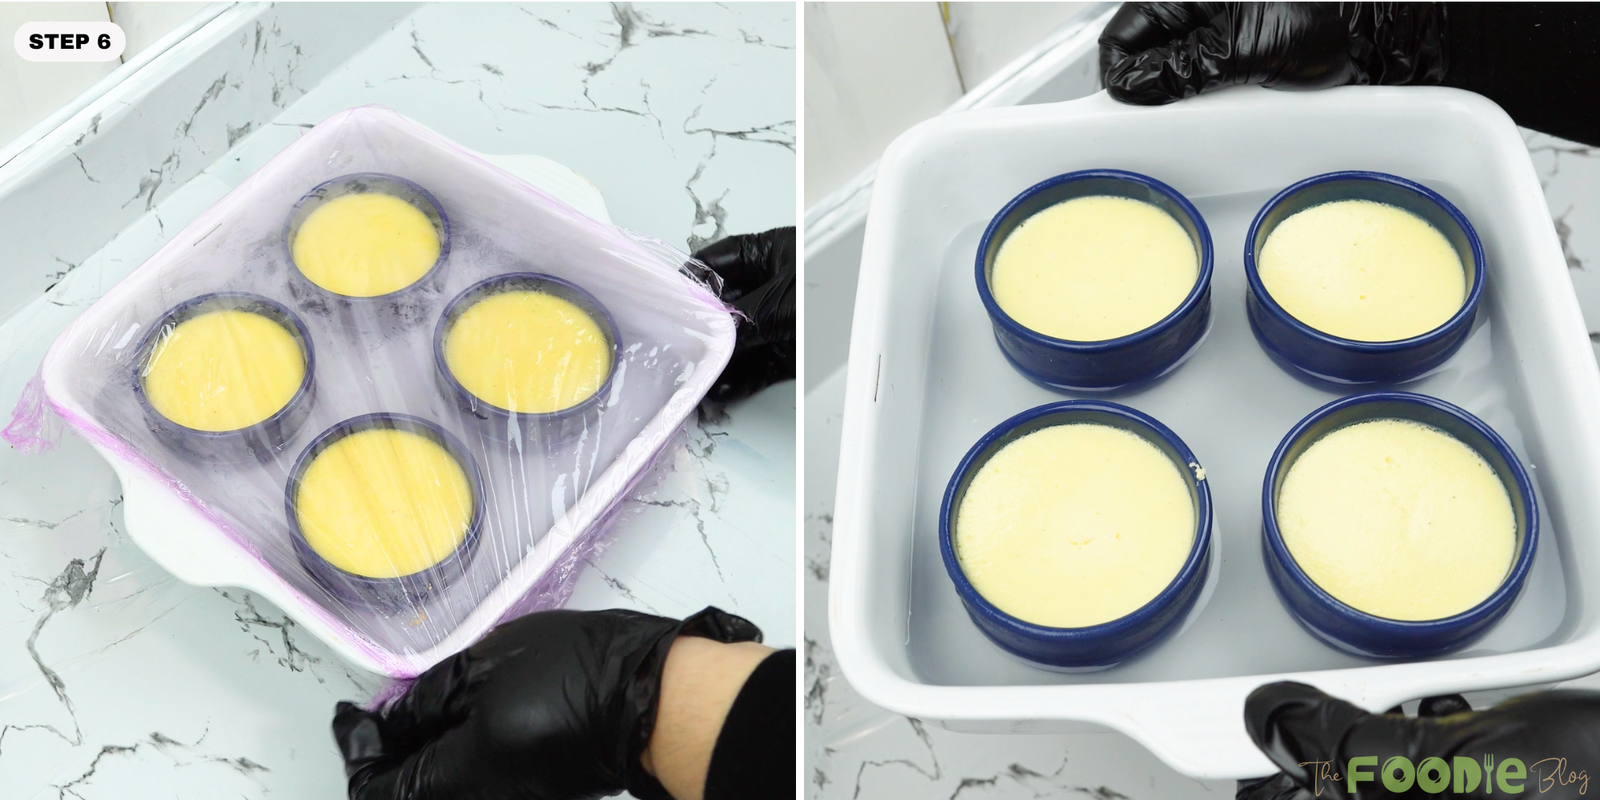
- Fill ramekins + water bath Pour the custard through a fine-mesh sieve into a pouring vessel (a bowl will do), then portion into ramekins. Set ramekins on a baking dish and pour hot water into the dish until it reaches halfway up the sides of the dishes.
- Bake at 325 degrees F until the edges are set but the center jiggles slightly.
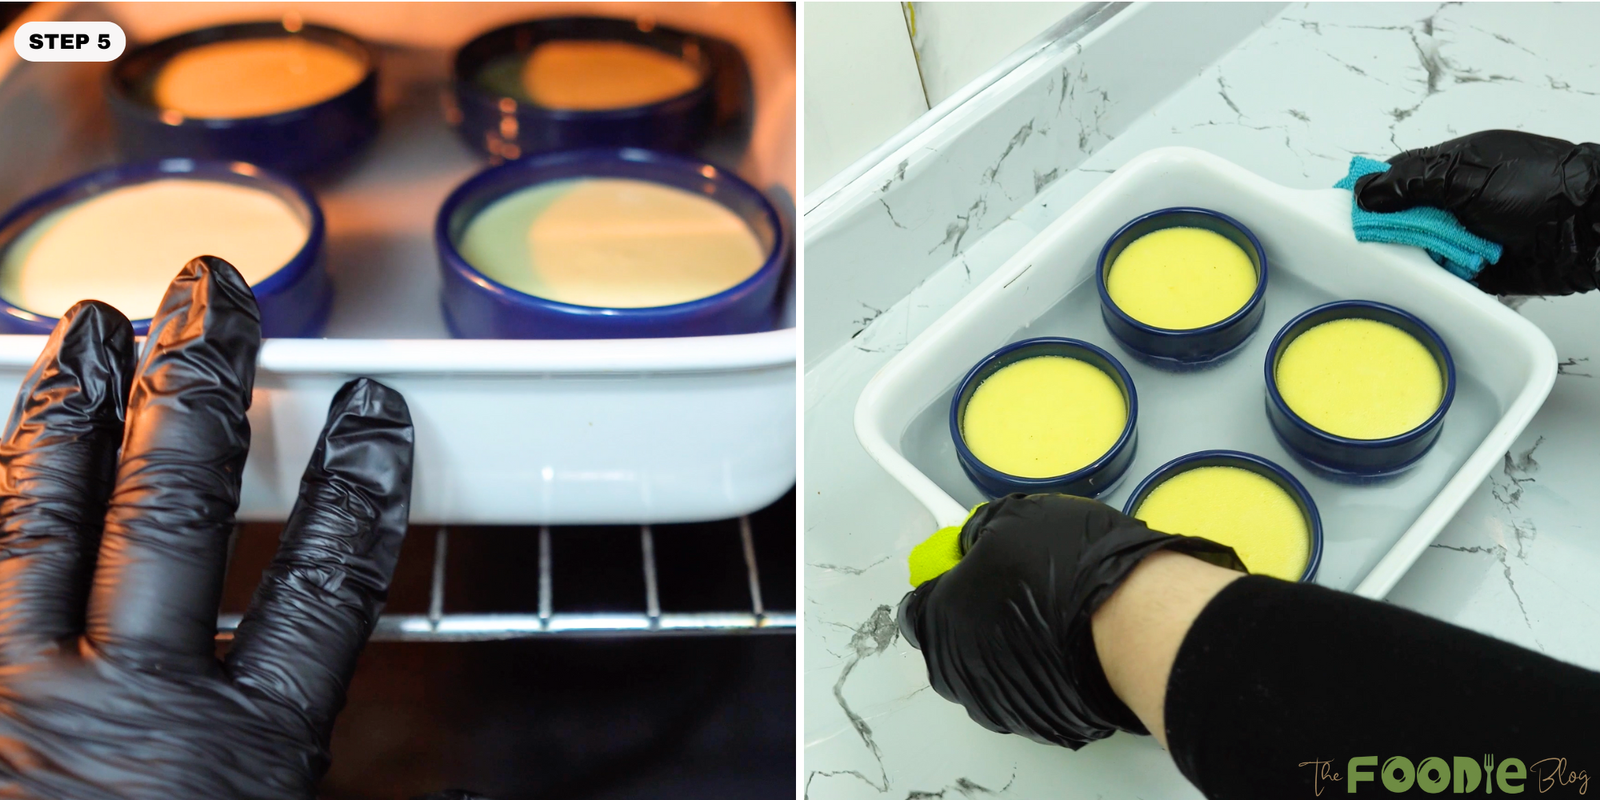
- Cool and chill Transfer ramekins from the water bath to cool at room temperature. Refrigerate, covered, overnight or until completely chilled and set.
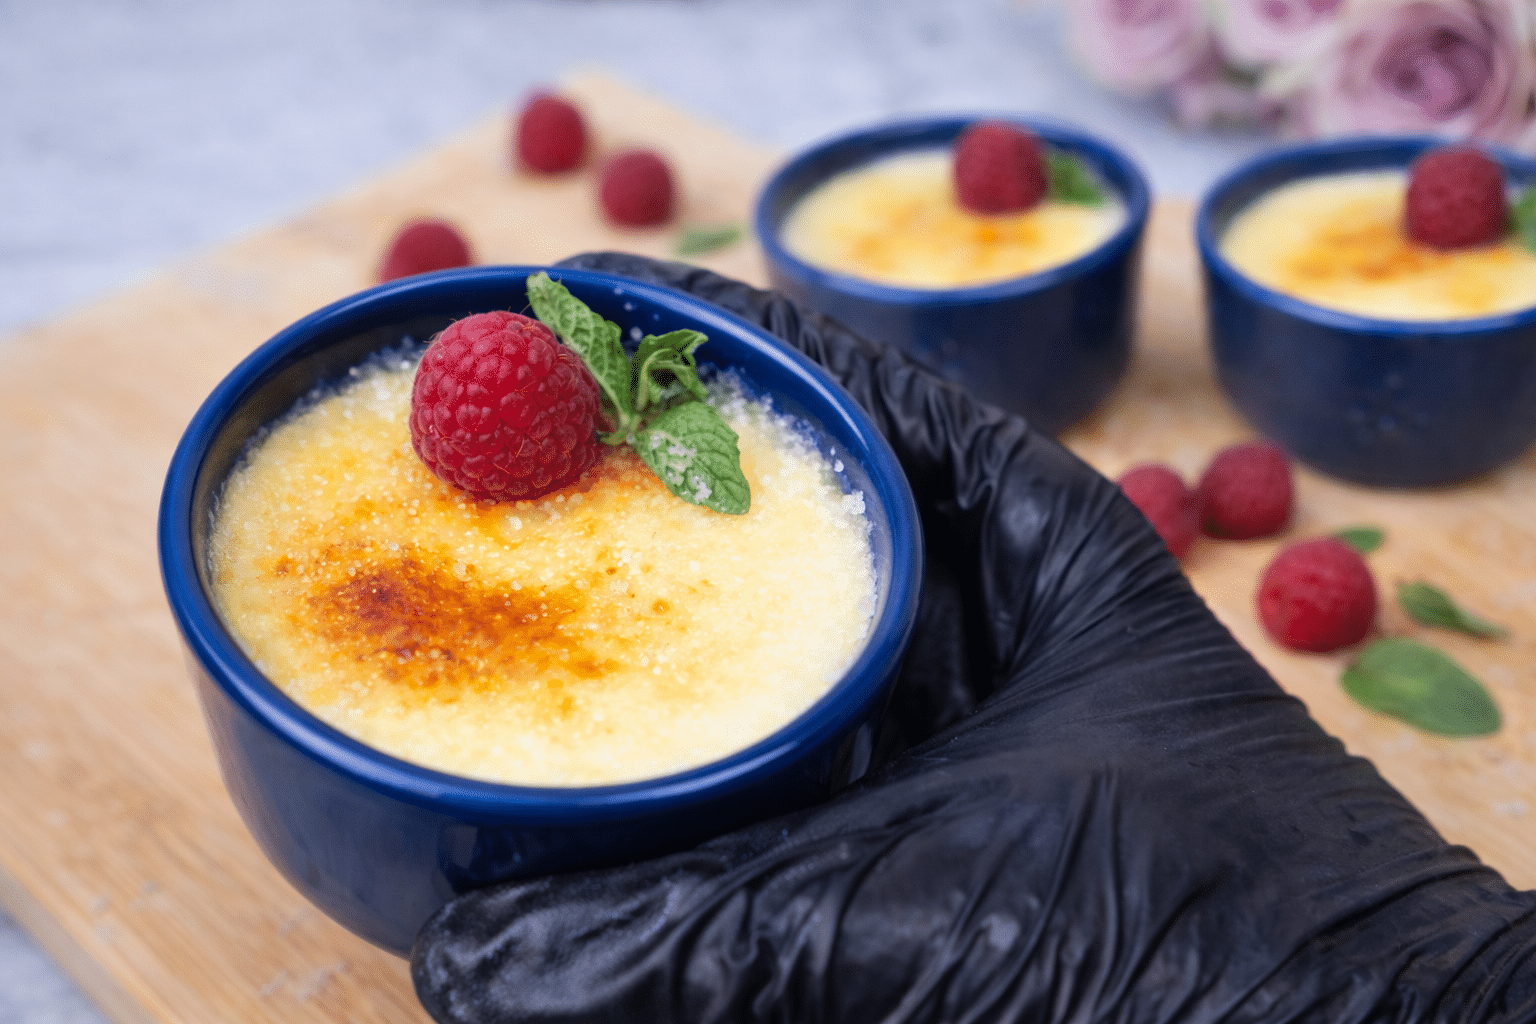
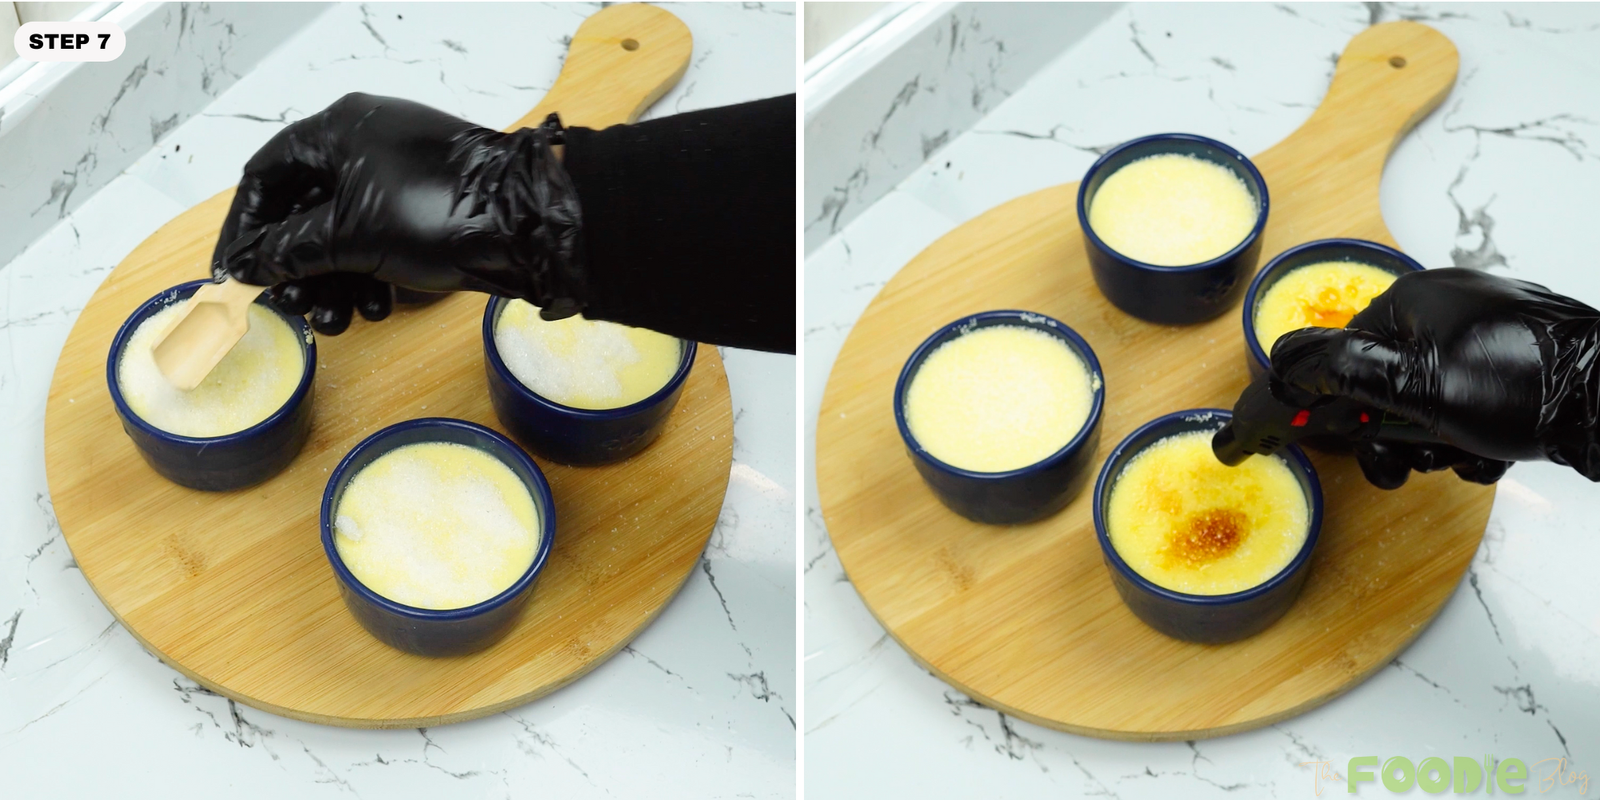
- Sprinkle a thin, even layer of granulated sugar over the chilled custards. Move the torch steadily over the surface so the sugar melts and caramelizes evenly without overheating one spot.
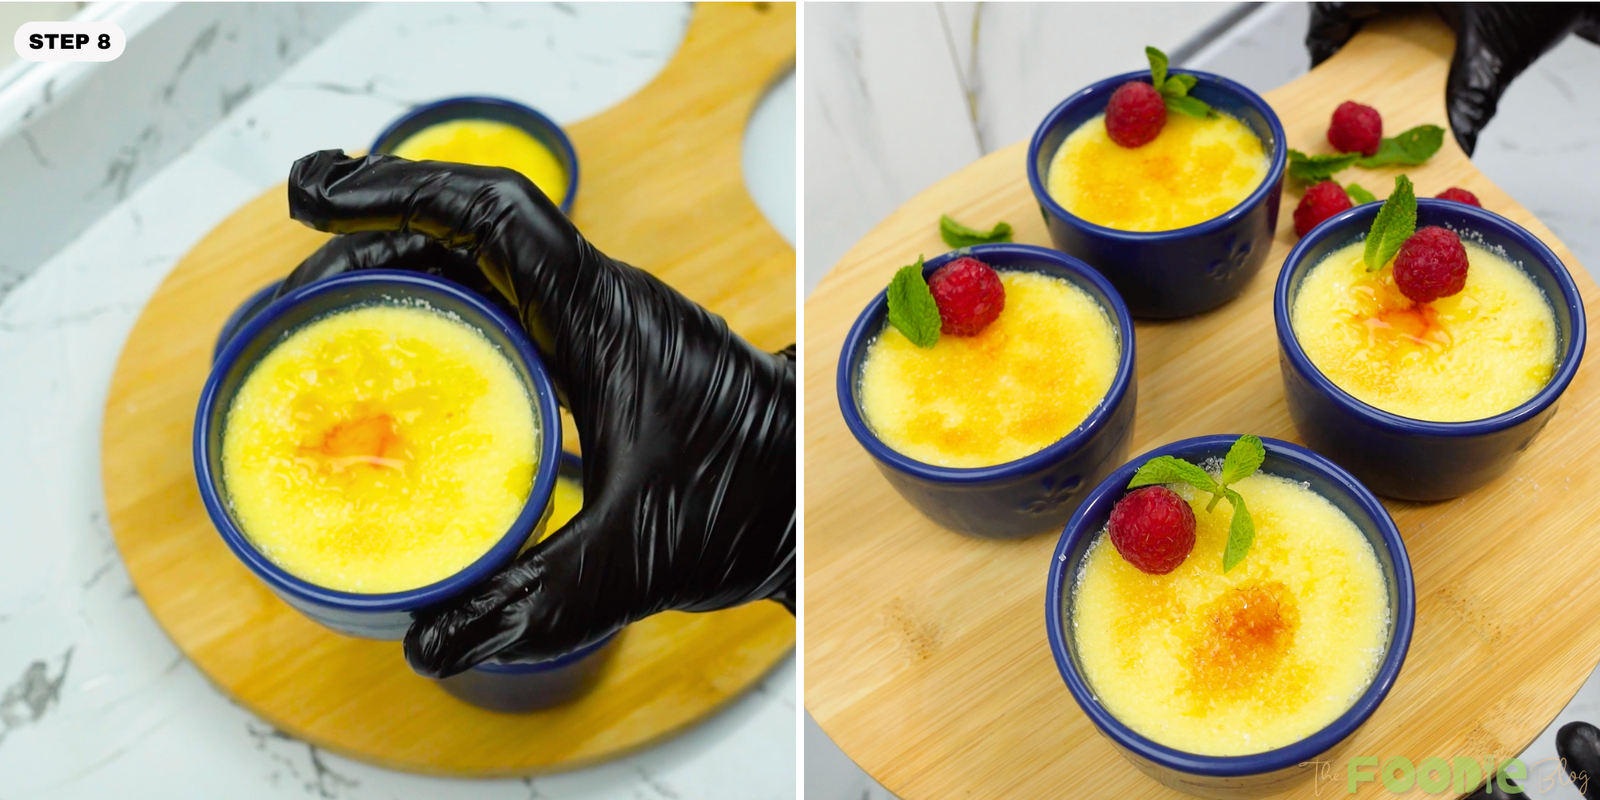
- Garnish and serve with raspberries and mint if desired, then serve at once.
Why Does Crème Brûlée Need a Water Bath?
A hot water bath surrounds the ramekins with gentle, even heat, helping the custard cook slowly and smoothly.
Because crème brûlée is made with egg yolks, too much direct heat can cause the custard to curdle or become grainy. The water bath keeps the temperature around the ramekins more stable, so the edges do not overcook before the centers are set.
For the best texture, pour hot water into the baking dish until it reaches about halfway up the sides of the ramekins.
Common Mistakes To Avoid
- Adding the hot cream too quickly to the egg yolks, which can scramble them.
- Letting the cream boil instead of warming it gently.
- Skipping the straining step, which helps create a smoother custard.
- Filling the ramekins too high.
- Baking without a water bath, which can cause the custard to cook unevenly or curdle.
- Overbaking the custards until the centers are completely firm instead of slightly jiggly.
- Adding the sugar topping too early. Caramelize the sugar shortly before serving so the top stays crisp.
What To Serve With Crème Brûlée
Crème brûlée is rich enough to serve on its own, but fresh raspberries or strawberries add a nice contrast to the creamy custard and crisp caramel topping. I also like serving it with hot coffee or espresso, especially after dinner.
FAQs
The custard may have overheated. Avoid boiling the cream, add the hot cream to the egg yolks gradually, and bake only until the edges are set and the centers still jiggle slightly.
The edges should look set while the center still has a gentle jiggle when the ramekin is moved. The custard will continue to firm as it cools and chills.
Yes. Bake and chill the custards up to 3 days in advance. Add and caramelize the sugar topping shortly before serving so it stays crisp.
A kitchen torch gives the most even and controlled caramelized topping. A broiler can work, but it is easier to overheat the custard while trying to caramelize the sugar.
Granulated sugar works best because it melts evenly and creates a thin, crisp caramel layer. Spread it in an even layer before torching.
Make sure the surface of the custard is dry and use only a thin, even layer of sugar. Torch the sugar until it melts and turns deep golden, then let it sit for 1–2 minutes to harden before serving.
More Recipes You Will Like :
Crème Brûlée
Ingredients
Equipment
Method
- In a mixing bowl, whisk the egg yolks with the sugar until smooth and slightly lighter in color.
- Warm the heavy whipping cream in a saucepan over medium-low heat until steaming and hot (do not boil).
- Slowly pour the hot cream into the yolk mixture while whisking constantly. Whisk in the vanilla extract. Strain through a fine-mesh sieve.
- Divide the custard into ramekins. Place ramekins in a baking dish and carefully pour hot water into the dish until it reaches halfway up the ramekins.
- Bake at 325°F (163°C) until the edges are set and the center still jiggles slightly.
- Remove ramekins from the water bath. Cool to room temperature, then cover and refrigerate until fully chilled and set.
- Sprinkle an even, thin layer of sugar on top and torch until melted and deep golden. Let sit 1–2 minutes to harden.
- Garnish if desired and serve immediately.
Nutrition
Video
Notes
- Keep the cream hot but not boiling to prevent curdling.
- Straining the custard helps guarantee a silky-smooth texture.
- Bake until gently set (the center should still jiggle).
- Use a thin, even layer of sugar for the crispiest caramel top.
- Vanilla bean paste can be used instead of vanilla extract for stronger vanilla flavor.
Tried this recipe?
Let us know how it was!Estimated reading time: 7 minutes