Learning how to cook frozen peas this way turns a basic freezer vegetable into a quick garlic butter side dish. The peas cook straight from frozen with butter, fresh garlic, salt, black pepper, and just a tablespoon of water, so they stay bright, tender, and buttery instead of watery.
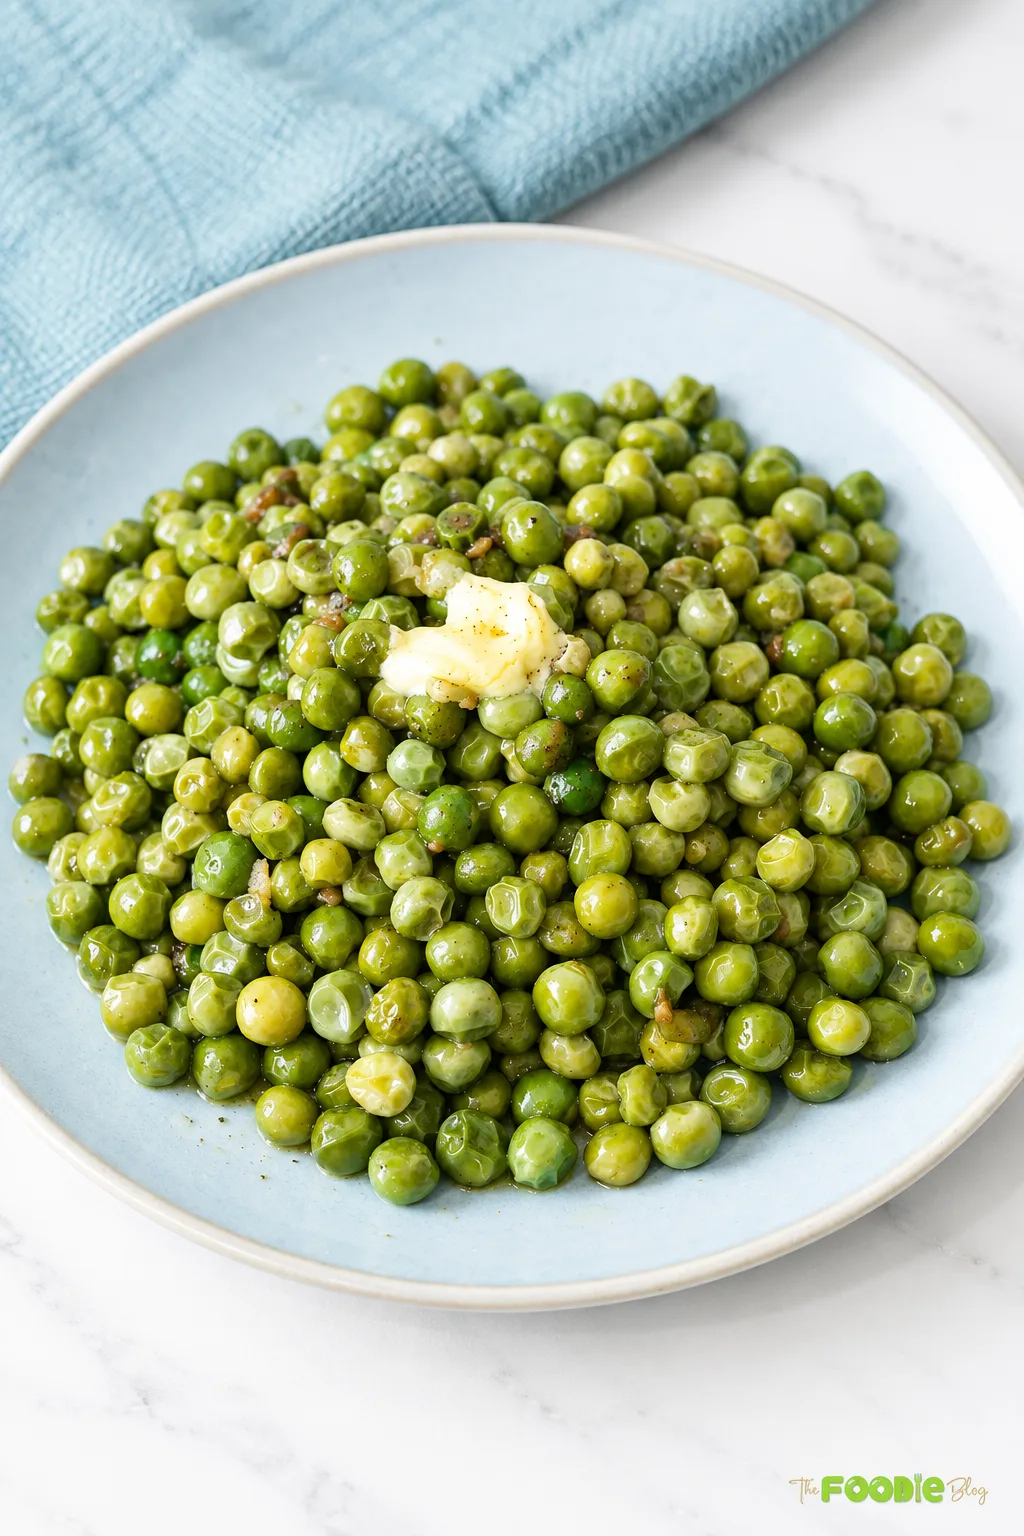
I make these when I need a fast vegetable beside dinner. They pair especially well with Poulet Rôti, and they’re an easy green side for Garlic Butter Rice. If you have extra frozen peas, my Pea Salad Recipe uses them in a completely different way, and a glass of Homemade Lemonade keeps a simple family
What Is the Best Way to Cook Frozen Peas?
For this recipe, I cook the peas straight from frozen on the stovetop instead of boiling them in a large pot of water.
Frozen peas are already blanched during commercial processing before freezing, so they don’t need lengthy cooking. USDA standards for frozen peas specifically describe them as peas that have been shelled, washed, blanched, drained, and frozen. AMS
Using only 1 tablespoon of water gives the frozen peas enough moisture to heat through, while butter and garlic provide the flavor.
Table of contents
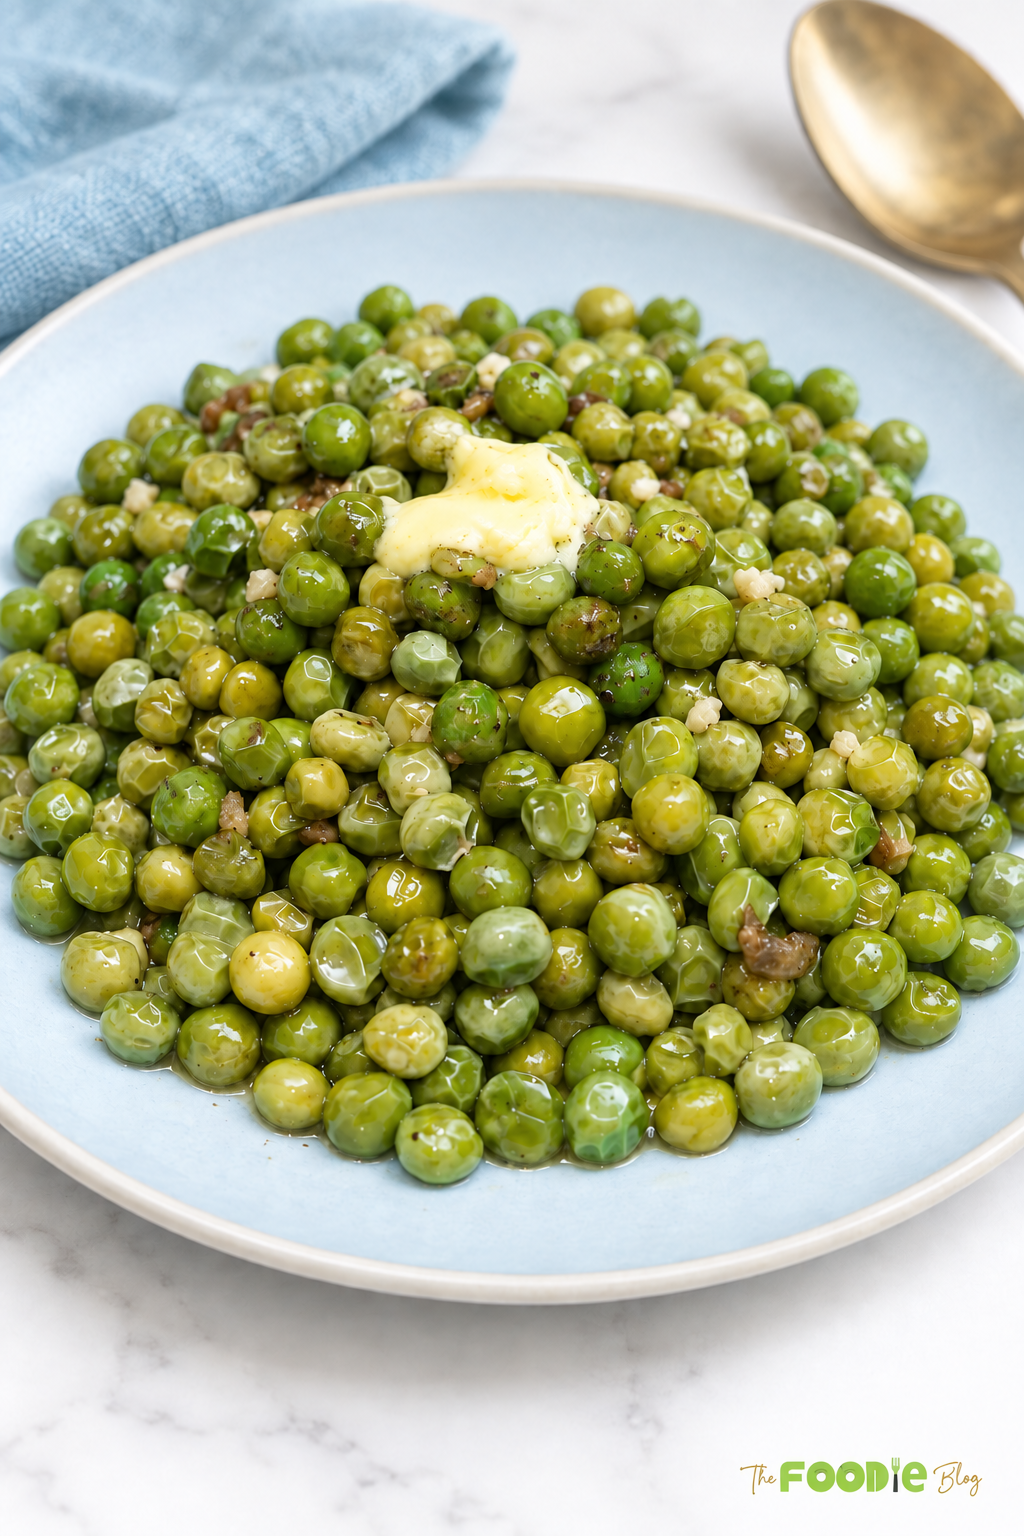
Ingredients for Garlic Butter Frozen Peas
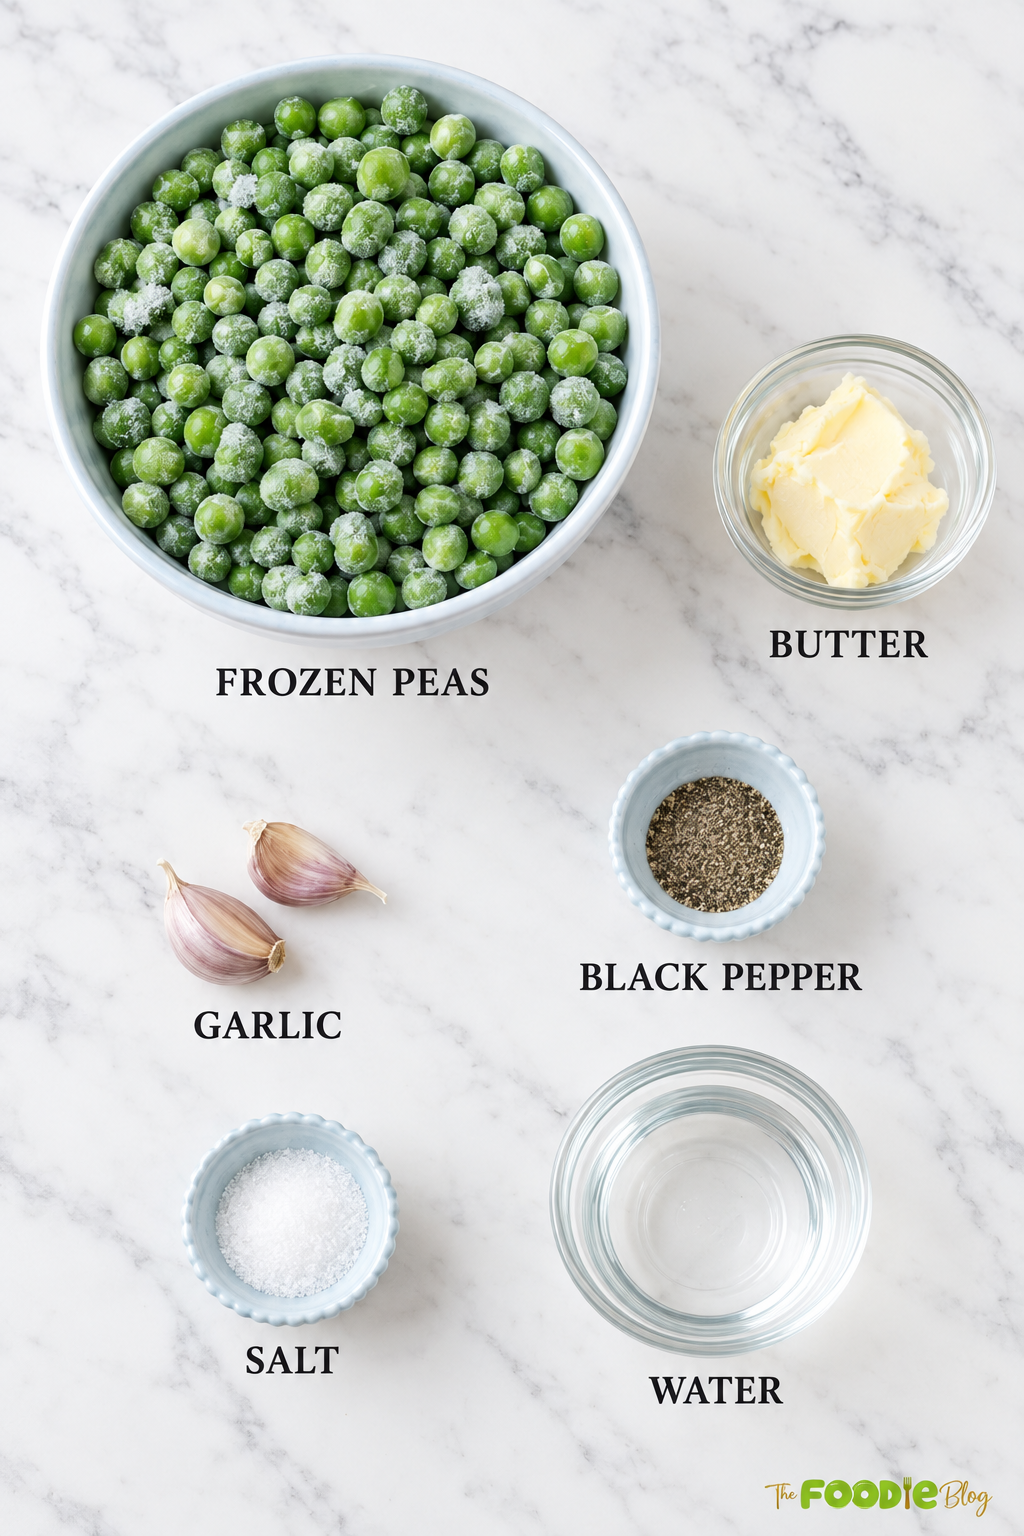
Let’s Make Garlic Butter Frozen Peas
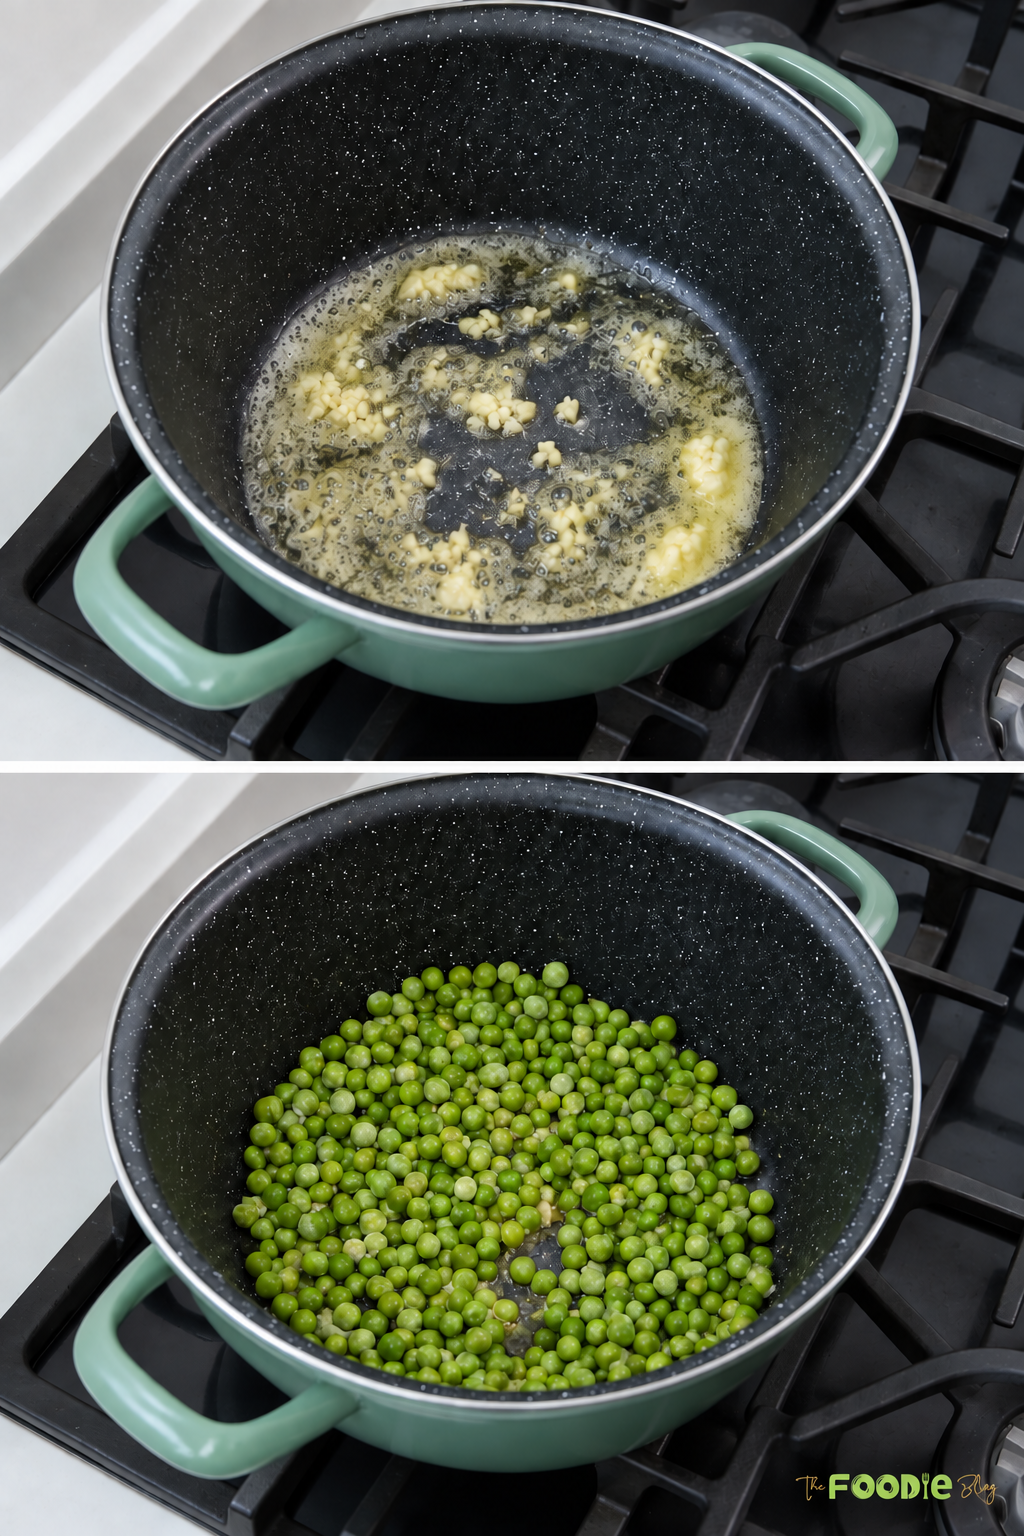
- Place a large skillet or wide saucepan over medium heat. Add the butter and let it melt.
- Add the minced garlic and stir for about 20 to 30 seconds, just until fragrant. Keep the heat at medium and add the peas promptly, because finely minced garlic can burn quickly and turn bitter. See this guide to cooking garlic without burning it for more helpful tips.
- Add the frozen peas, salt, black pepper, and water. Stir well so the peas are coated in the garlic butter.
- Cook over medium-high heat for about 5 minutes, stirring every minute or so. The peas should be hot and tender, and the water should mostly evaporate.
- Taste and adjust the salt or pepper as needed. Serve the garlic buttered peas warm.For a more filling dinner plate, serve the peas with these Crispy Parmesan Potatoes and your favorite chicken, steak, or fish.
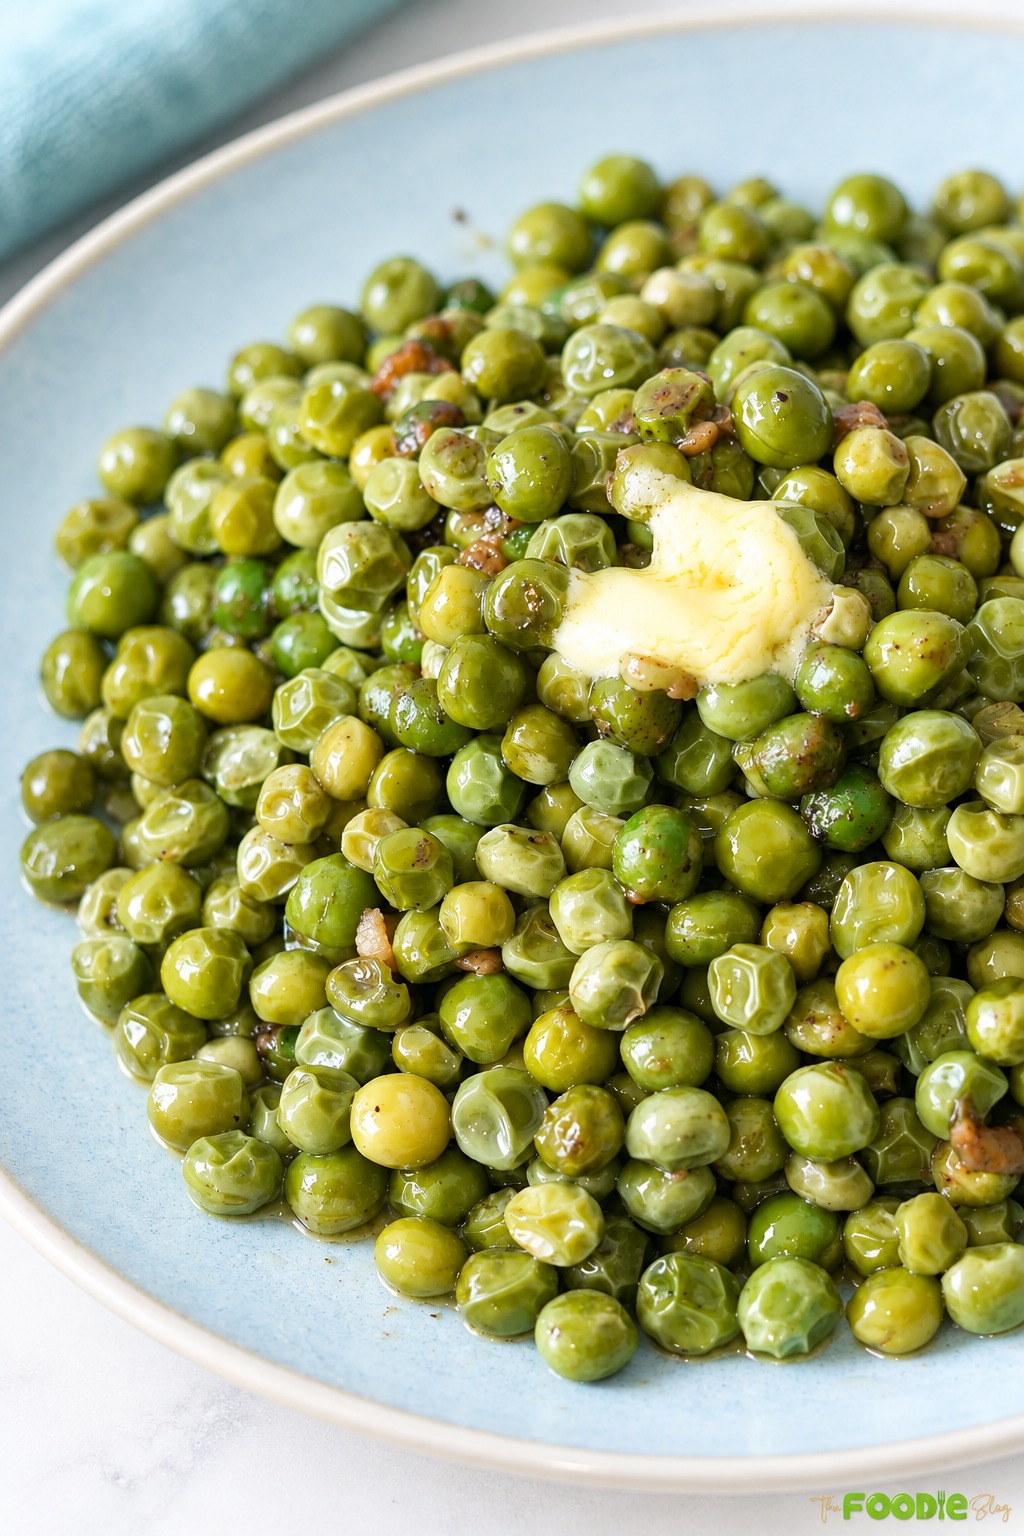
How to Keep Frozen Peas Bright and Tender
The biggest mistake with frozen peas is simply cooking them for too long.
Because commercially frozen peas are blanched before freezing, you are mainly heating them through and finishing their texture rather than starting with a completely raw vegetable. AMS
Use a small amount of water rather than submerging them. Covering the pan briefly traps steam and warms the center of the peas quickly.
Then uncover the pan so excess moisture can evaporate.
Once the peas are hot and tender, stop cooking. Keeping them over the heat longer can turn the bright green color dull and make the texture softer than necessary.
Common Mistakes to Avoid
Thawing the peas first: It isn’t necessary for this recipe and can introduce extra moisture.
Boiling them in lots of water: For this garlic butter method, a tablespoon of water is enough.
Burning the garlic: Add the peas shortly after the garlic becomes fragrant.
Using very high heat: The butter and garlic can brown before the peas warm through.
Overcooking the peas: Frozen peas need only a short cooking time.
Leaving excess liquid in the pan: Uncover for the final minute or two and allow it to evaporate.
Adding extra salt before tasting: Butter, pea brands, and salt types can all affect the final seasoning.
What to Serve With Garlic Butter Frozen Peas
These peas work particularly well with roast chicken, grilled chicken, steak, salmon, pork chops, mashed potatoes, roasted potatoes, rice, pasta, meatloaf, or holiday dinners.
Because the flavor is simple—garlic, butter, salt, and pepper—they work beside both heavily seasoned mains and simpler family dinners.
FAQs
No. Add frozen peas directly to the pan. They cook quickly with the butter, garlic, and water, and this helps them stay bright green instead of soft and watery.
Yes. Fresh shelled peas work well, but they may need a few extra minutes to become tender.
Canned peas are already soft, so they can become mushy in this recipe. Frozen peas give the best texture.
The small amount of water creates steam that helps the frozen peas heat through quickly. It should evaporate before serving.
Yes. Use 2 to 3 tablespoons olive oil for a dairy-free version.
Yes. Use a large skillet or cook the peas in two batches so the water can evaporate properly.
More Recipes You’ll Love
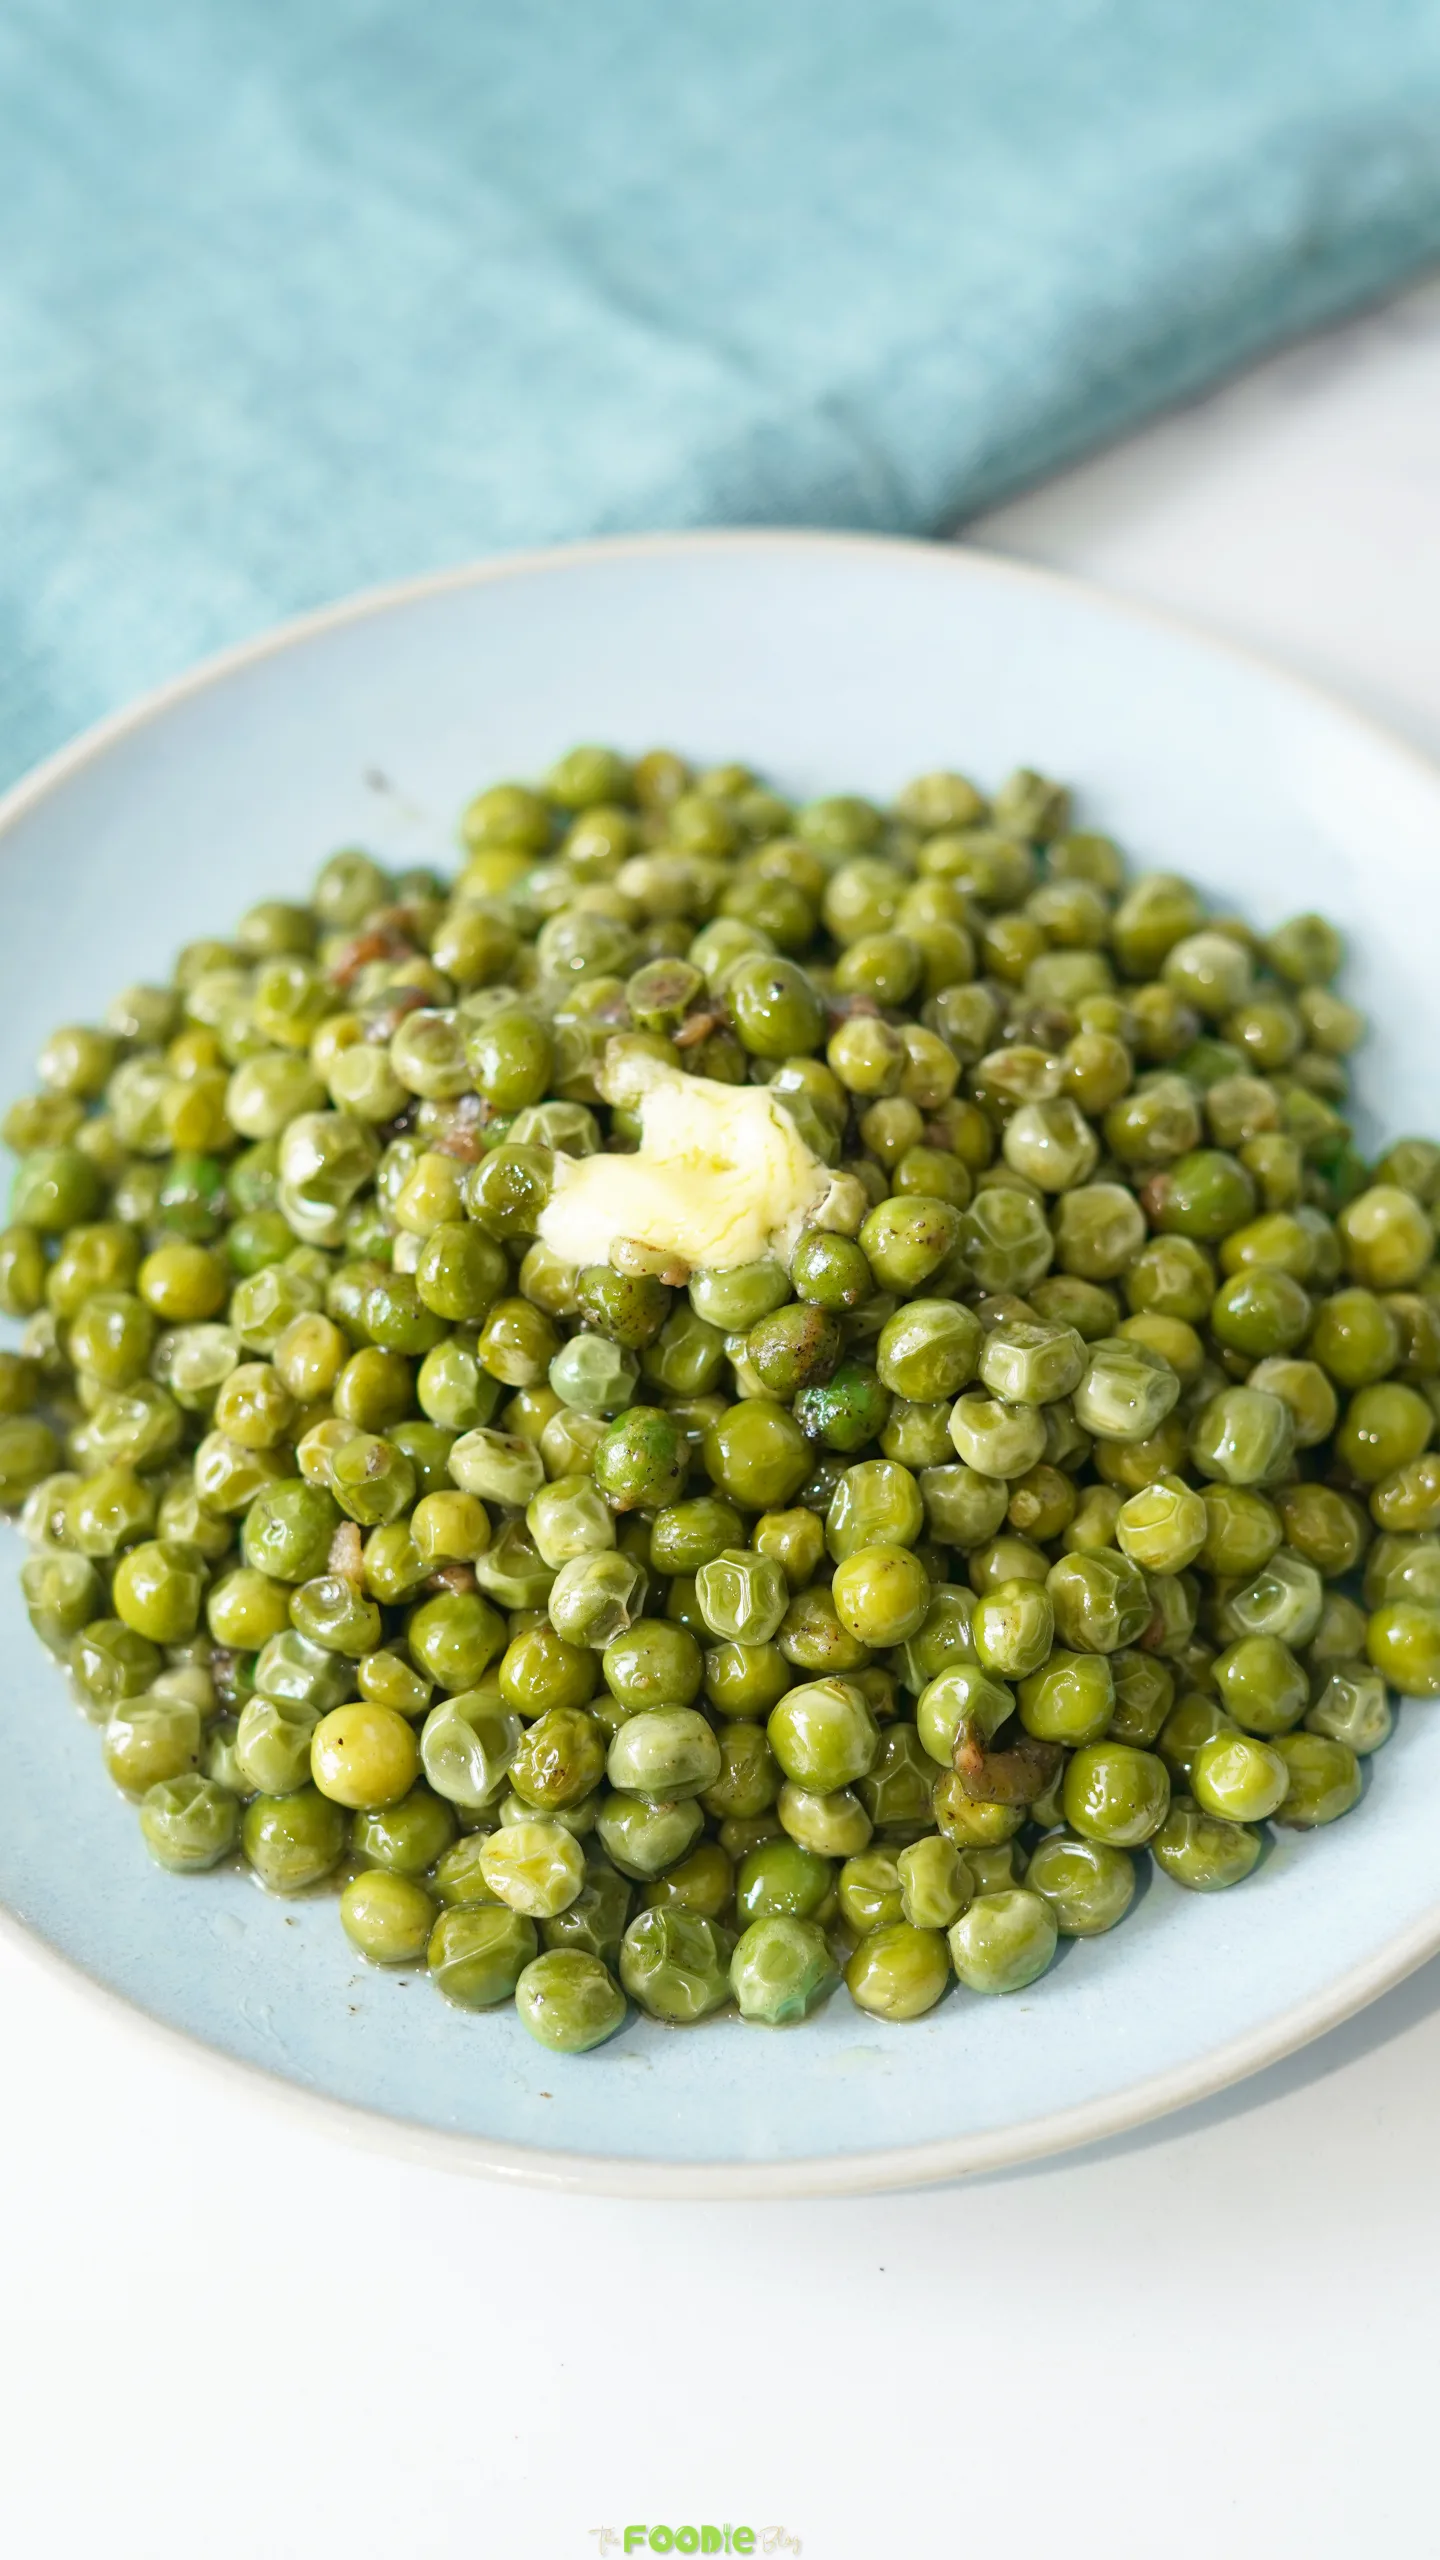
Garlic Butter Frozen Peas
Ingredients
Equipment
Method
- Heat a large skillet or wide saucepan over medium heat. Add the butter and let it melt.
- Add the minced garlic and cook for 20 to 30 seconds, stirring constantly until fragrant.
- Add the frozen peas, salt, black pepper, and water.
- Stir well, then cook over medium-high heat for about 5 minutes.
- Stir occasionally until the peas are tender, hot, and coated in garlic butter.
- Taste, adjust seasoning if needed, and serve warm.
Nutrition
Video
Notes
- Use frozen peas directly from the freezer.
- Do not overcook the peas or they can become soft.
- Keep the garlic lightly golden, not dark brown.
- Petite peas work especially well in this recipe.
- Store leftovers in the refrigerator for up to 3 days.
- Nutrition values are estimated per serving and may vary by ingredient brand.
Tried this recipe?
Let us know how it was!Estimated reading time: 5 minutes