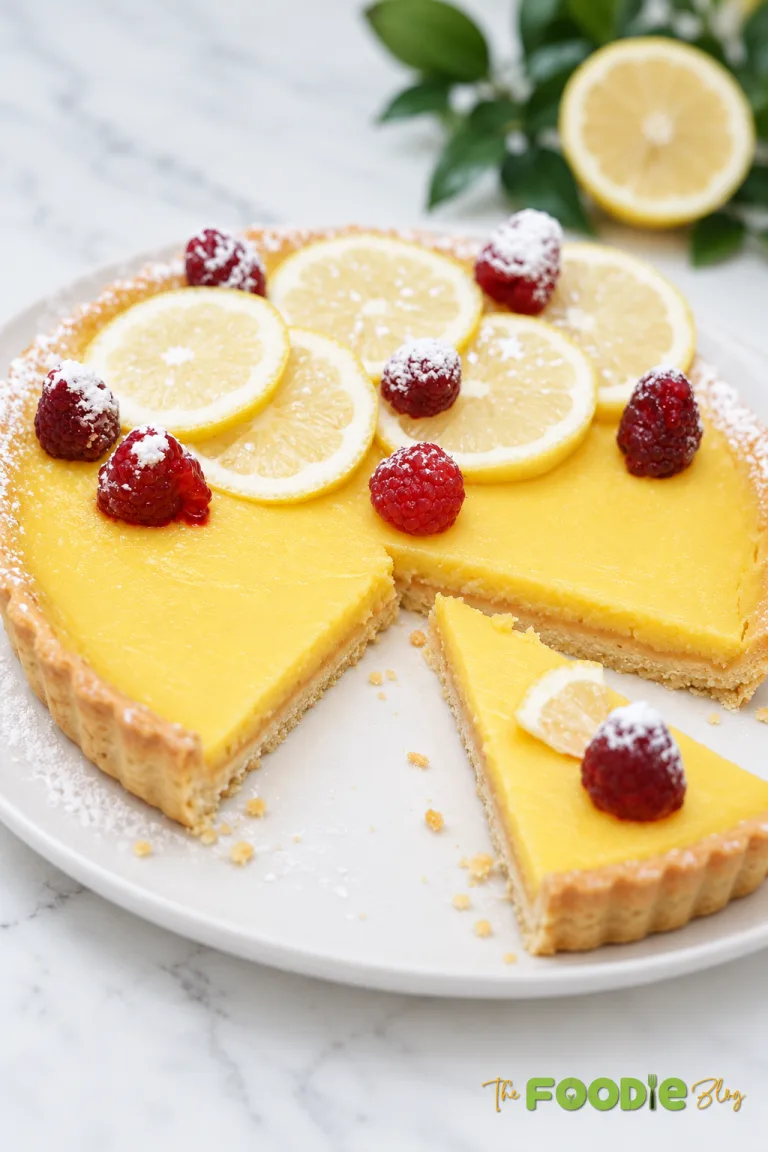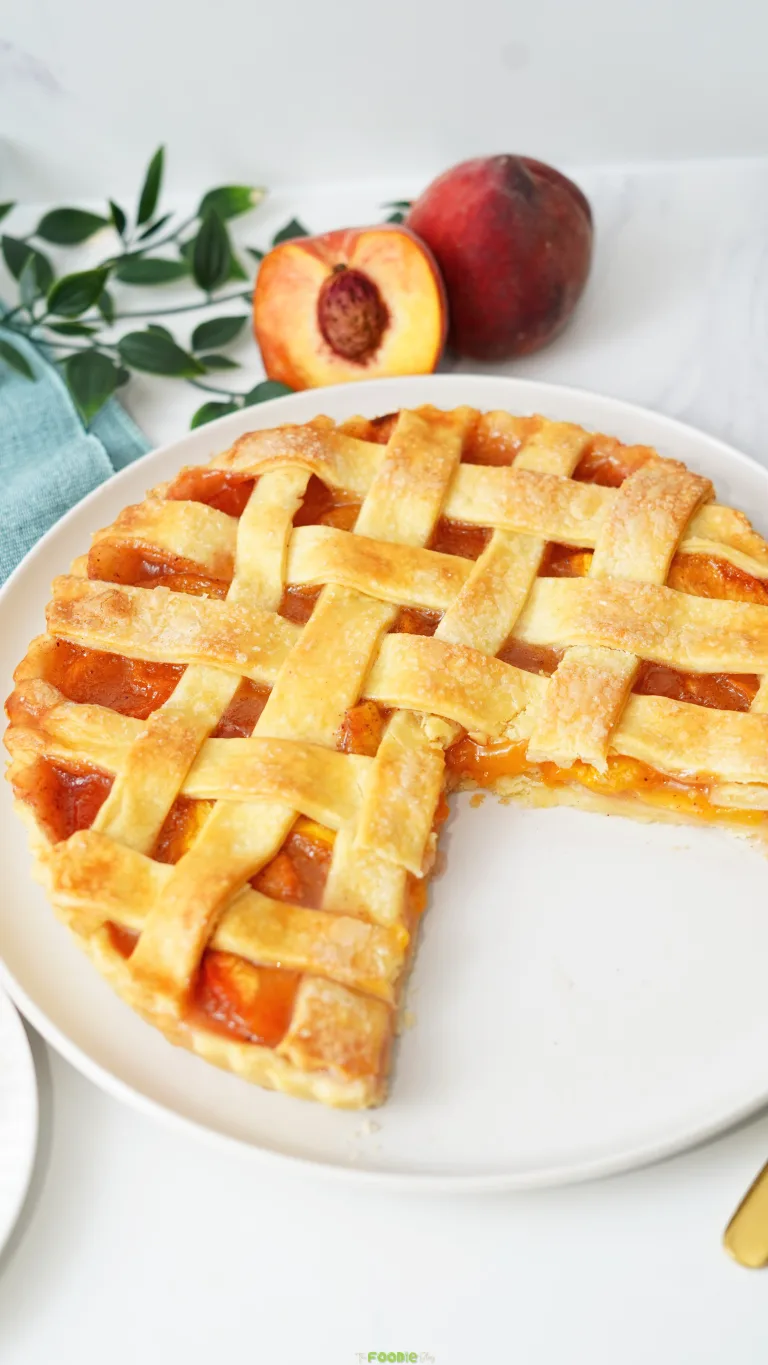
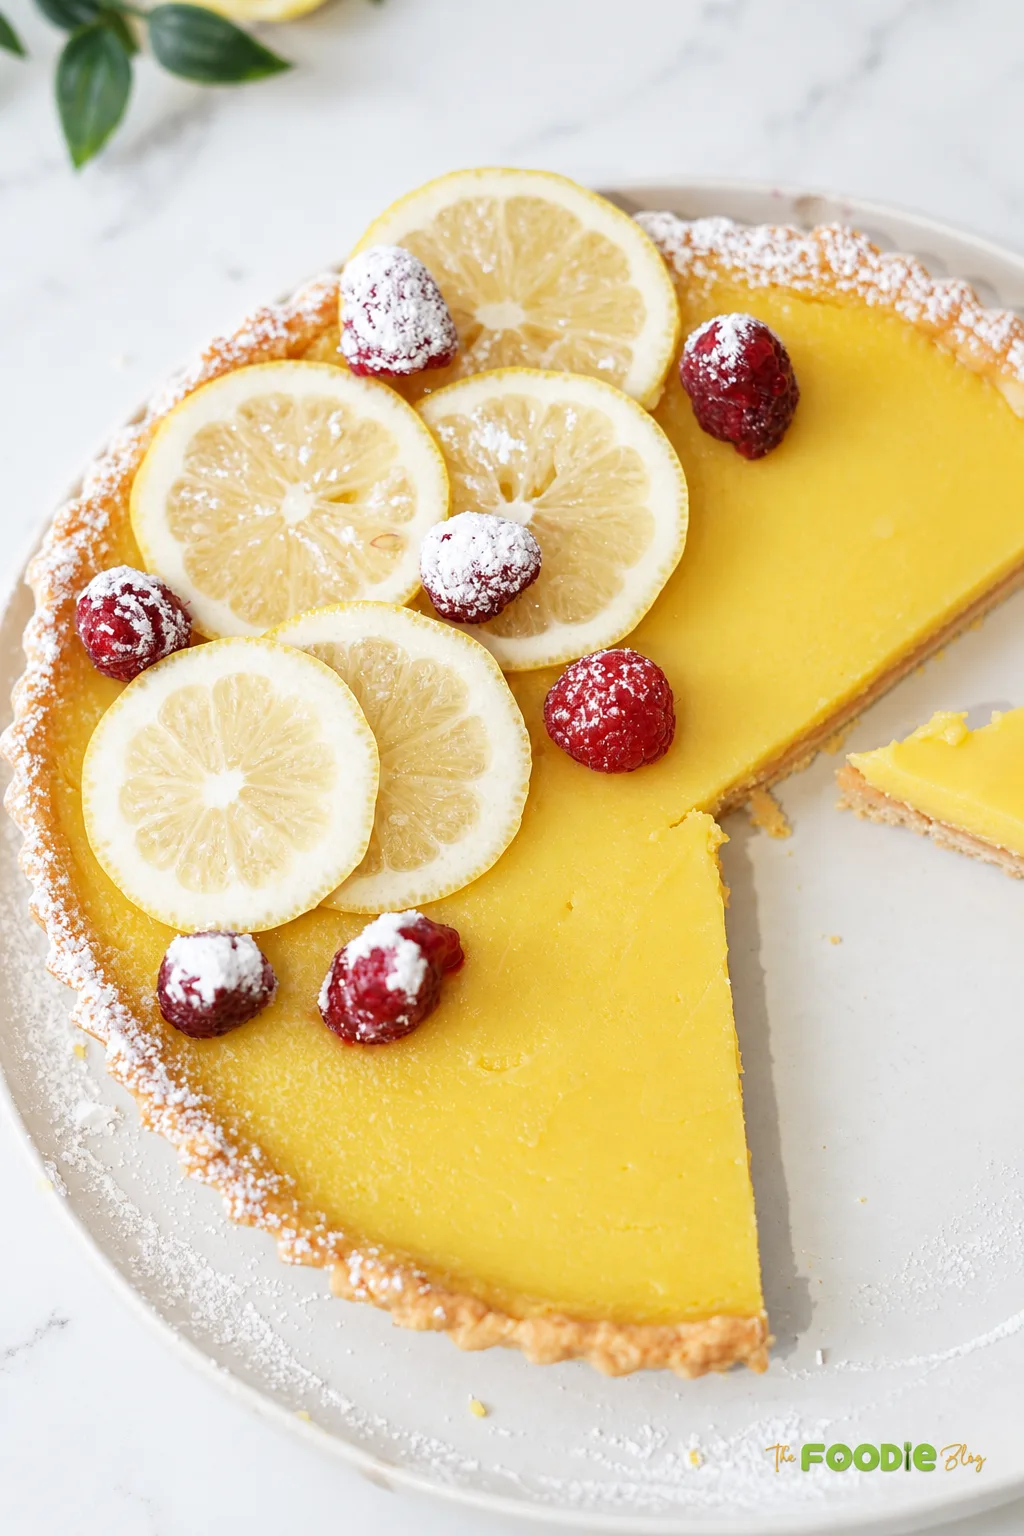
This lemon curd recipe for tarts is smooth, rich, and intensely lemony, with fresh lemon juice and zest balanced by sugar, whole eggs, extra yolks, and plenty of butter. It cooks gently on the stovetop until glossy and thick, then firms up further as it cools.
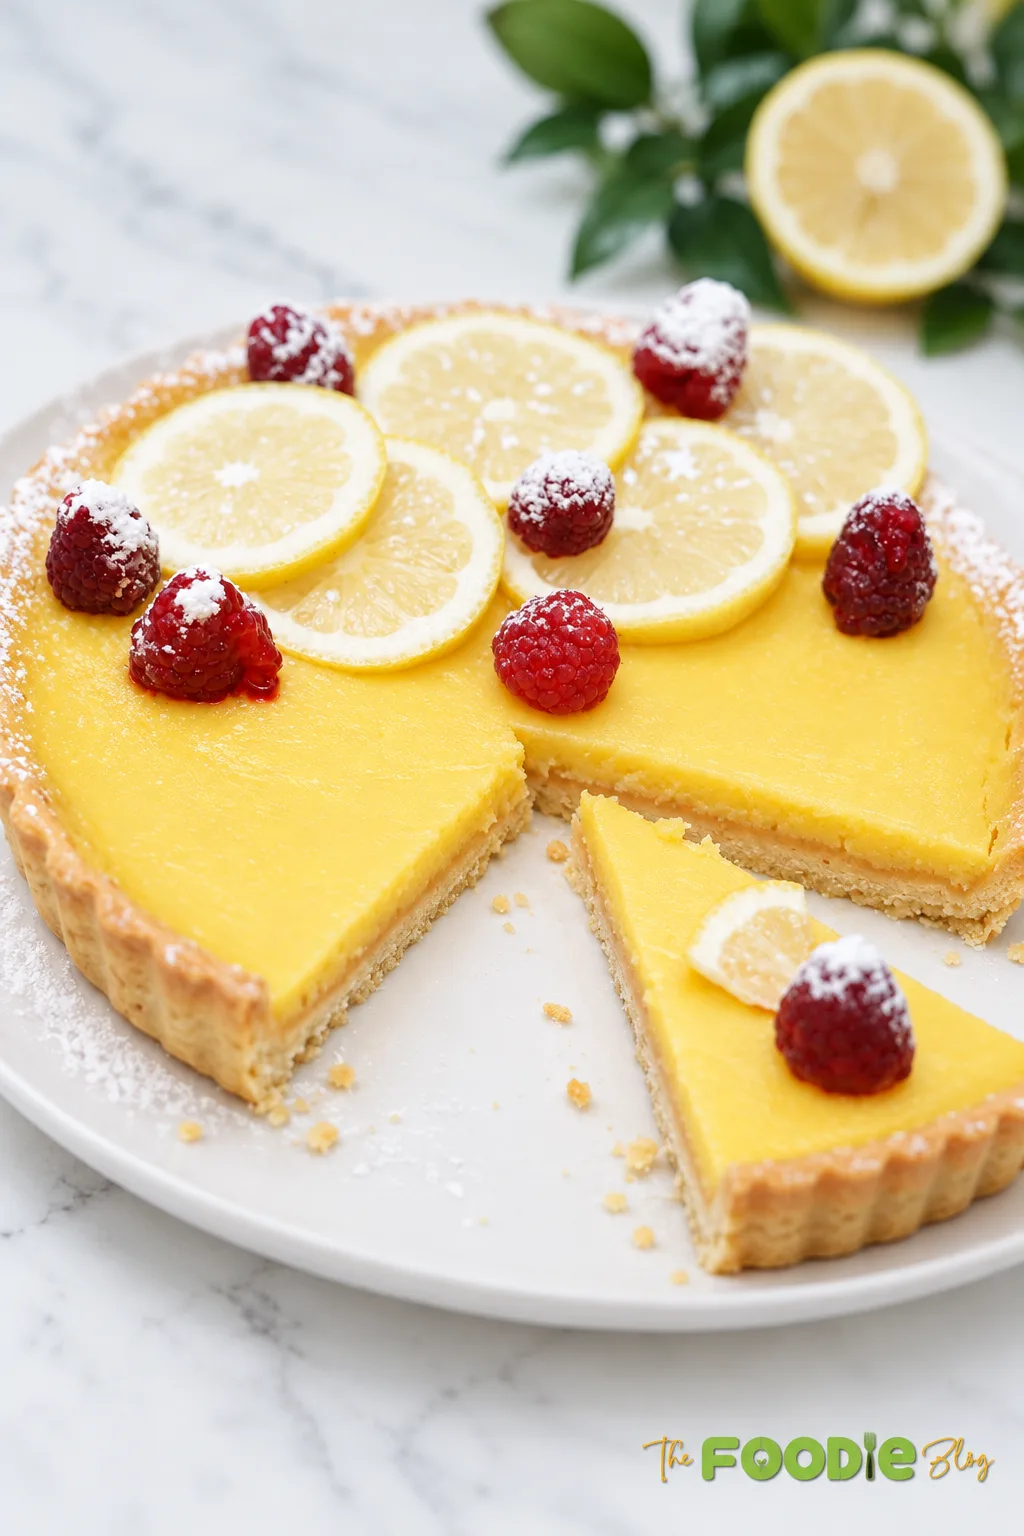
The extra egg yolks give this curd a creamy, custard-like texture that works especially well as a tart filling. If you enjoy bright citrus desserts, try my Lime Curd Recipe or Easy Lemon Cake. My Lemon Posset Brûlée is another creamy lemon dessert, and you can find more ideas in my Easy Dessert Recipes collection.
What Is Lemon Curd for Tarts?
Lemon curd is a rich citrus custard made with fresh lemon juice, zest, sugar, eggs, egg yolks, and butter.
This version uses both 3 whole eggs and 3 additional egg yolks, giving the curd enough richness and structure to work particularly well as a filling for prebaked tart shells.
Unlike a cornstarch-thickened lemon filling, the eggs provide the thickening here while the butter gives the finished curd its glossy, silky texture.
Table of contents
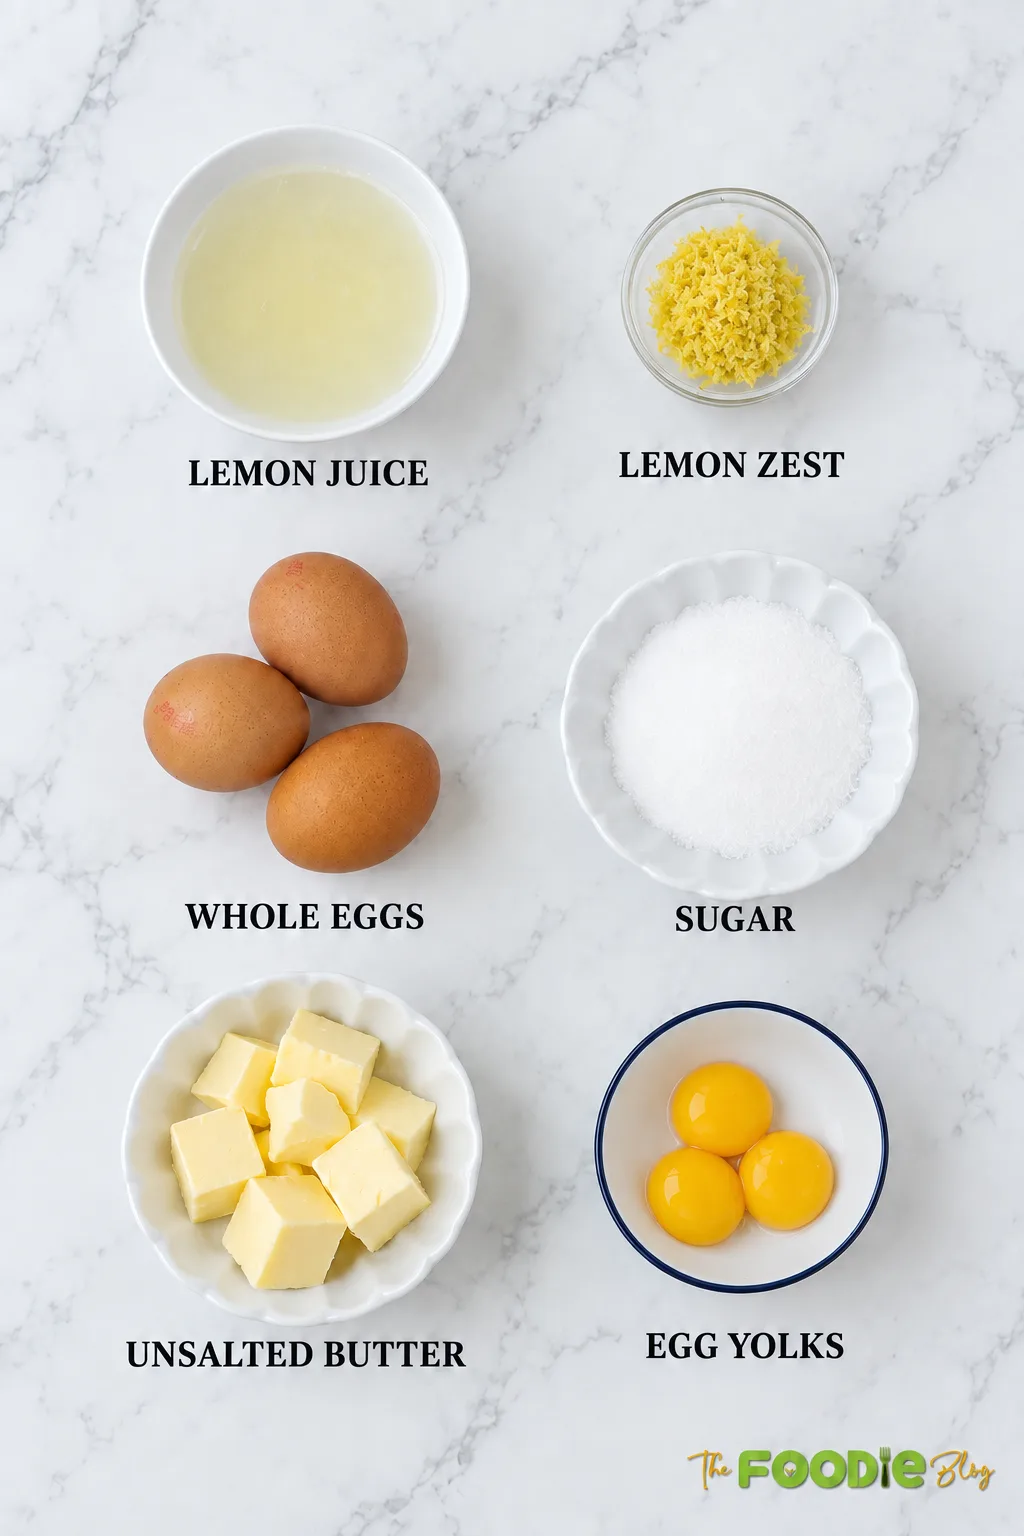
Ingredients
Let’s Make Lemon Curd for Tarts
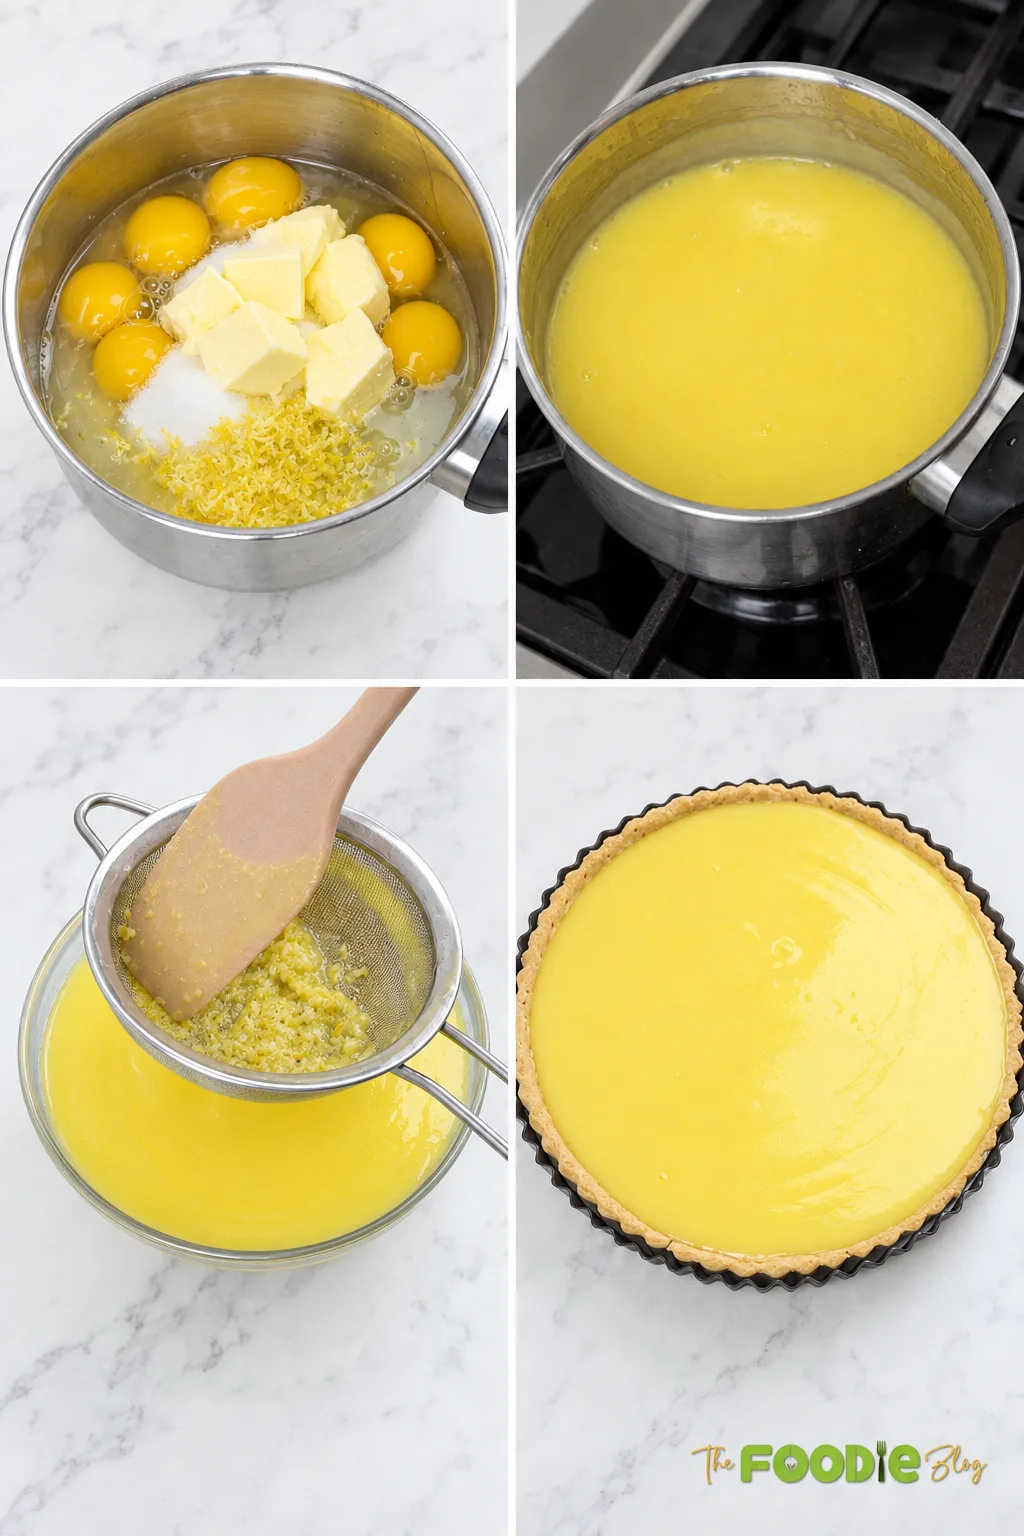
- Combine the Ingredients
Add the lemon zest, lemon juice, sugar, cubed butter, whole eggs, and egg yolks to a medium saucepan.
Whisk everything together before turning on the heat.
The butter will still be solid at this stage—that is completely fine.
- Cook Gently
Place the saucepan over low to medium-low heat.
Whisk constantly, making sure to reach the bottom and corners of the saucepan as the butter melts.
Keep the heat gentle. High heat can cook the eggs too quickly and leave little scrambled pieces in the curd.
- Cook Until Thick and Glossy
Continue whisking for approximately 6–10 minutes, depending on your pan and stovetop.
The mixture will slowly become thicker, smoother, and glossy.
It should be thick enough to coat the back of a spoon rather than run off like liquid.
King Arthur Baking also uses the spoon-coating stage for stovetop lemon curd and gives approximately 170°F (77°C) as a useful temperature reference. King Arthur’s Lemon Curd Guide King Arthur Baking
- Strain the Lemon Curd
Remove the saucepan from the heat as soon as the curd has thickened.
Pour it through a fine-mesh sieve into a clean bowl.
Use a silicone spatula or spoon to gently push the curd through.
This removes the zest and any tiny pieces of cooked egg, giving you a much smoother tart filling.
- Cool Until Thick
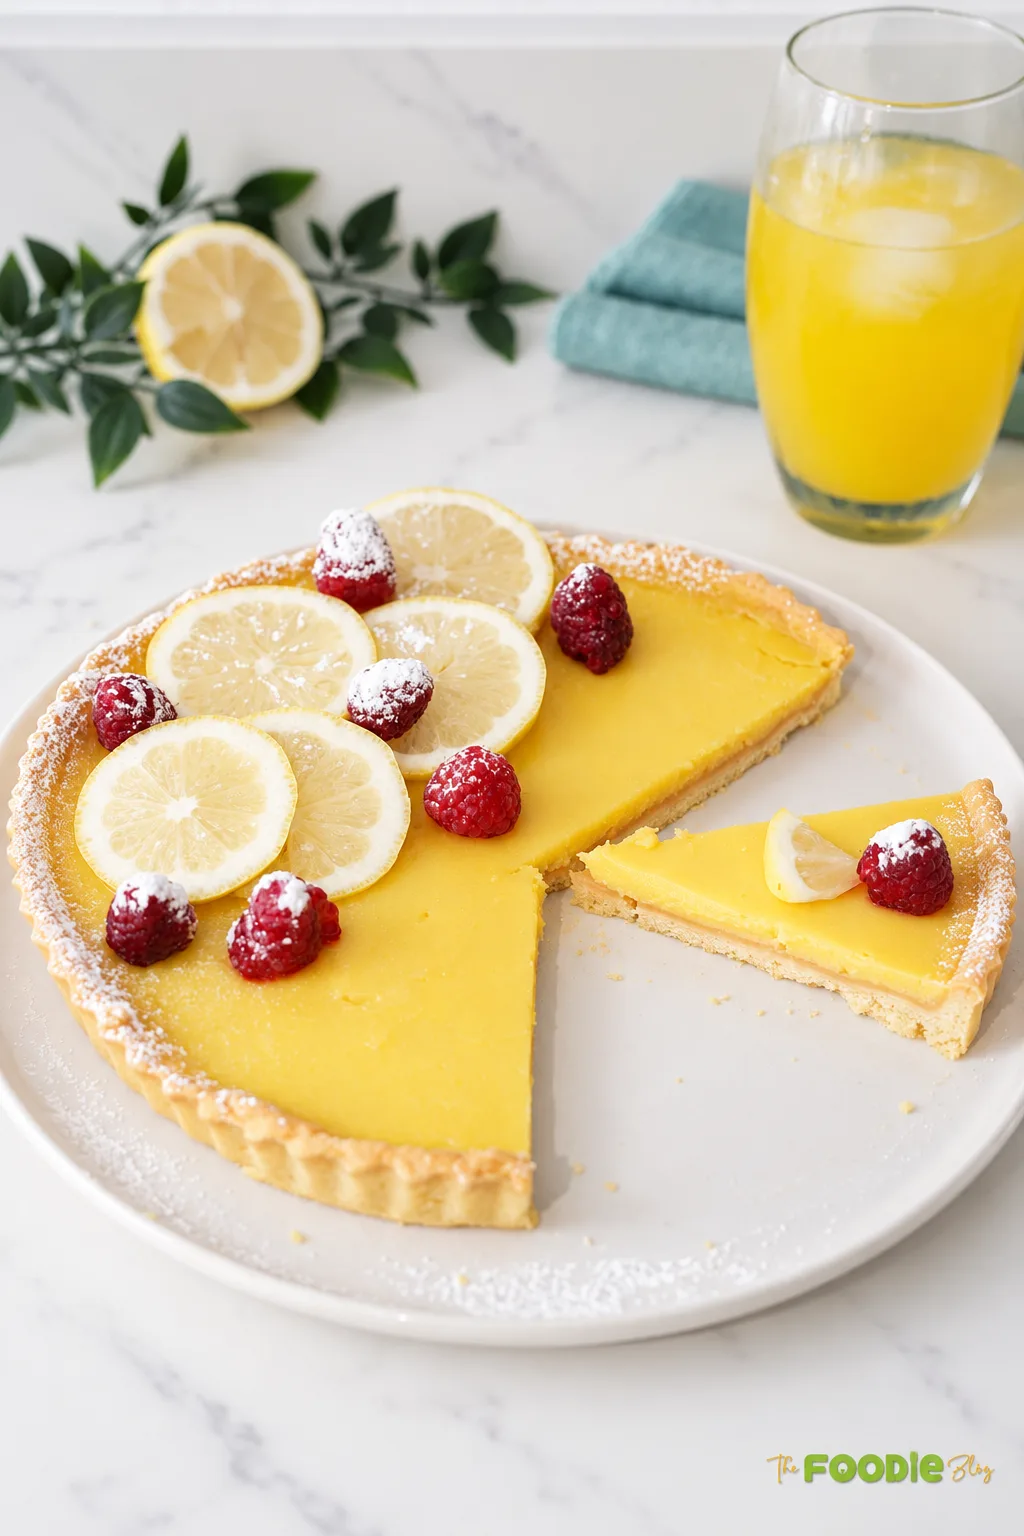
Let the lemon curd cool for about 15–20 minutes.
Press plastic wrap directly against the surface if you want to prevent a skin from forming.
Chill until completely cold and thickened.
For tart filling, let it chill for approximately 2 hours before using it in a prebaked, cooled tart shell.
How to Know When Lemon Curd Is Thick Enough
Don’t wait for the hot curd to look as thick as the final chilled filling.
While it’s still in the saucepan, it should look glossy and noticeably thicker than when you started.
Dip a spoon into the curd and lift it out. The mixture should coat the back instead of immediately dripping away.
You can also run a finger through the curd on the spoon. If the line stays visible instead of immediately closing back up, it has thickened considerably.
If you use a thermometer, around 170°F (77°C) is a useful stovetop reference for this type of lemon curd. King Arthur Baking
Remember that the 170 g of butter and six egg components will help the filling firm up considerably once refrigerated.
Common Mistakes to Avoid
Using high heat: The eggs can scramble before the mixture thickens smoothly.
Stopping too early: Thin curd usually needs a little more gentle cooking.
Waiting until it is refrigerator-thick on the stove: The curd becomes much thicker after cooling.
Not whisking continuously: Egg mixture sitting against the hot bottom of the saucepan can cook unevenly.
Including white lemon pith: Zest only the yellow outer skin.
Skipping the strainer: Straining makes a noticeable difference when you want a smooth tart filling.
Adding extra lemon juice: The egg, sugar, juice, and butter quantities need to stay balanced for the curd to set correctly.
What to Serve With Lemon Curd
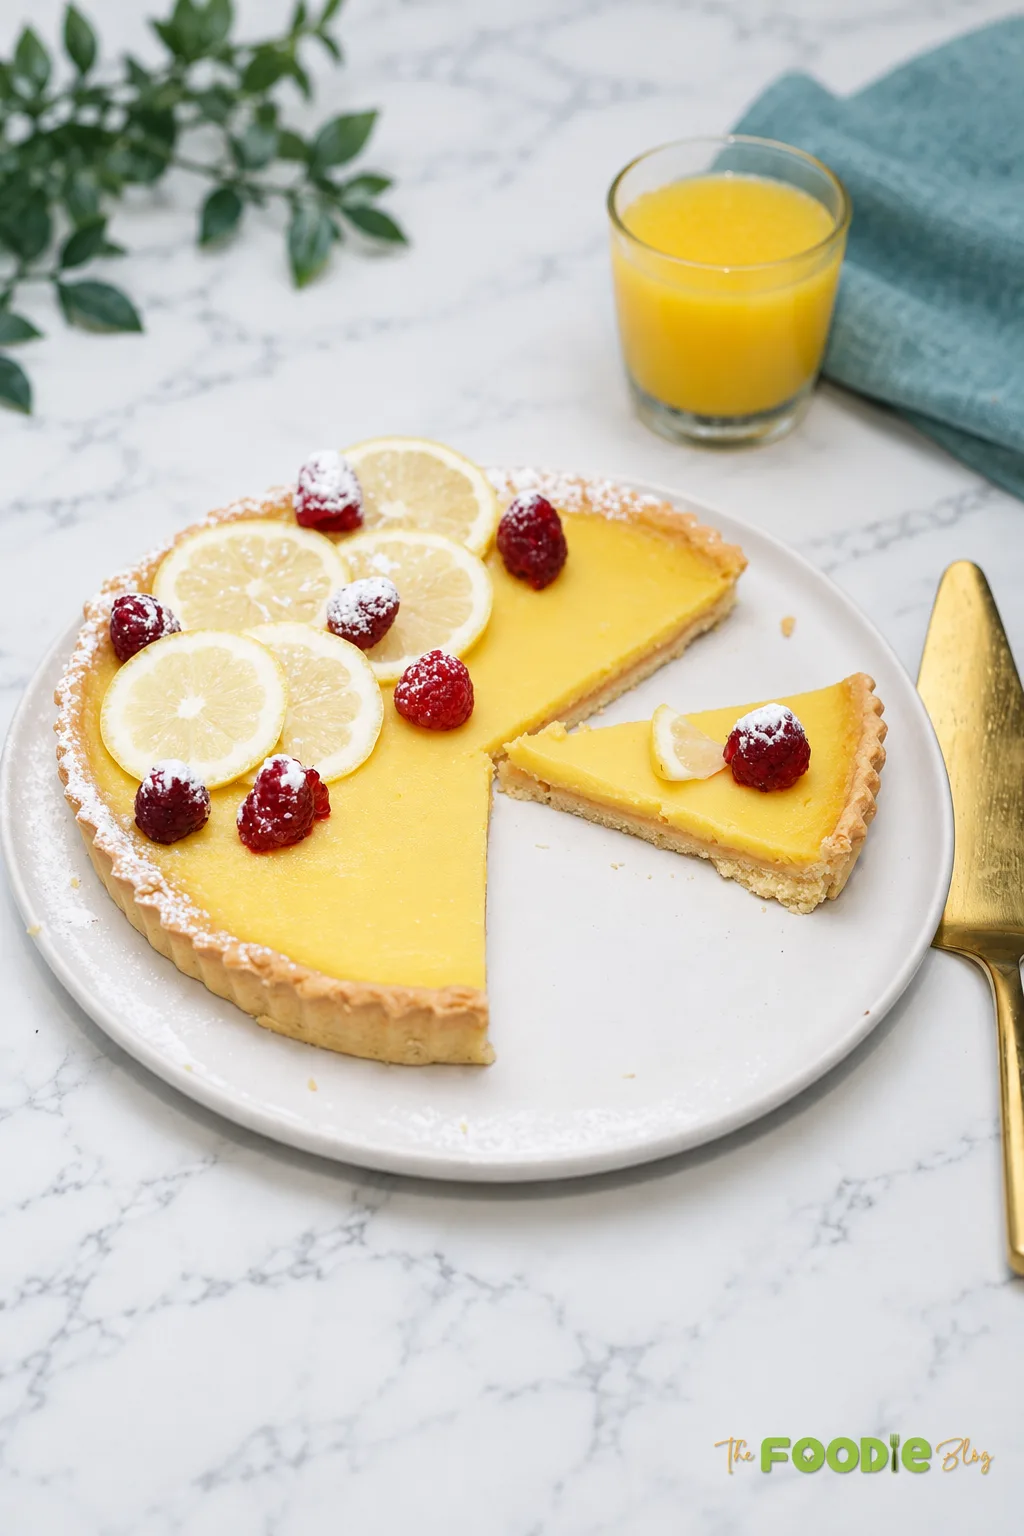
This lemon curd works especially well with prebaked tart shells, mini tartlets, scones, pancakes, waffles, cheesecake, pound cake, pavlova, yogurt, fresh berries, or vanilla ice cream.
For this particular formula, using it as a tart filling makes the most sense because it is richer and more custard-like than a thin lemon spread.
FAQs
Yes. This recipe is specifically thick enough to work as lemon tart filling once fully chilled.
King Arthur also notes that lemon curd works well in prebaked tart shells. King Arthur Baking
Combine lemon zest, juice, sugar, butter, whole eggs, and egg yolks in a saucepan.
Cook gently while whisking until thick and glossy, strain, then chill until fully set.
The heat may simply be too low or the curd may need several more minutes.
Keep whisking gently until it coats the back of a spoon.
The heat was probably too high, causing some of the egg to cook faster than the rest.
Immediately straining warm curd through a fine-mesh sieve can remove small cooked pieces.
Very high heat or uneven melting can cause the butter and egg mixture to separate.
Use low to medium-low heat and whisk continuously, particularly while the butter is melting.
More Recipes To Try
Lemon Curd Recipe for Tarts
Ingredients
Equipment
Method
- Add the lemon zest, lemon juice, sugar, butter, whole eggs, and egg yolks to a medium saucepan.
- Whisk to combine before placing the pan over the heat.
- Cook over low to medium-low heat, whisking constantly.
- Continue cooking until the butter is completely melted and the curd becomes smooth, glossy, and thick enough to coat the back of a spoon, approximately 6–10 minutes.
- Remove from the heat immediately.
- Pour the warm curd through a fine-mesh sieve into a clean bowl.
- Let cool for about 15–20 minutes.
- Cover the surface and refrigerate for approximately 2 hours, or until completely chilled and thickened.
- Stir gently before using as tart filling.
Nutrition
Video
Tried this recipe?
Let us know how it was!Estimated reading time: 6 minutes