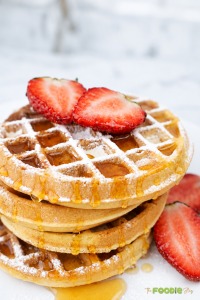
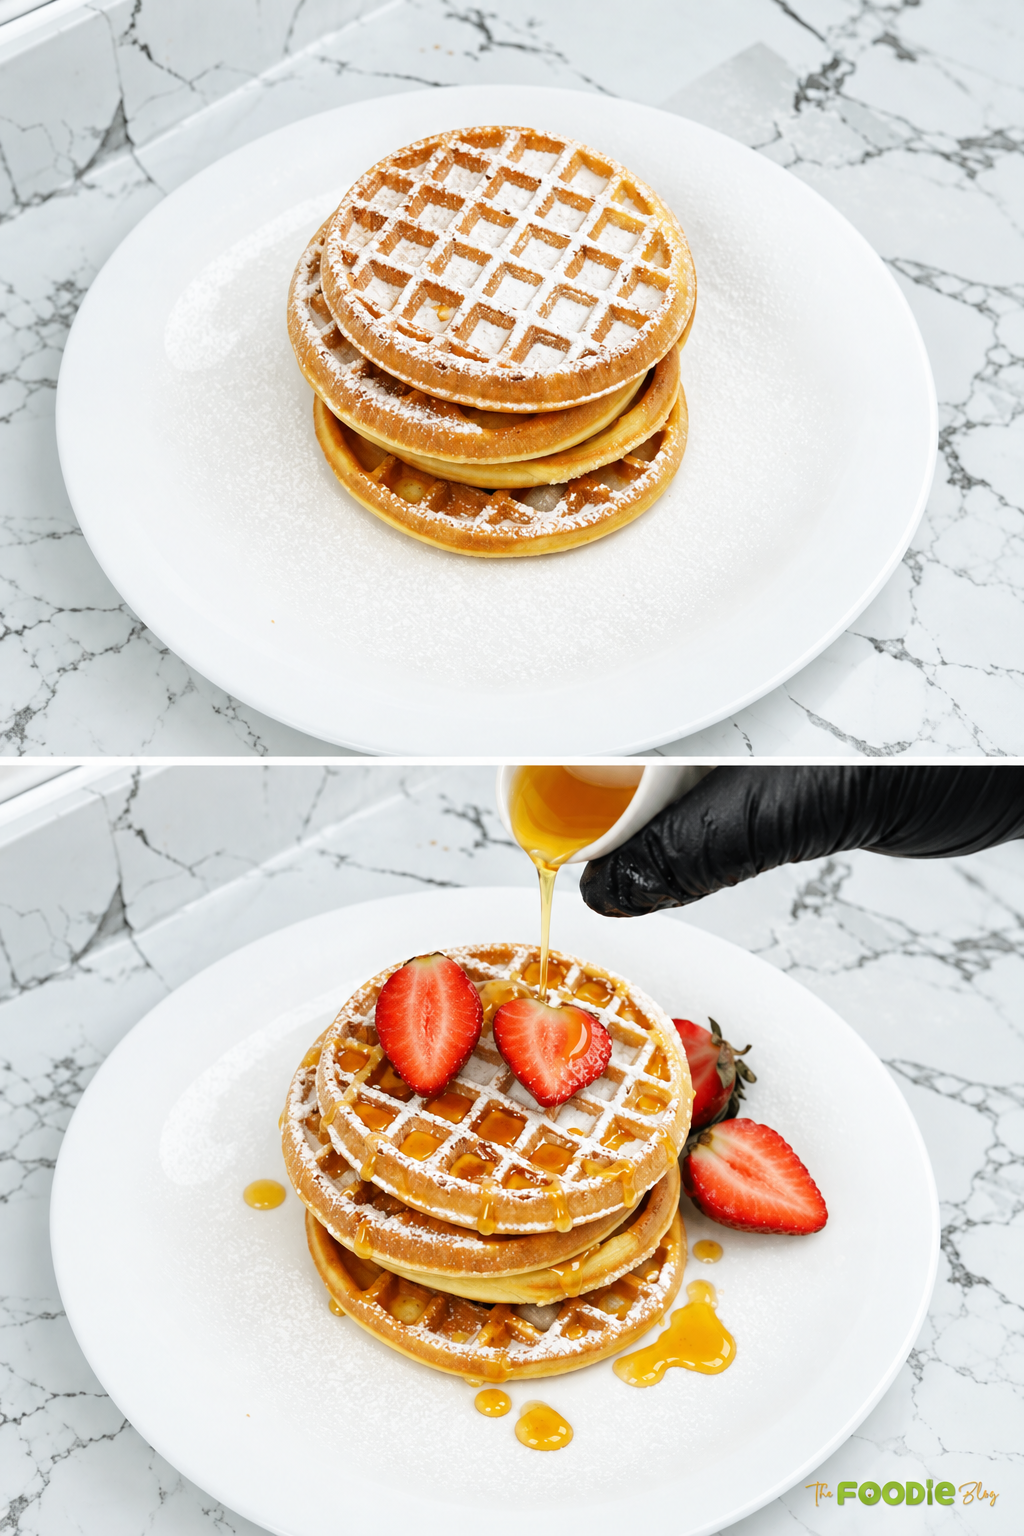
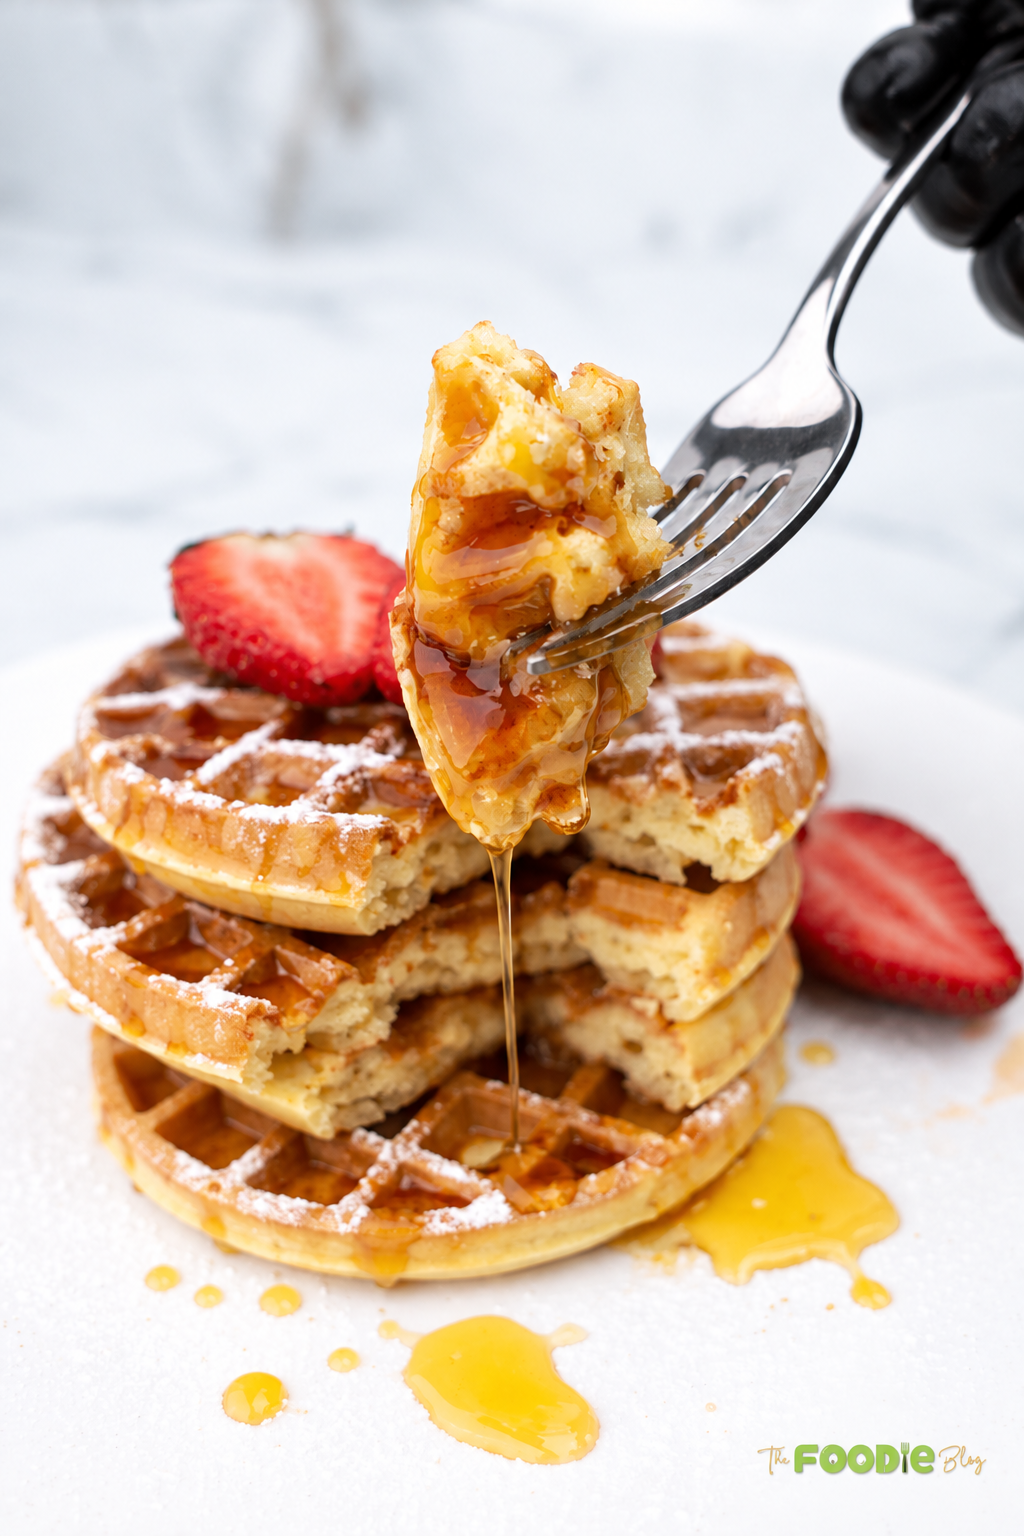
These Mini Waffles are crisp and golden on the outside, soft and tender inside, and made from scratch with simple pantry ingredients. The batter comes together quickly with flour, milk, eggs, vanilla, and melted butter, then cooks in a mini waffle maker until deeply golden.
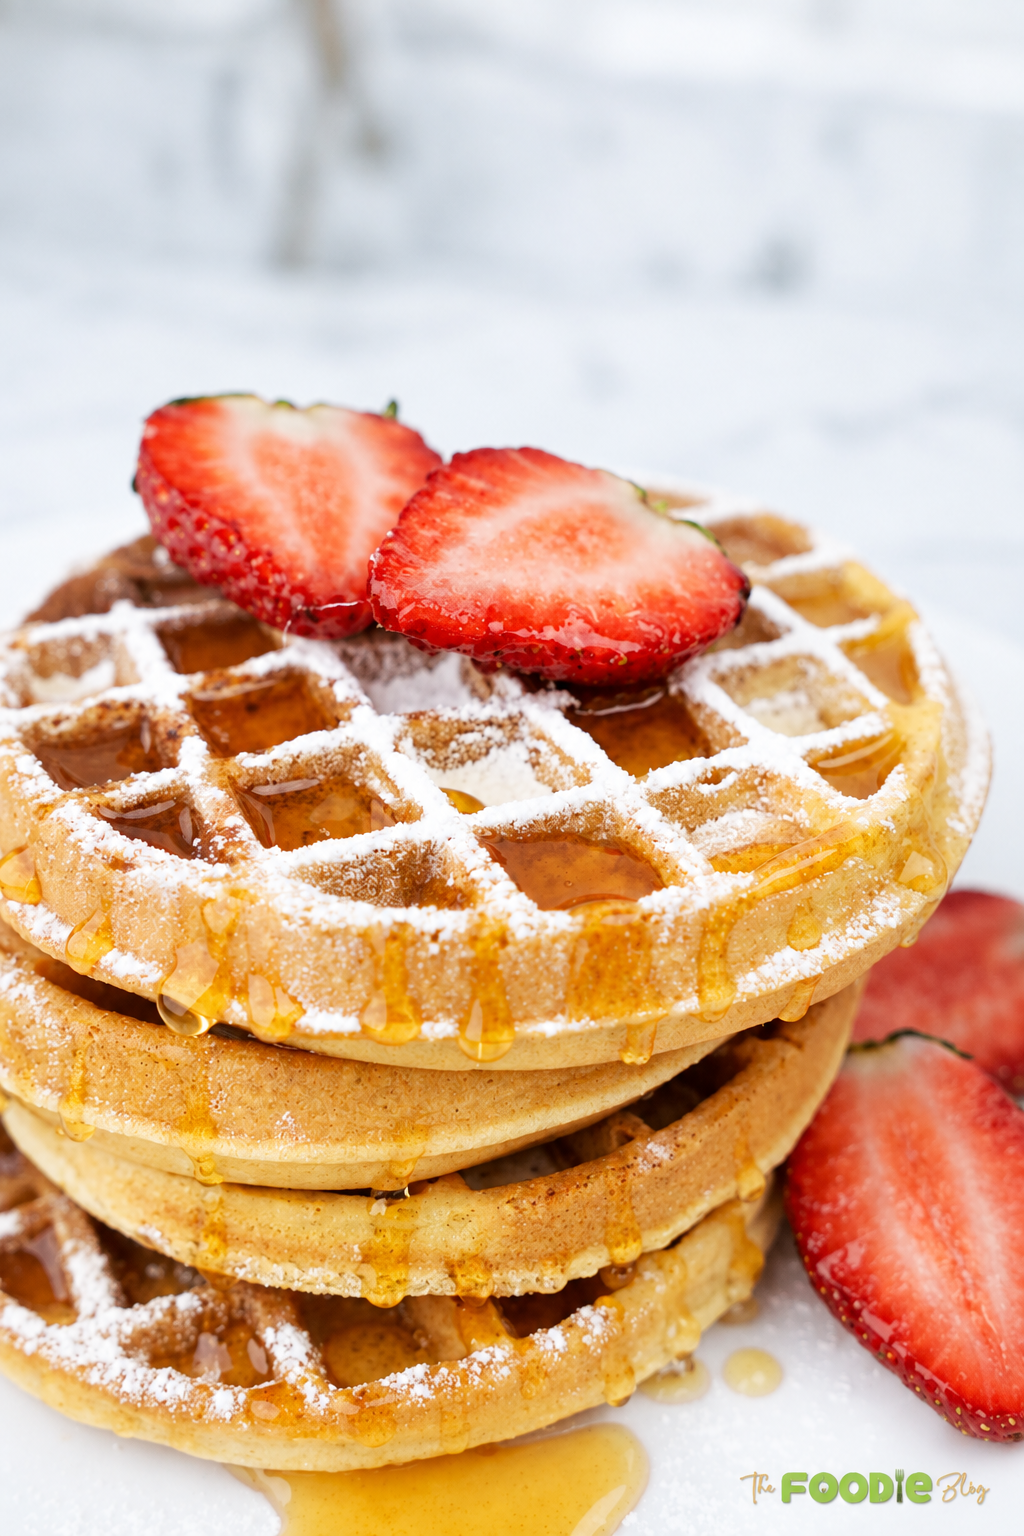
Tiny Waffles, Maximum Breakfast Energy. There is something about making waffles in miniature that immediately makes breakfast feel more fun.
Maybe it is the crispy little edges. Maybe it is the fact that stacking four mini waffles somehow feels completely reasonable. Either way, I am not questioning it.
These homemade mini waffles are rich with butter and vanilla, lightly sweet, and sturdy enough to hold plenty of maple syrup without turning into mush immediately. I let the batter rest briefly while the waffle maker heats, then cook each waffle until properly golden rather than pulling it out while it is still pale.
That extra color matters. King Arthur recommends letting waffles cook until the iron stops steaming and notes that finished waffles can be held in a 200°F oven to keep them warm and crisp while the rest of the batch cooks. King Arthur Baking’s waffle tips explain both techniques.
For a bigger weekend breakfast, add my Mini Cinnamon Muffins for something cinnamon-sugary alongside the waffles. If you want something you can prepare the night before, this Banana Chia Seed Pudding is another easy breakfast option.
And for a seriously cozy brunch, put Soft Cinnamon Rolls on the table and serve everything with mugs of Homemade Hot Chocolate.
Table of contents
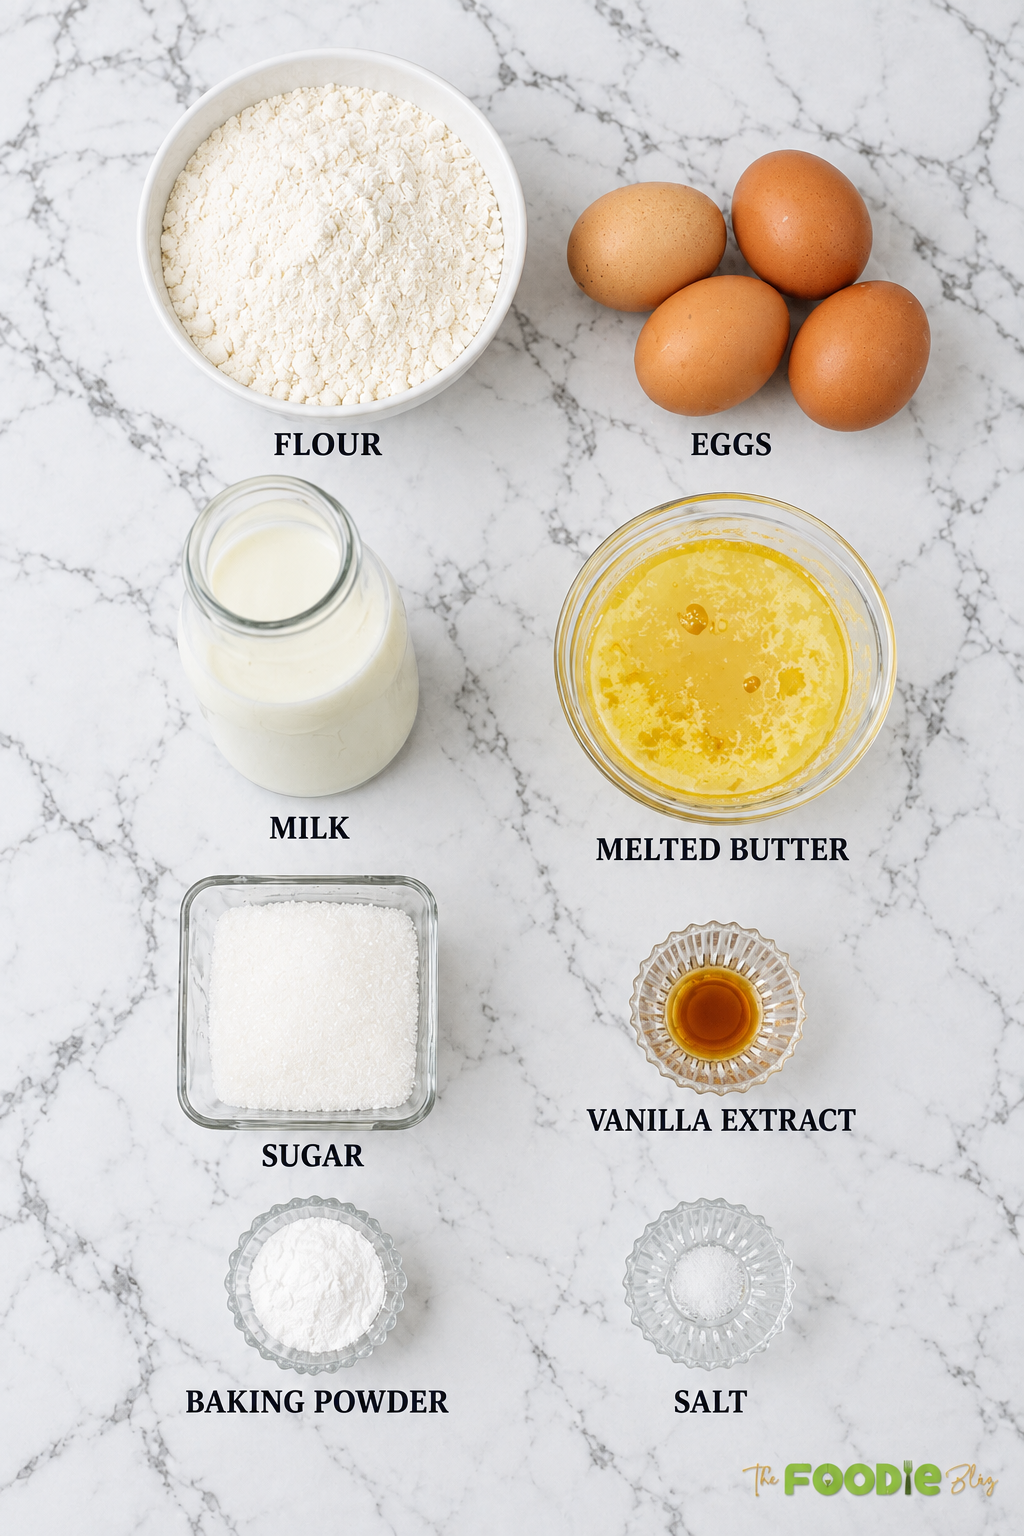
Ingredients
Let’s Make Mini Waffles
- Mix the dry ingredients. In a large bowl, stir the flour, sugar, baking powder and salt to combine evenly.
- Add the milk. Carefully pour in the milk and whisk until you have a smooth batter (a few little lumps are ok).
- Add eggs, vanilla, and butter. Whisk in the eggs and vanilla, then whisk in the melted butter until combined.
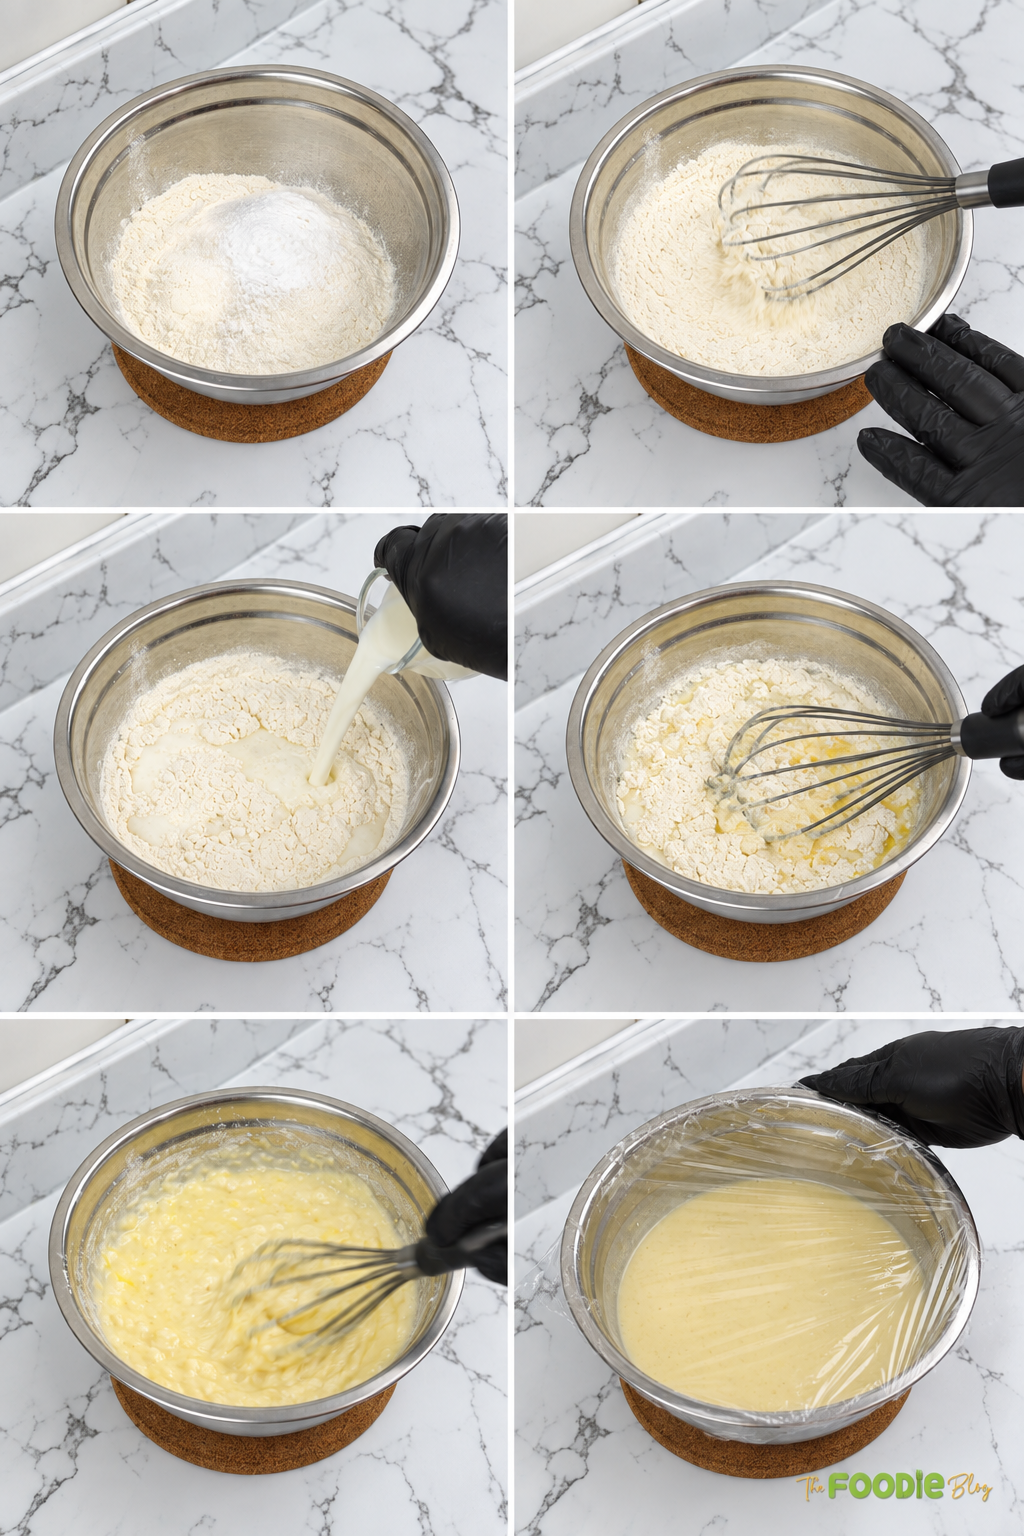
- Cover and allow the batter to sit for about 10 minutes.
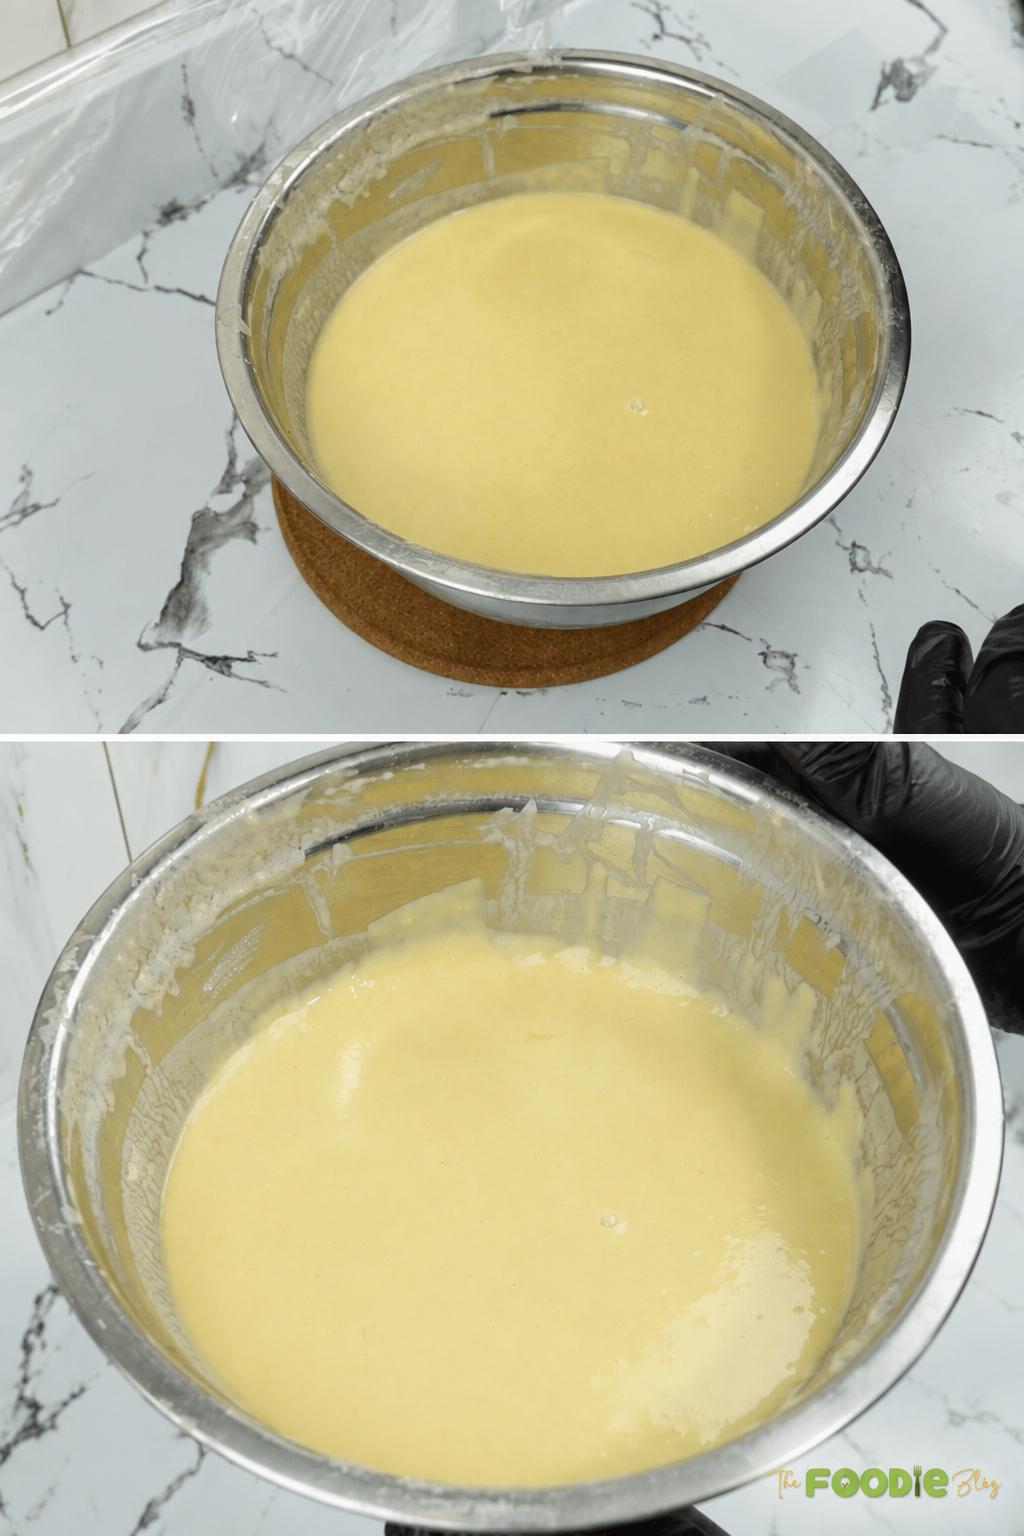
- Preheat the waffle maker fully before adding the batter. A hot waffle iron helps the batter start cooking immediately, giving the waffles better color, crisp edges, and a softer center.
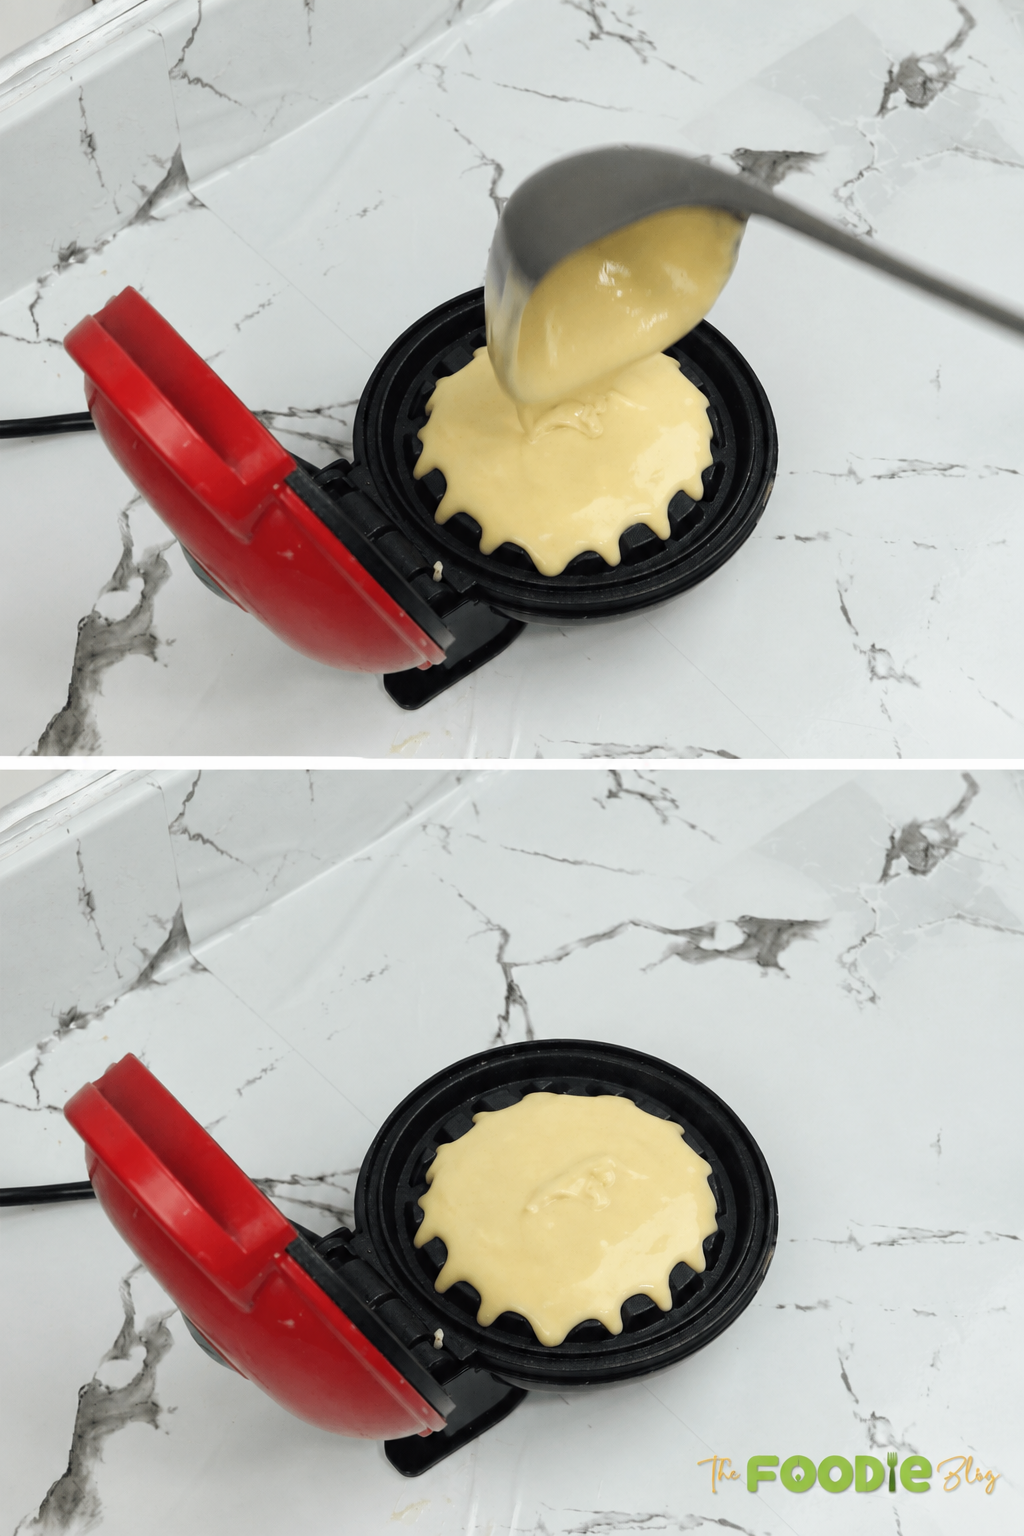
- Cook. Using a spoon, center the batter in each (don’t overfill).
- Close and cook until waffle is golden and firm.
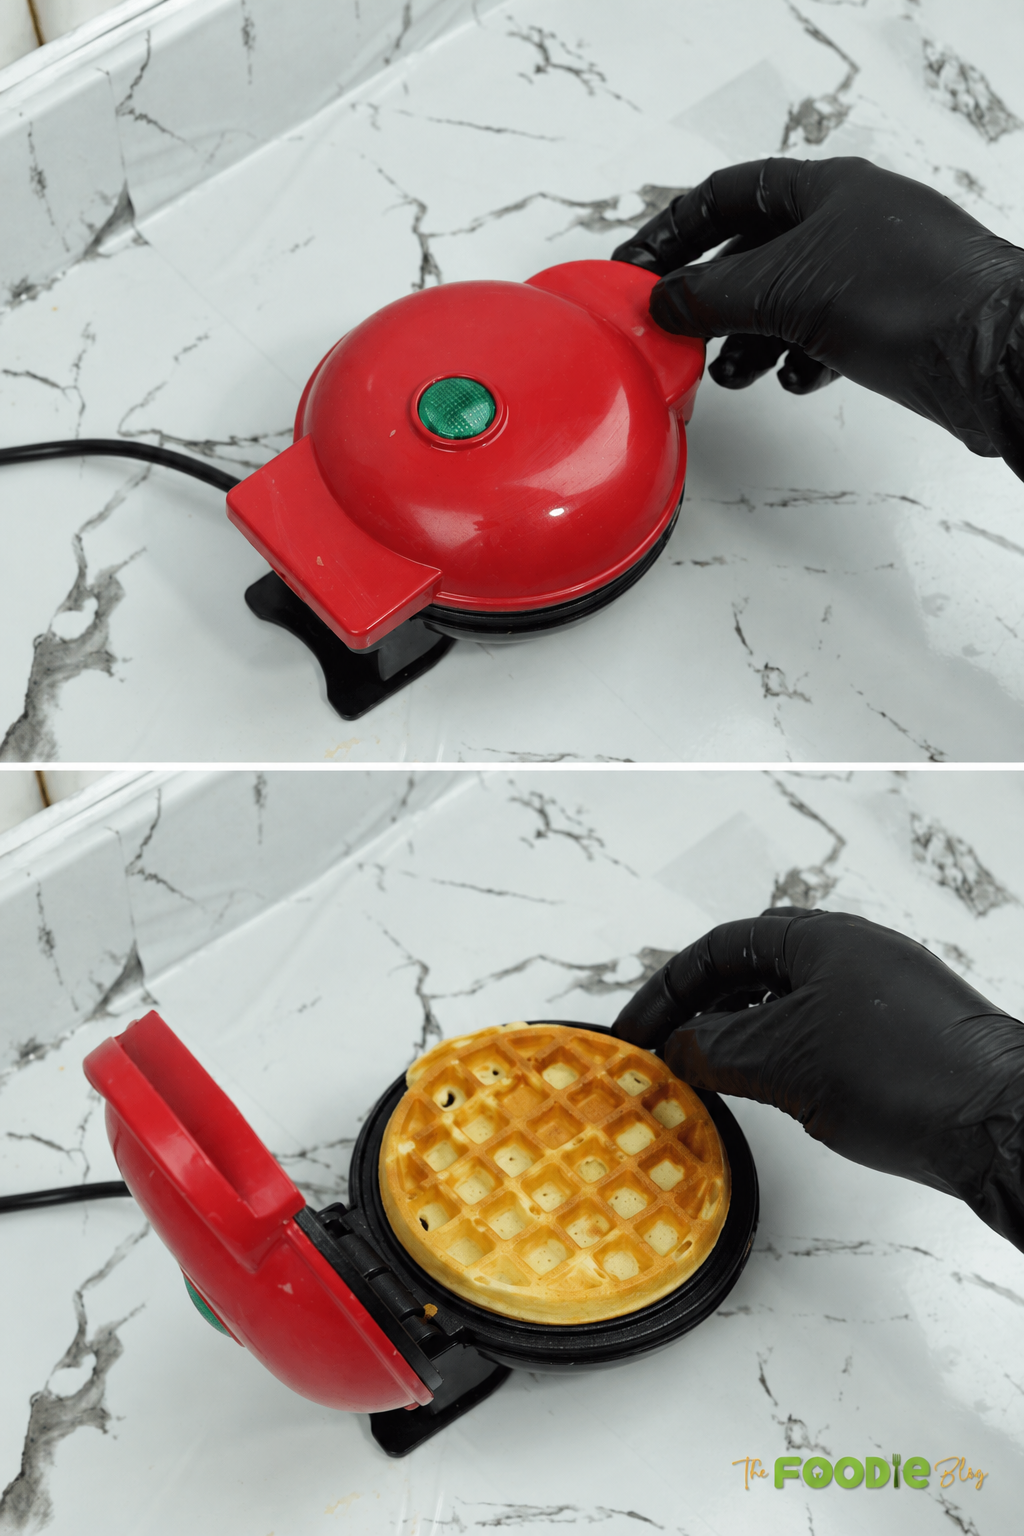
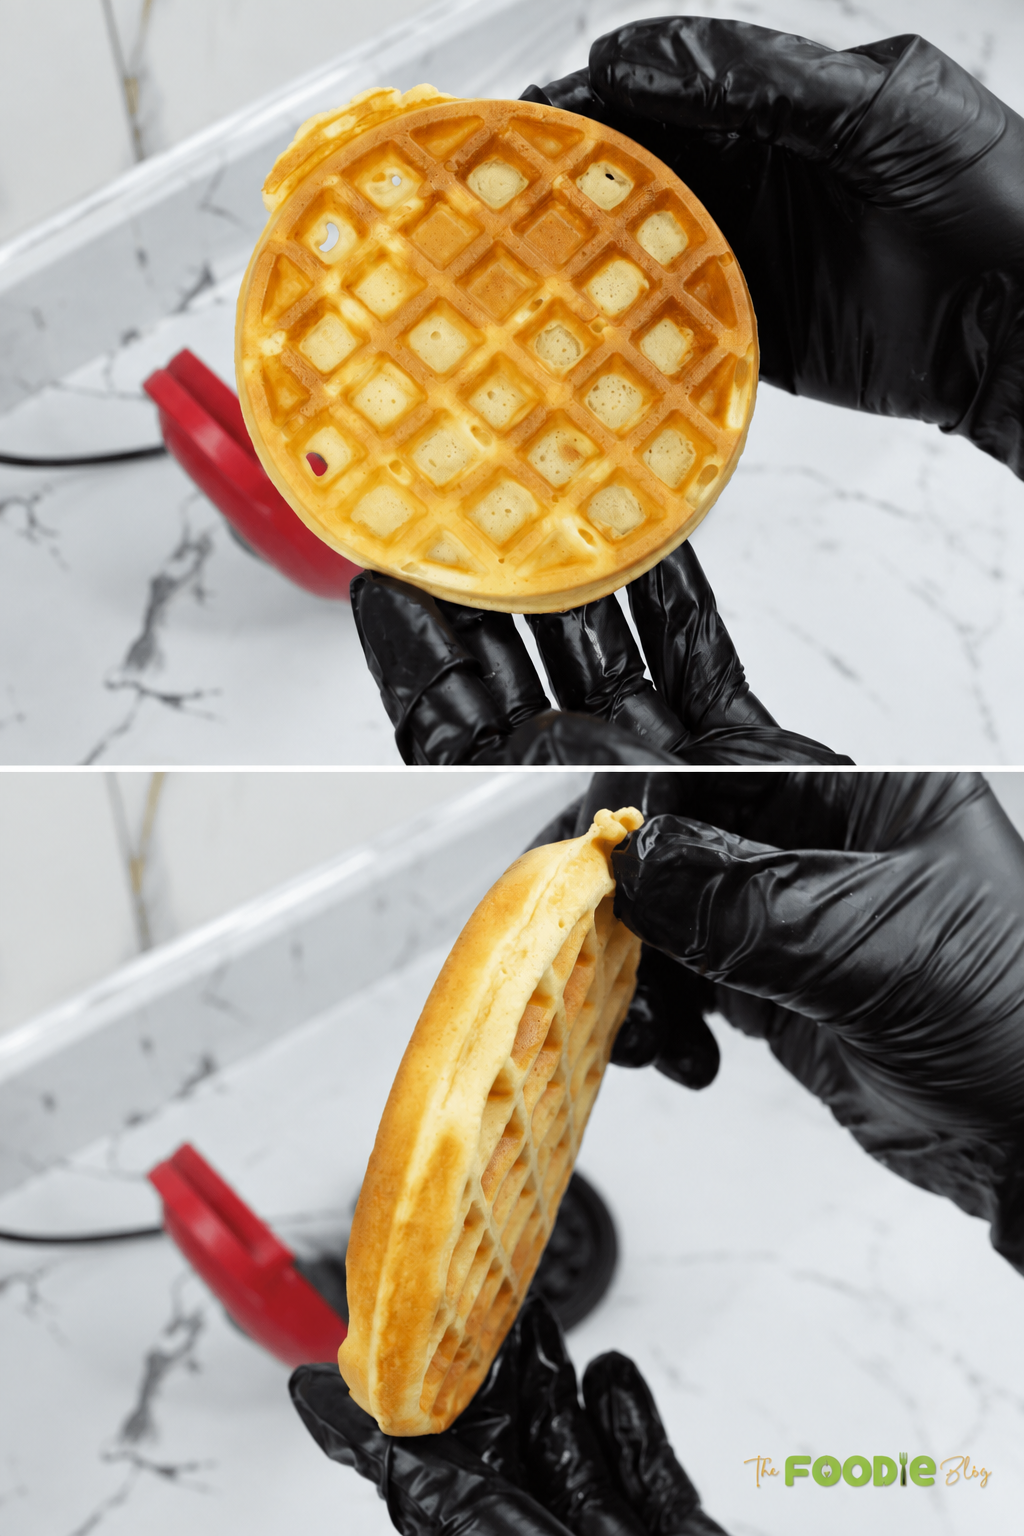
- Repeat. Transfer to a plate and repeat with the remaining batter.
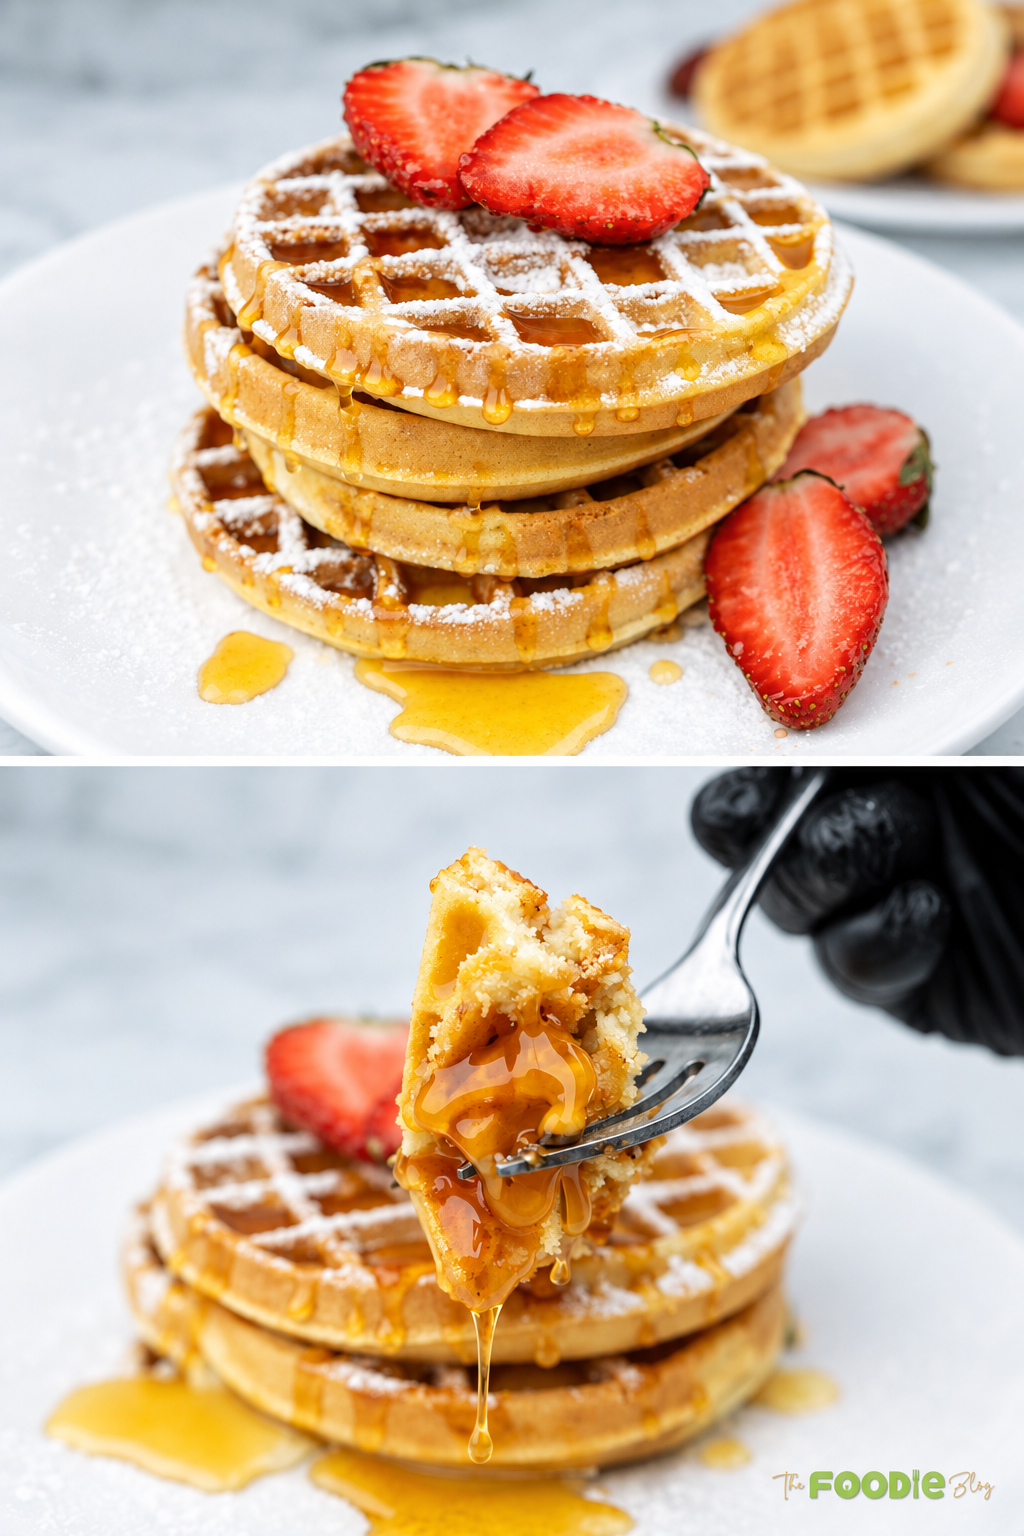
- Serve warm with powdered sugar, strawberries, and maple syrup.
Why These Mini Waffles Work
The batter is intentionally simple: flour provides structure, four eggs contribute richness, melted butter gives the waffles flavor and helps the exterior brown, and baking powder provides lift.
You also don’t need perfectly smooth batter. In fact, once flour is added, aggressive mixing isn’t helpful. King Arthur’s waffle recipes recommend mixing just until the wet and dry ingredients come together; a few small lumps are completely fine.
The other important part is heat.
A properly preheated waffle maker gives the batter an immediate hot surface to cook against. Then I leave each waffle alone until it is golden and releases easily instead of repeatedly opening the lid.
King Arthur gives a useful visual cue when your waffle maker doesn’t have a reliable timer: wait until steam has mostly stopped escaping before opening the iron.
Common Mistakes To Avoid
- Overmixing the waffle batter, which can make the mini waffles dense.
- Using a waffle iron that is not fully preheated.
- Adding too much batter, causing it to overflow.
- Skipping the grease or cooking spray if your waffle maker sticks.
- Opening the waffle maker too early before the waffles are set.
- Stacking the waffles while hot, which can make them soft instead of crisp.
- Serving them without letting them cool slightly if you want crisp edges.
What To Serve With Mini Waffles
Mini Waffles are delicious served with maple syrup, honey, butter, whipped cream, fresh berries, banana slices, or chocolate sauce. They also pair well with scrambled eggs, crispy bacon, yogurt, fruit salad, hot coffee, or a cozy brunch spread for breakfast, snacks, and lunchboxes.
FAQs
Yes — just use a larger amount of batter and cook them a little longer until fully golden.
For the crispiest results (this is especially good if reheating from frozen), a toaster or toaster oven.
Typical reasons are insufficient preheating or failing to grease a sticky waffle maker. You’ll want to make sure it’s really good and hot before adding the batter.
They should be golden and firm (if your waffle maker has a light/indicator, use it, then cook 30–60 seconds more for a deeper color if you are going for extra crispness).
Yes — resting allows the flour to hydrate and results in a smoother batter with better texture.
More Recipes You Will Like :
Mini Waffles – Quick & Easy Homemade Recipe
Ingredients
Equipment
Method
- In a large bowl, whisk together the flour, sugar, baking powder, and salt.
- Pour in the milk and whisk until mostly smooth.
- Whisk in the eggs and vanilla, then whisk in the melted butter until combined. Cover and rest the batter for about 10 minutes.
- Preheat a mini waffle maker until ready. Lightly grease if your waffle maker tends to stick.
- Spoon batter into the center, close, and cook until golden and set.
- Repeat with remaining batter.
- Serve warm with powdered sugar, strawberries, and maple syrup.
Nutrition
Video
Notes
- If your baking powder amount wasn’t measured, 1 tbsp (12 g) is a reliable starting point for this flour quantity.
- For crispier waffles, cook to a deeper golden color and avoid stacking while hot.
- To keep warm while cooking a batch, place waffles on a wire rack in a 200°F (95°C) oven.
- Milk: Whole milk is best, but 2% works.
- Butter: Let melted butter cool slightly before mixing in.
Tried this recipe?
Let us know how it was!Estimated reading time: 7 minutes