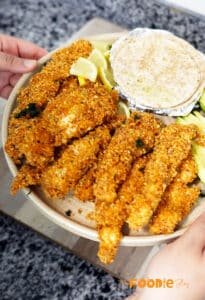
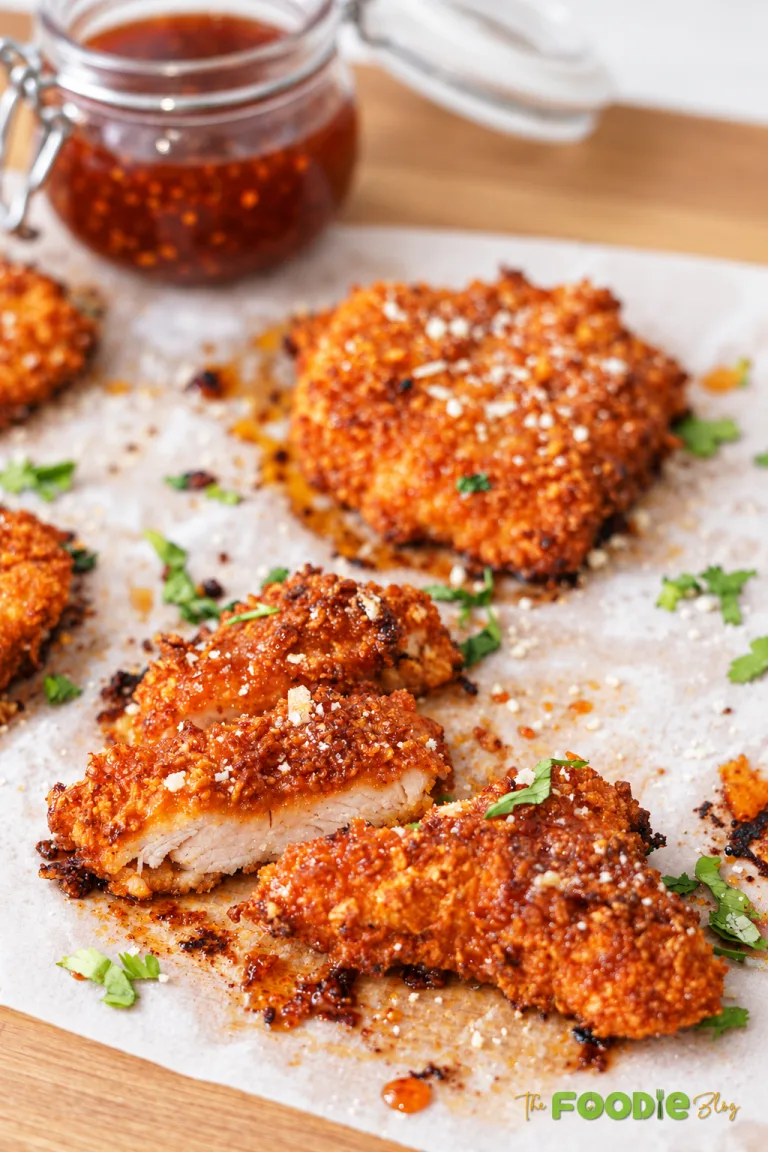
These Crunchy Chicken Strips are thin pieces of chicken coated in toasted, seasoned panko and baked until golden and crisp. The coating is flavored with cumin, paprika, garlic, onion, oregano, and optional cayenne for a warm, smoky finish.

Unlike traditional fried chicken strips, these are baked on a wire rack after the panko has already been toasted. This gives the breadcrumbs an even golden color without leaving the chicken in the oven long enough to become dry.
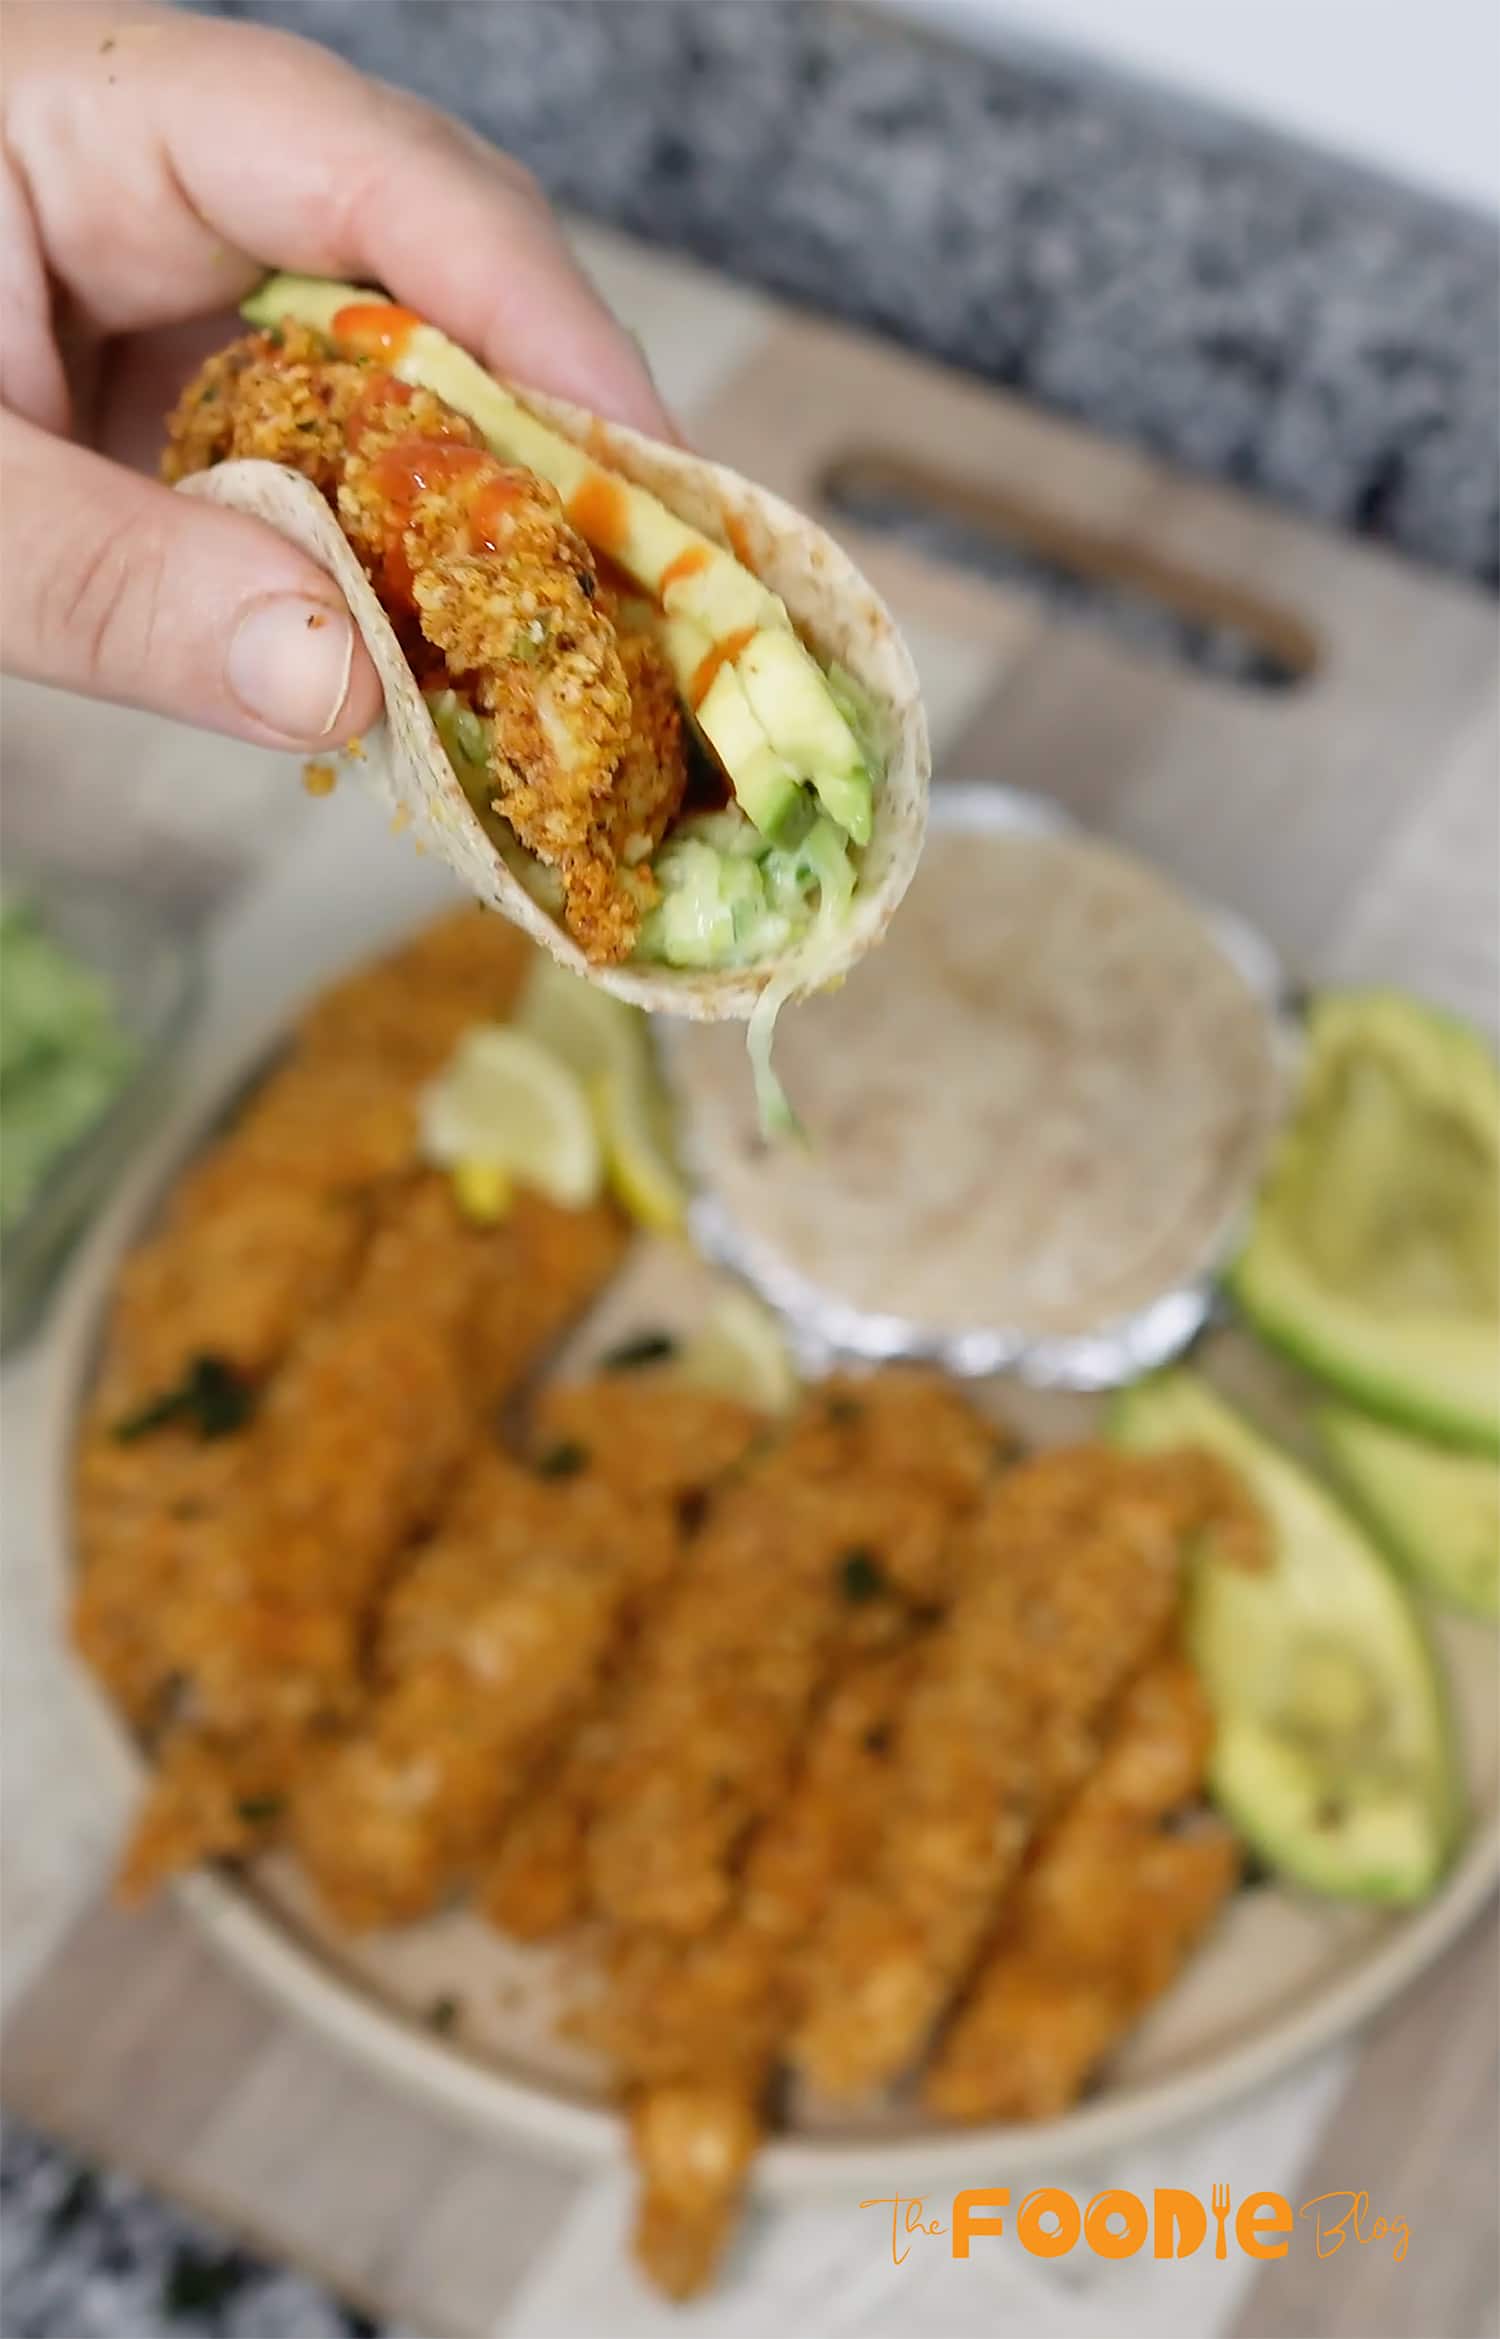
The thin strips fit neatly inside small flour tortillas with avocado, lettuce, salsa, and a creamy sauce. They can also be served as chicken fingers with lemon wedges, rice, salad, or your favorite dip.
For another easy tortilla meal, try my Chicken Quesadilla Recipe with seasoned chicken, vegetables, corn, and melted cheese. You can also browse my Easy Chicken Recipes for Dinner for more family meal ideas.
Table of contents
Let’s Make Crunchy Chicken Strips
Season and Toast the Panko
Preheat the oven to 400°F (200°C). Place the panko in a bowl and mix it with the cumin, paprika, garlic powder, onion powder, oregano, cayenne, and salt.
Spread the mixture evenly on a rimmed baking sheet. Spray it lightly but evenly with olive oil, stirring so the oil reaches as many crumbs as possible.
Bake for about 7 minutes, stirring once halfway through, until the crumbs are lightly golden. Transfer them to a wide, shallow dish and keep the oven at 400°F.

Prepare the Dredge Batter
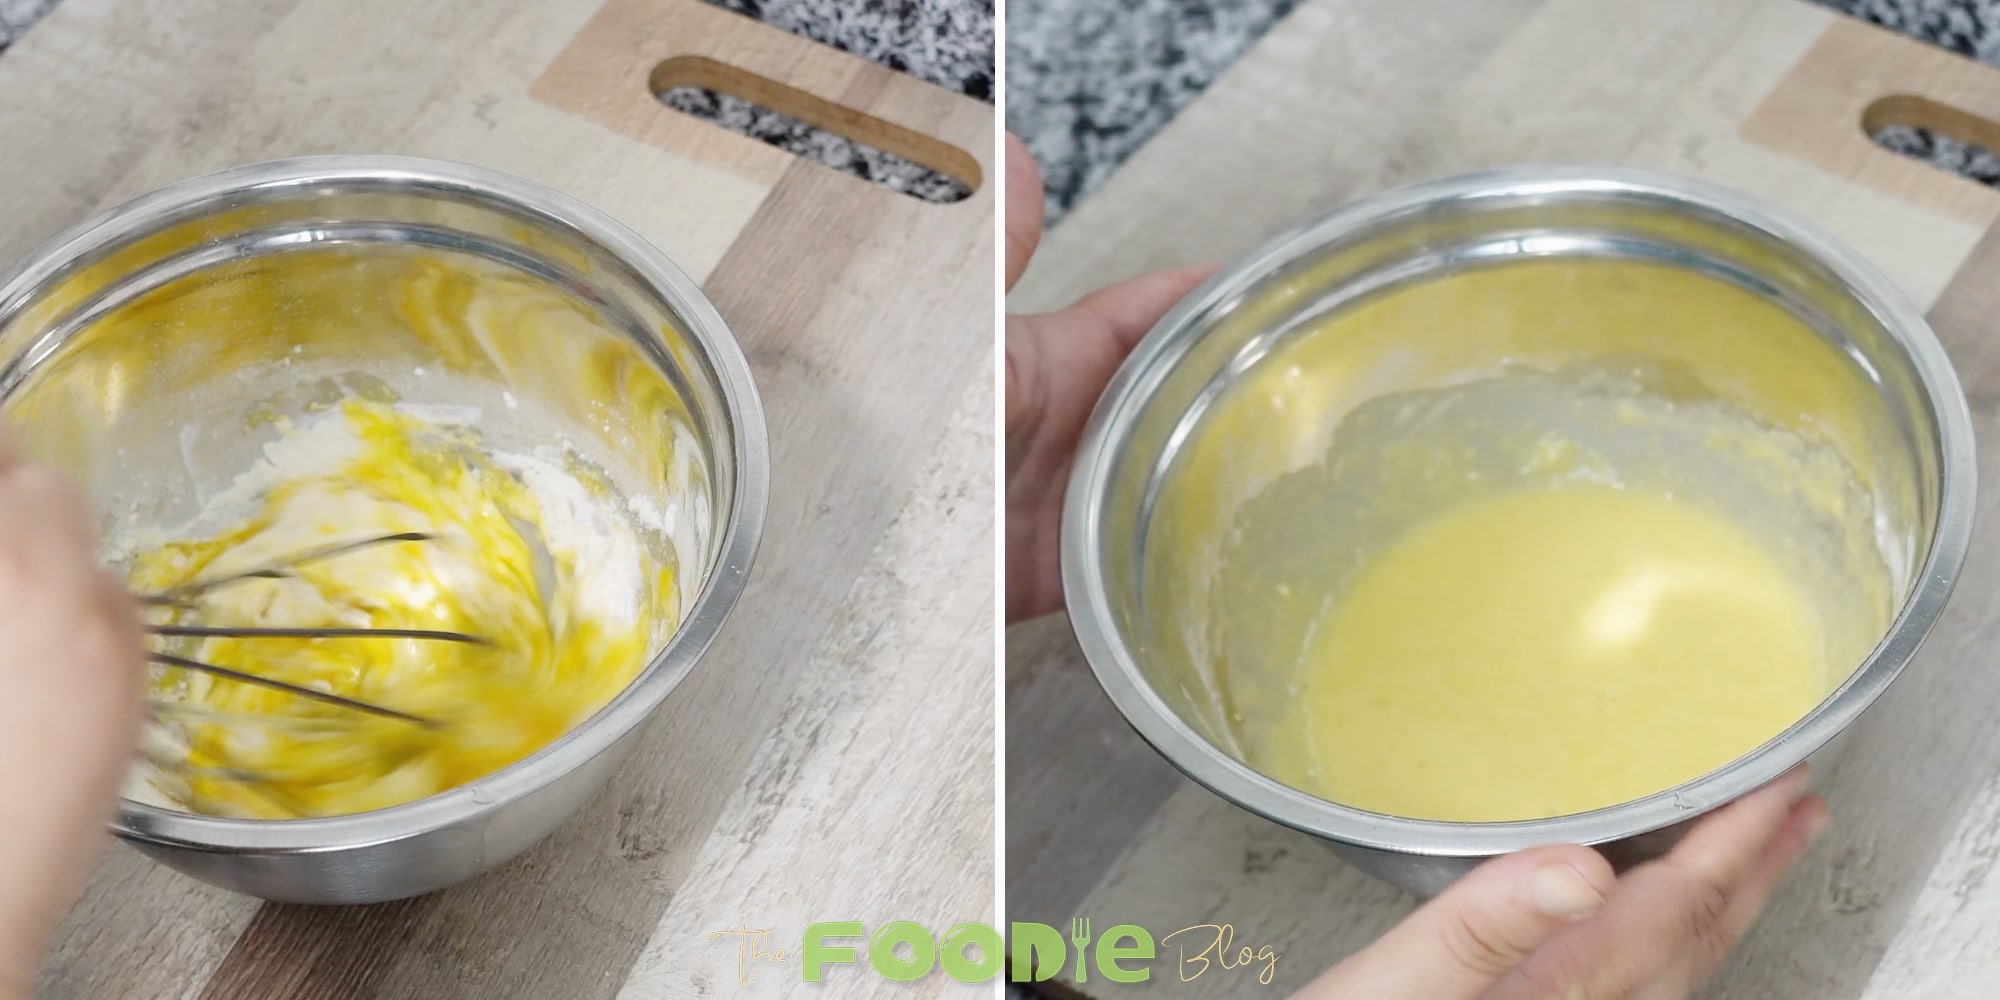
Add the eggs, flour, mayonnaise, and ¼ teaspoon salt to a medium bowl. Whisk until the flour is fully incorporated and no dry lumps remain.
The mixture may look thick at first, but it will become smoother as you whisk. It should be thick enough to coat the chicken without sliding off immediately.
Cut the Chicken into Thin Strips
Pat the chicken dry with paper towels. Slice each tenderloin in half lengthwise to make approximately 16 long, thin strips.
Try to keep the pieces close to the same thickness so they finish cooking at the same time. Remove any thick, tough tendon that is easy to reach.

Batter and Bread the Chicken
Place all the sliced chicken into the egg mixture and toss until every piece is coated.
Lift one strip from the batter and allow the excess to drip back into the bowl. Place it in the toasted panko, cover it with crumbs, and press gently so the coating adheres on every side.
Repeat with the remaining chicken. Using one hand for the wet batter and the other for the breadcrumbs helps prevent the coating from clumping on your fingers.

Bake Until Crisp and Cooked Through
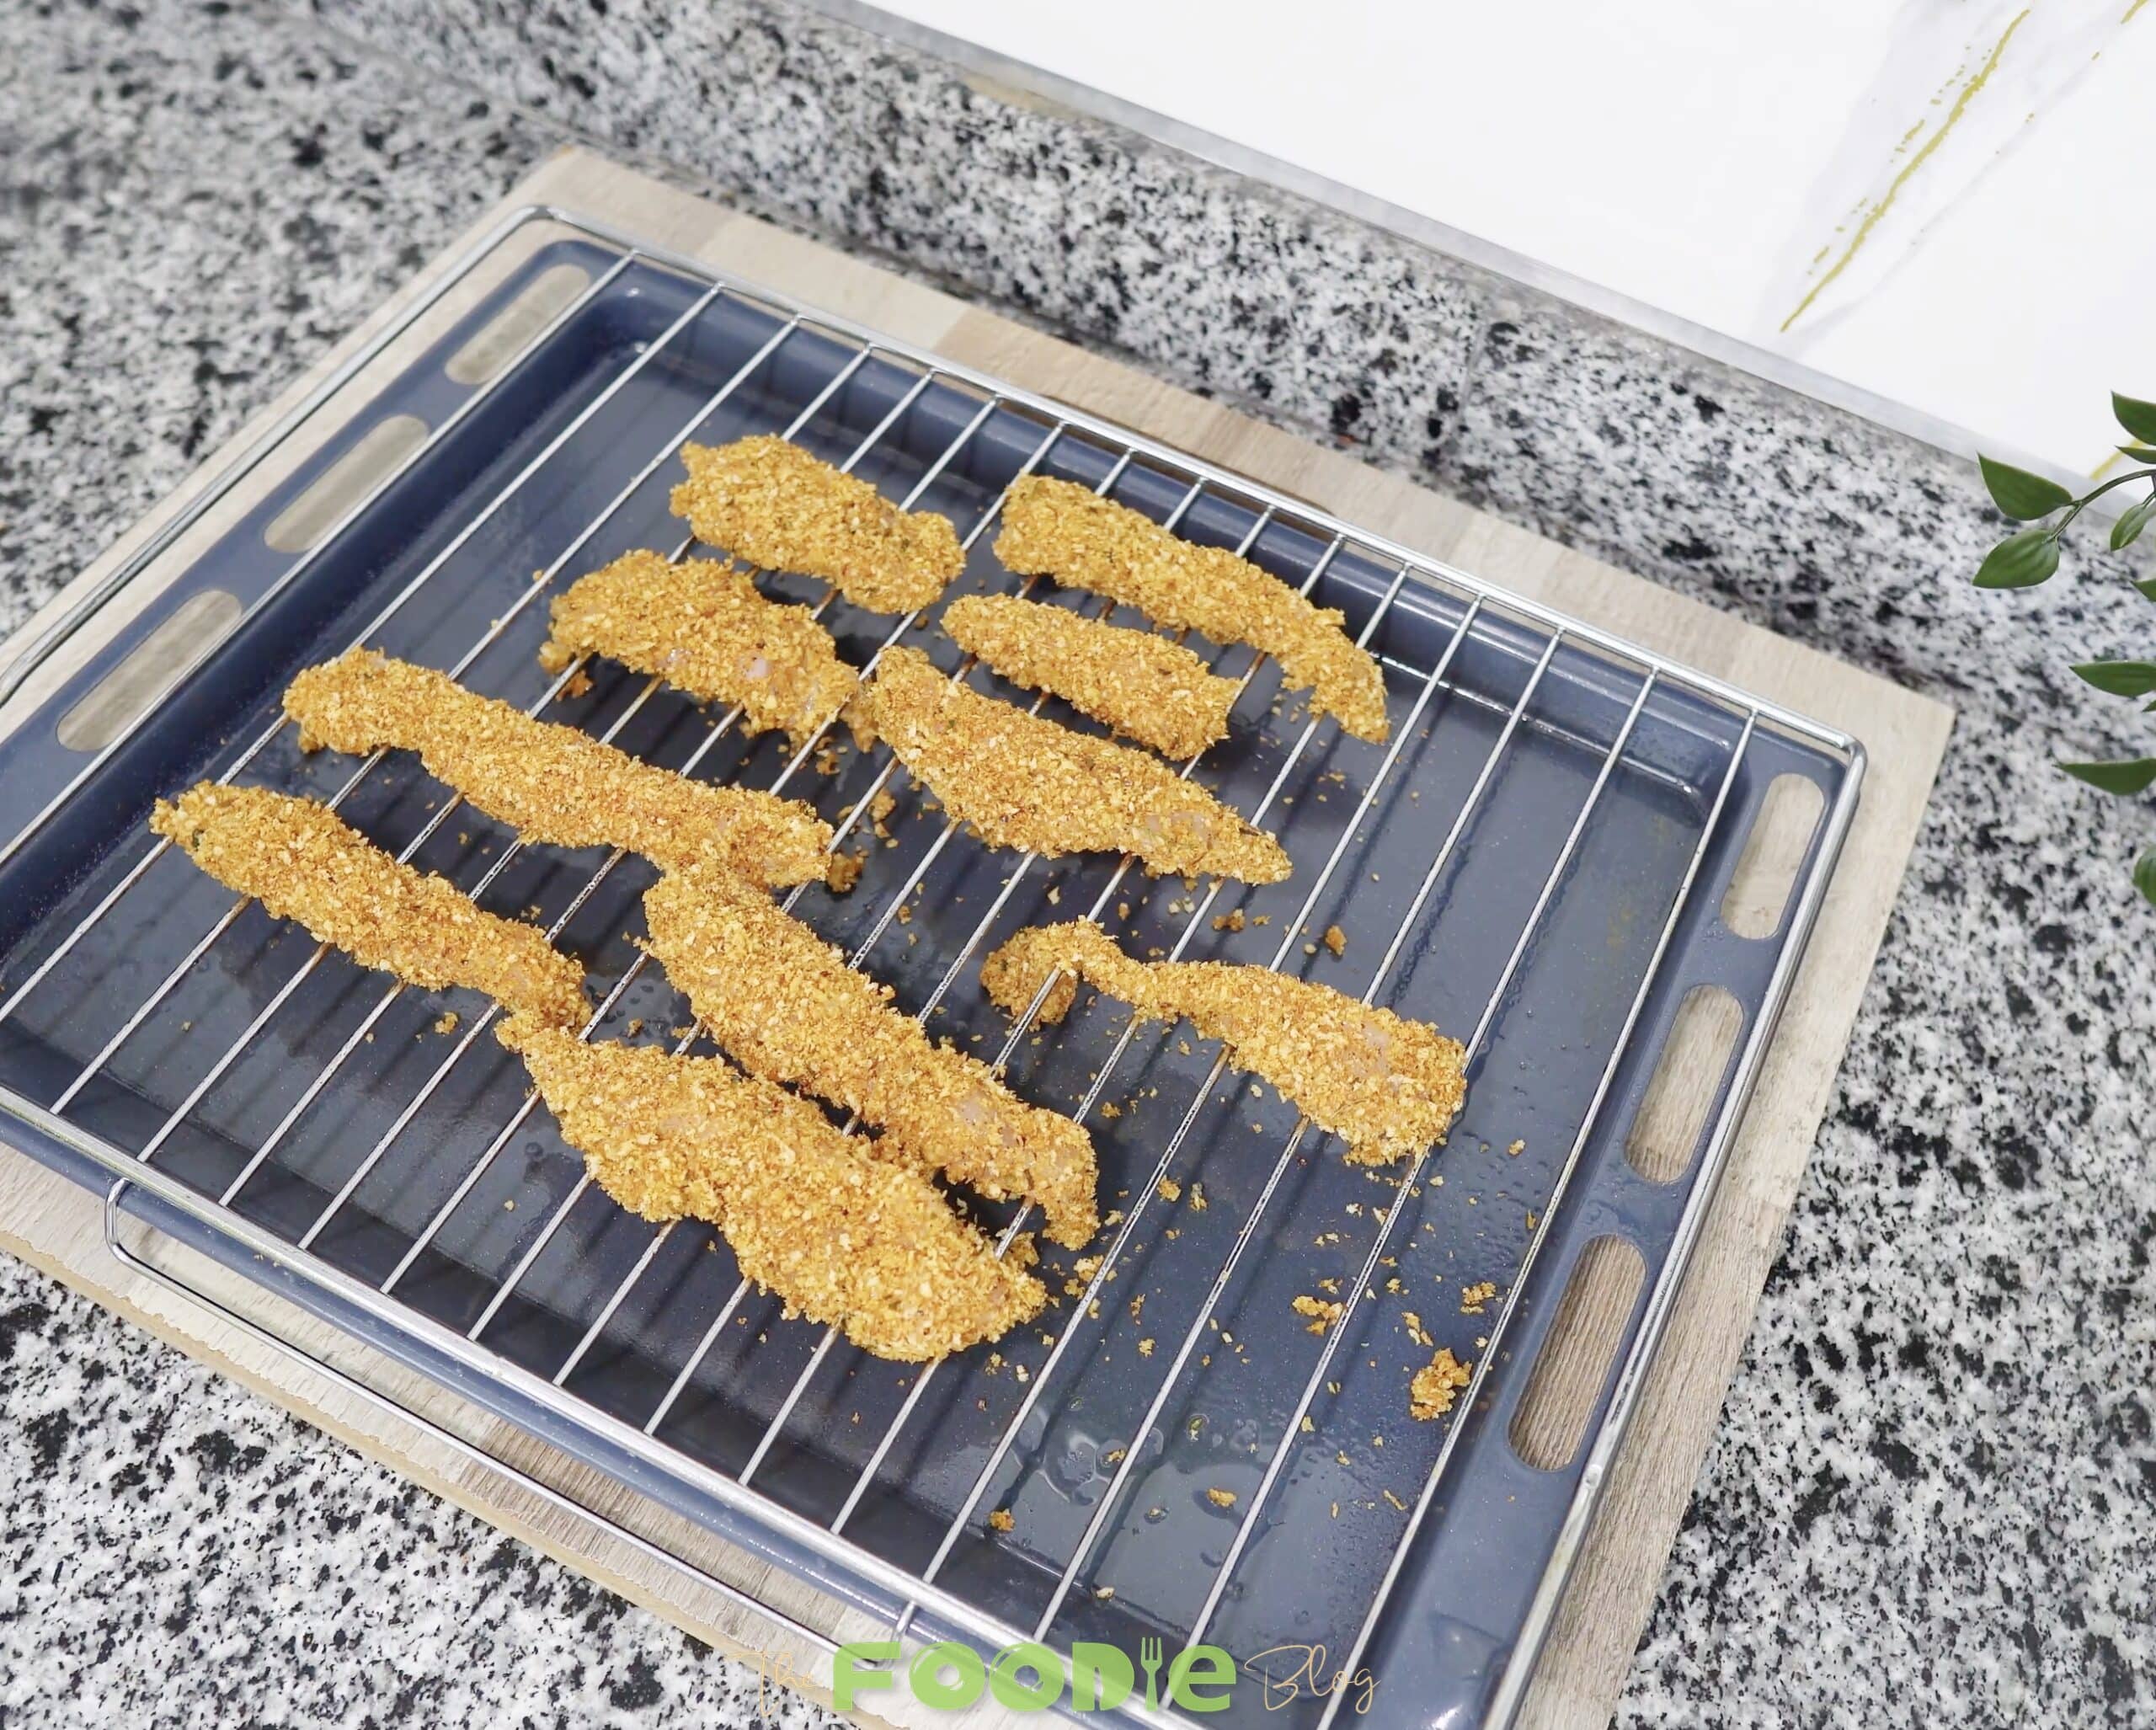
Bake the coated chicken on a wire rack set over a baking sheet. This lifts the chicken so hot air can circulate underneath and helps keep the bottom from turning soft.
Set an oven-safe wire rack over the baking sheet and lightly spray the rack with oil. Arrange the coated chicken in a single layer, leaving a little room between each strip.
Spray the tops evenly with olive oil. Bake for 10 to 12 minutes, depending on thickness, until the coating is crisp and the chicken reaches 165°F (74°C) in the thickest part. Use a food thermometer instead of relying only on color.
Important Doneness Detail
Avoid extending the baking time simply to make the coating darker. The panko is already toasted, and overbaking thin chicken strips can quickly dry out the meat.
The chicken should reach 165°F (74°C). Use the thermometer rather than relying only on the interior color. FoodSafety.gov lists 165°F as the safe minimum internal temperature for poultry.
Rest and Serve
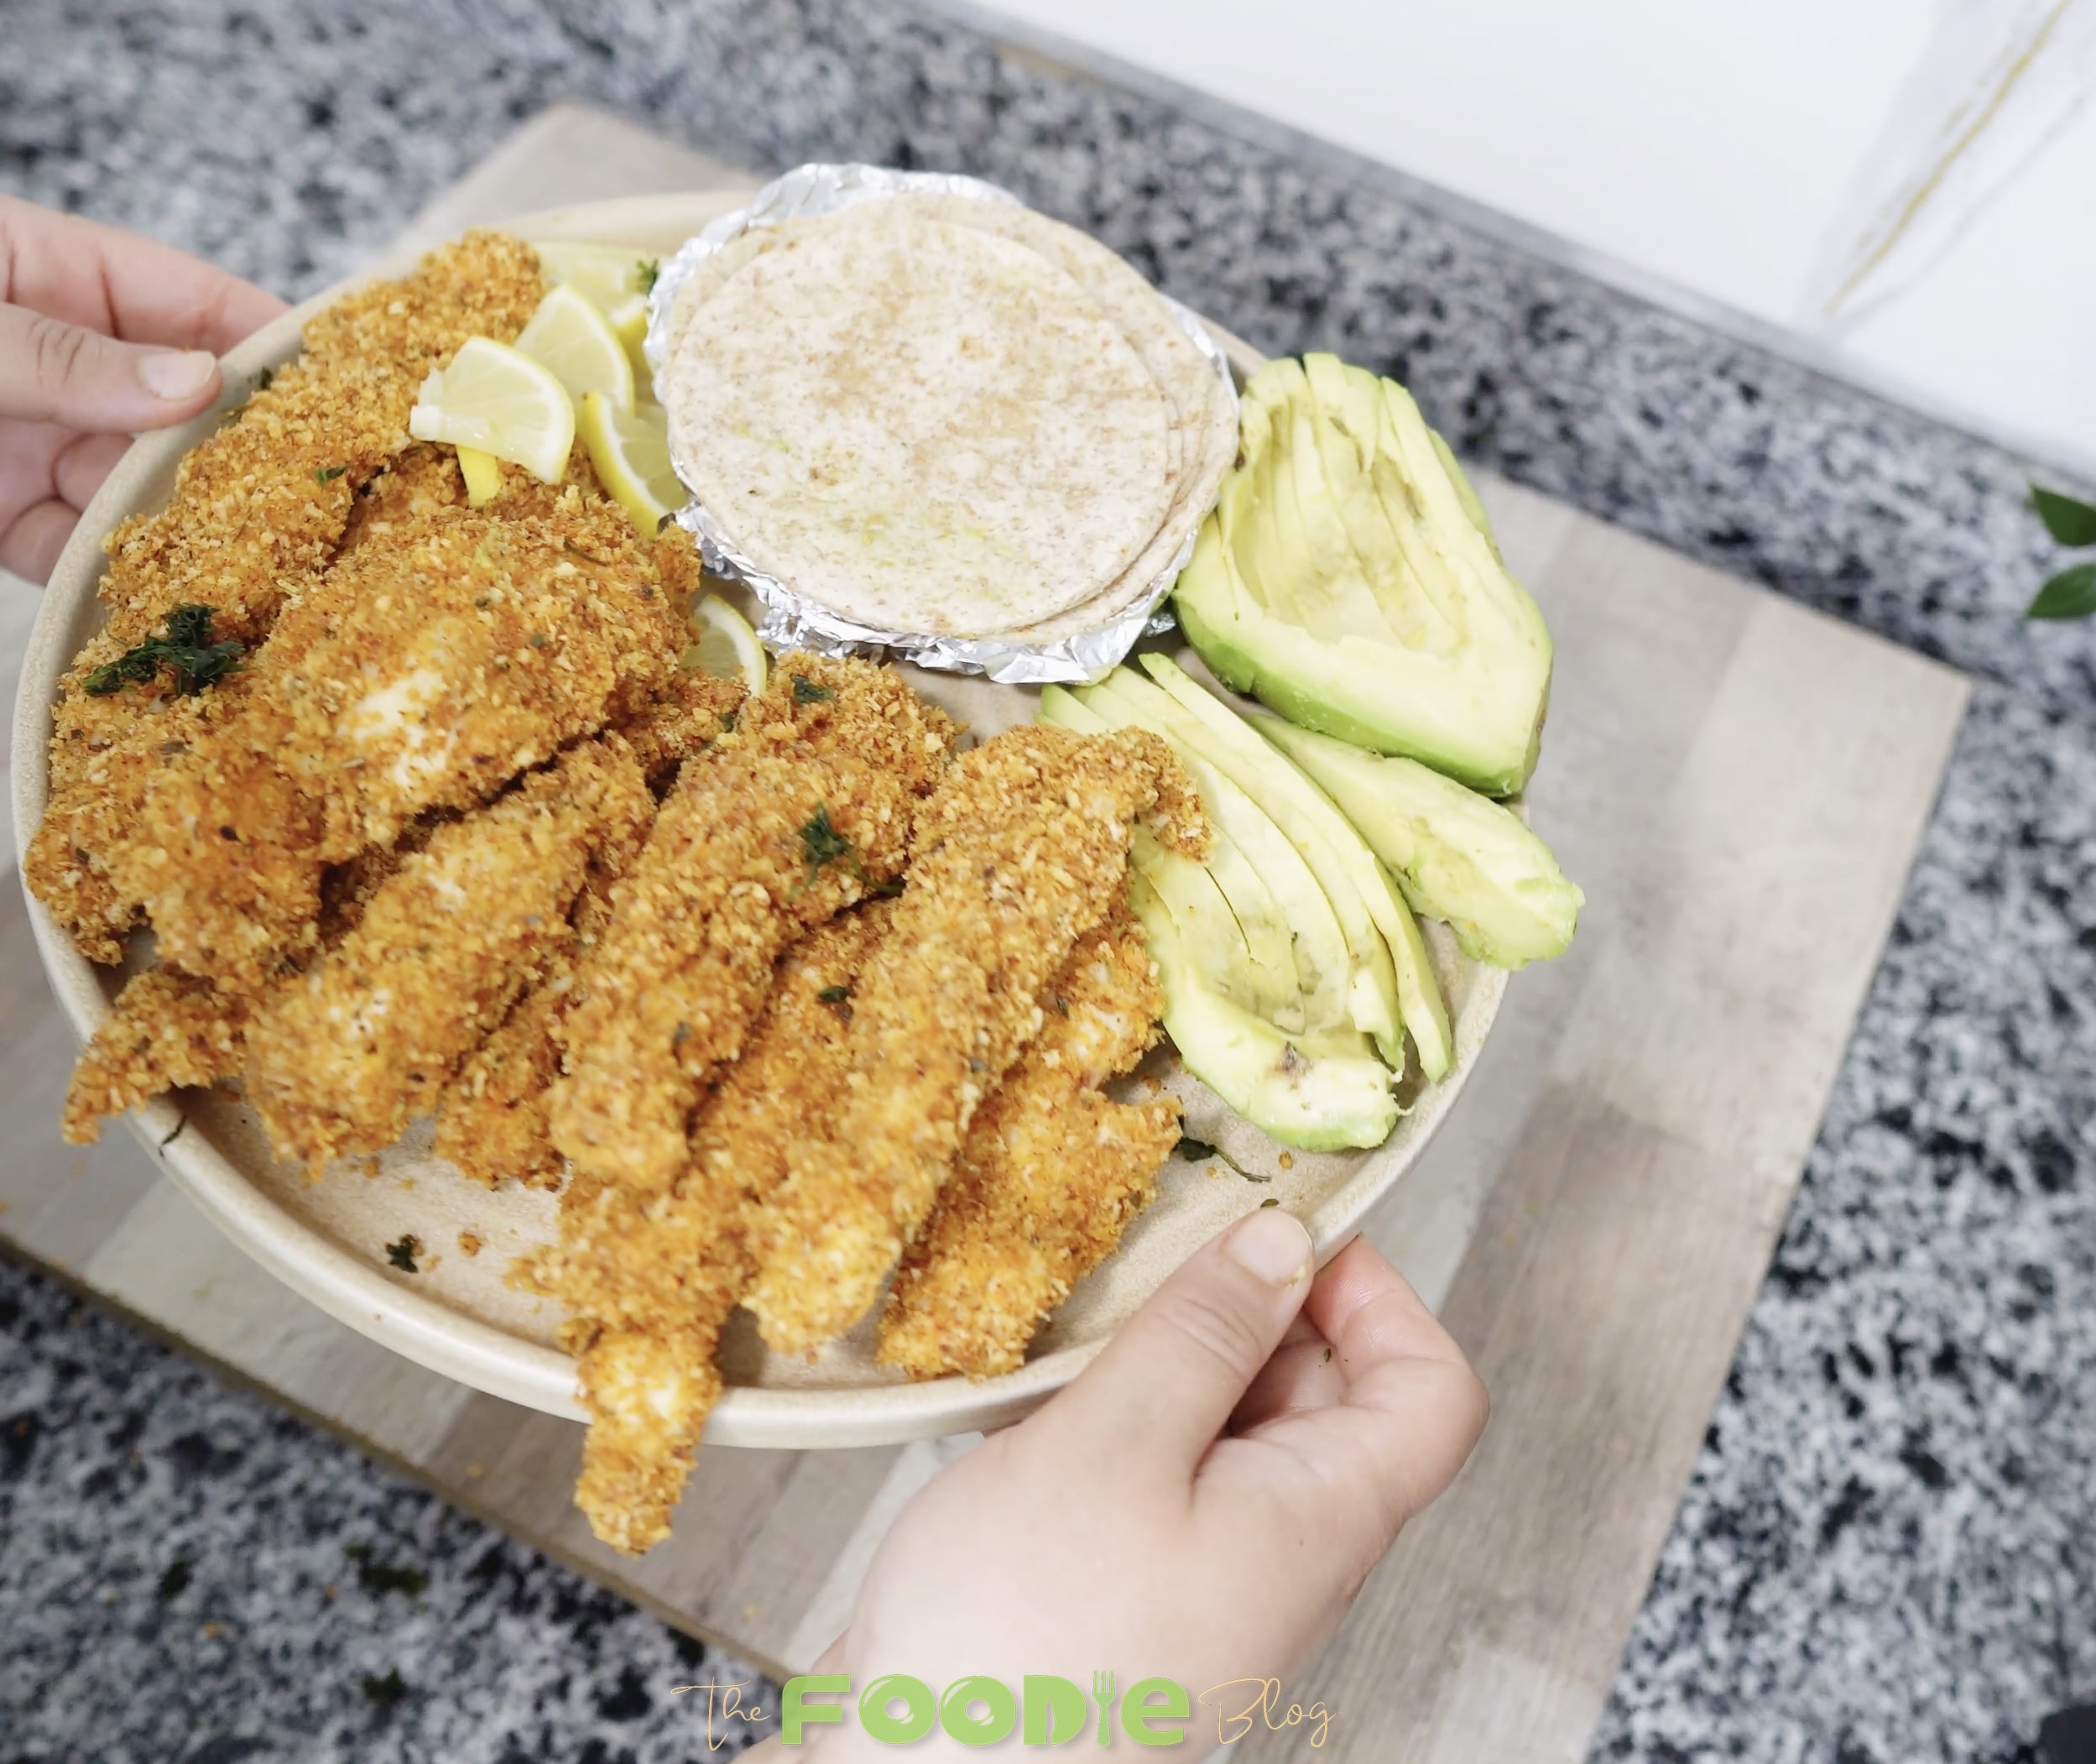
Let the strips rest for 2 to 3 minutes after baking. Serve them immediately with lemon wedges and avocado.
For tacos, warm the tortillas in the oven during the final few minutes of cooking. Fill each tortilla with sliced avocado, lettuce or slaw, one chicken strip, and your preferred sauce.
For a more filling dinner, serve the crunchy chicken strips with Garlic Butter Rice, avocado, lemon wedges, and your favorite creamy sauce.
How to Reheat Crunchy Chicken Strips
Reheat the strips in an oven or air fryer in a single layer.
The microwave warms the chicken but usually leaves the panko softer.
Common Mistakes To Avoid
- Cutting the chicken strips into uneven sizes.
- Skipping the step of toasting the panko before coating.
- Using wet chicken without patting it dry first.
- Not pressing the panko coating firmly onto the chicken.
- Crowding the baking sheet, which can make the strips less crispy.
- Baking directly on a flat tray instead of using a wire rack.
- Overbaking the chicken, which can make it dry.
What To Serve With Crunchy Chicken Strips
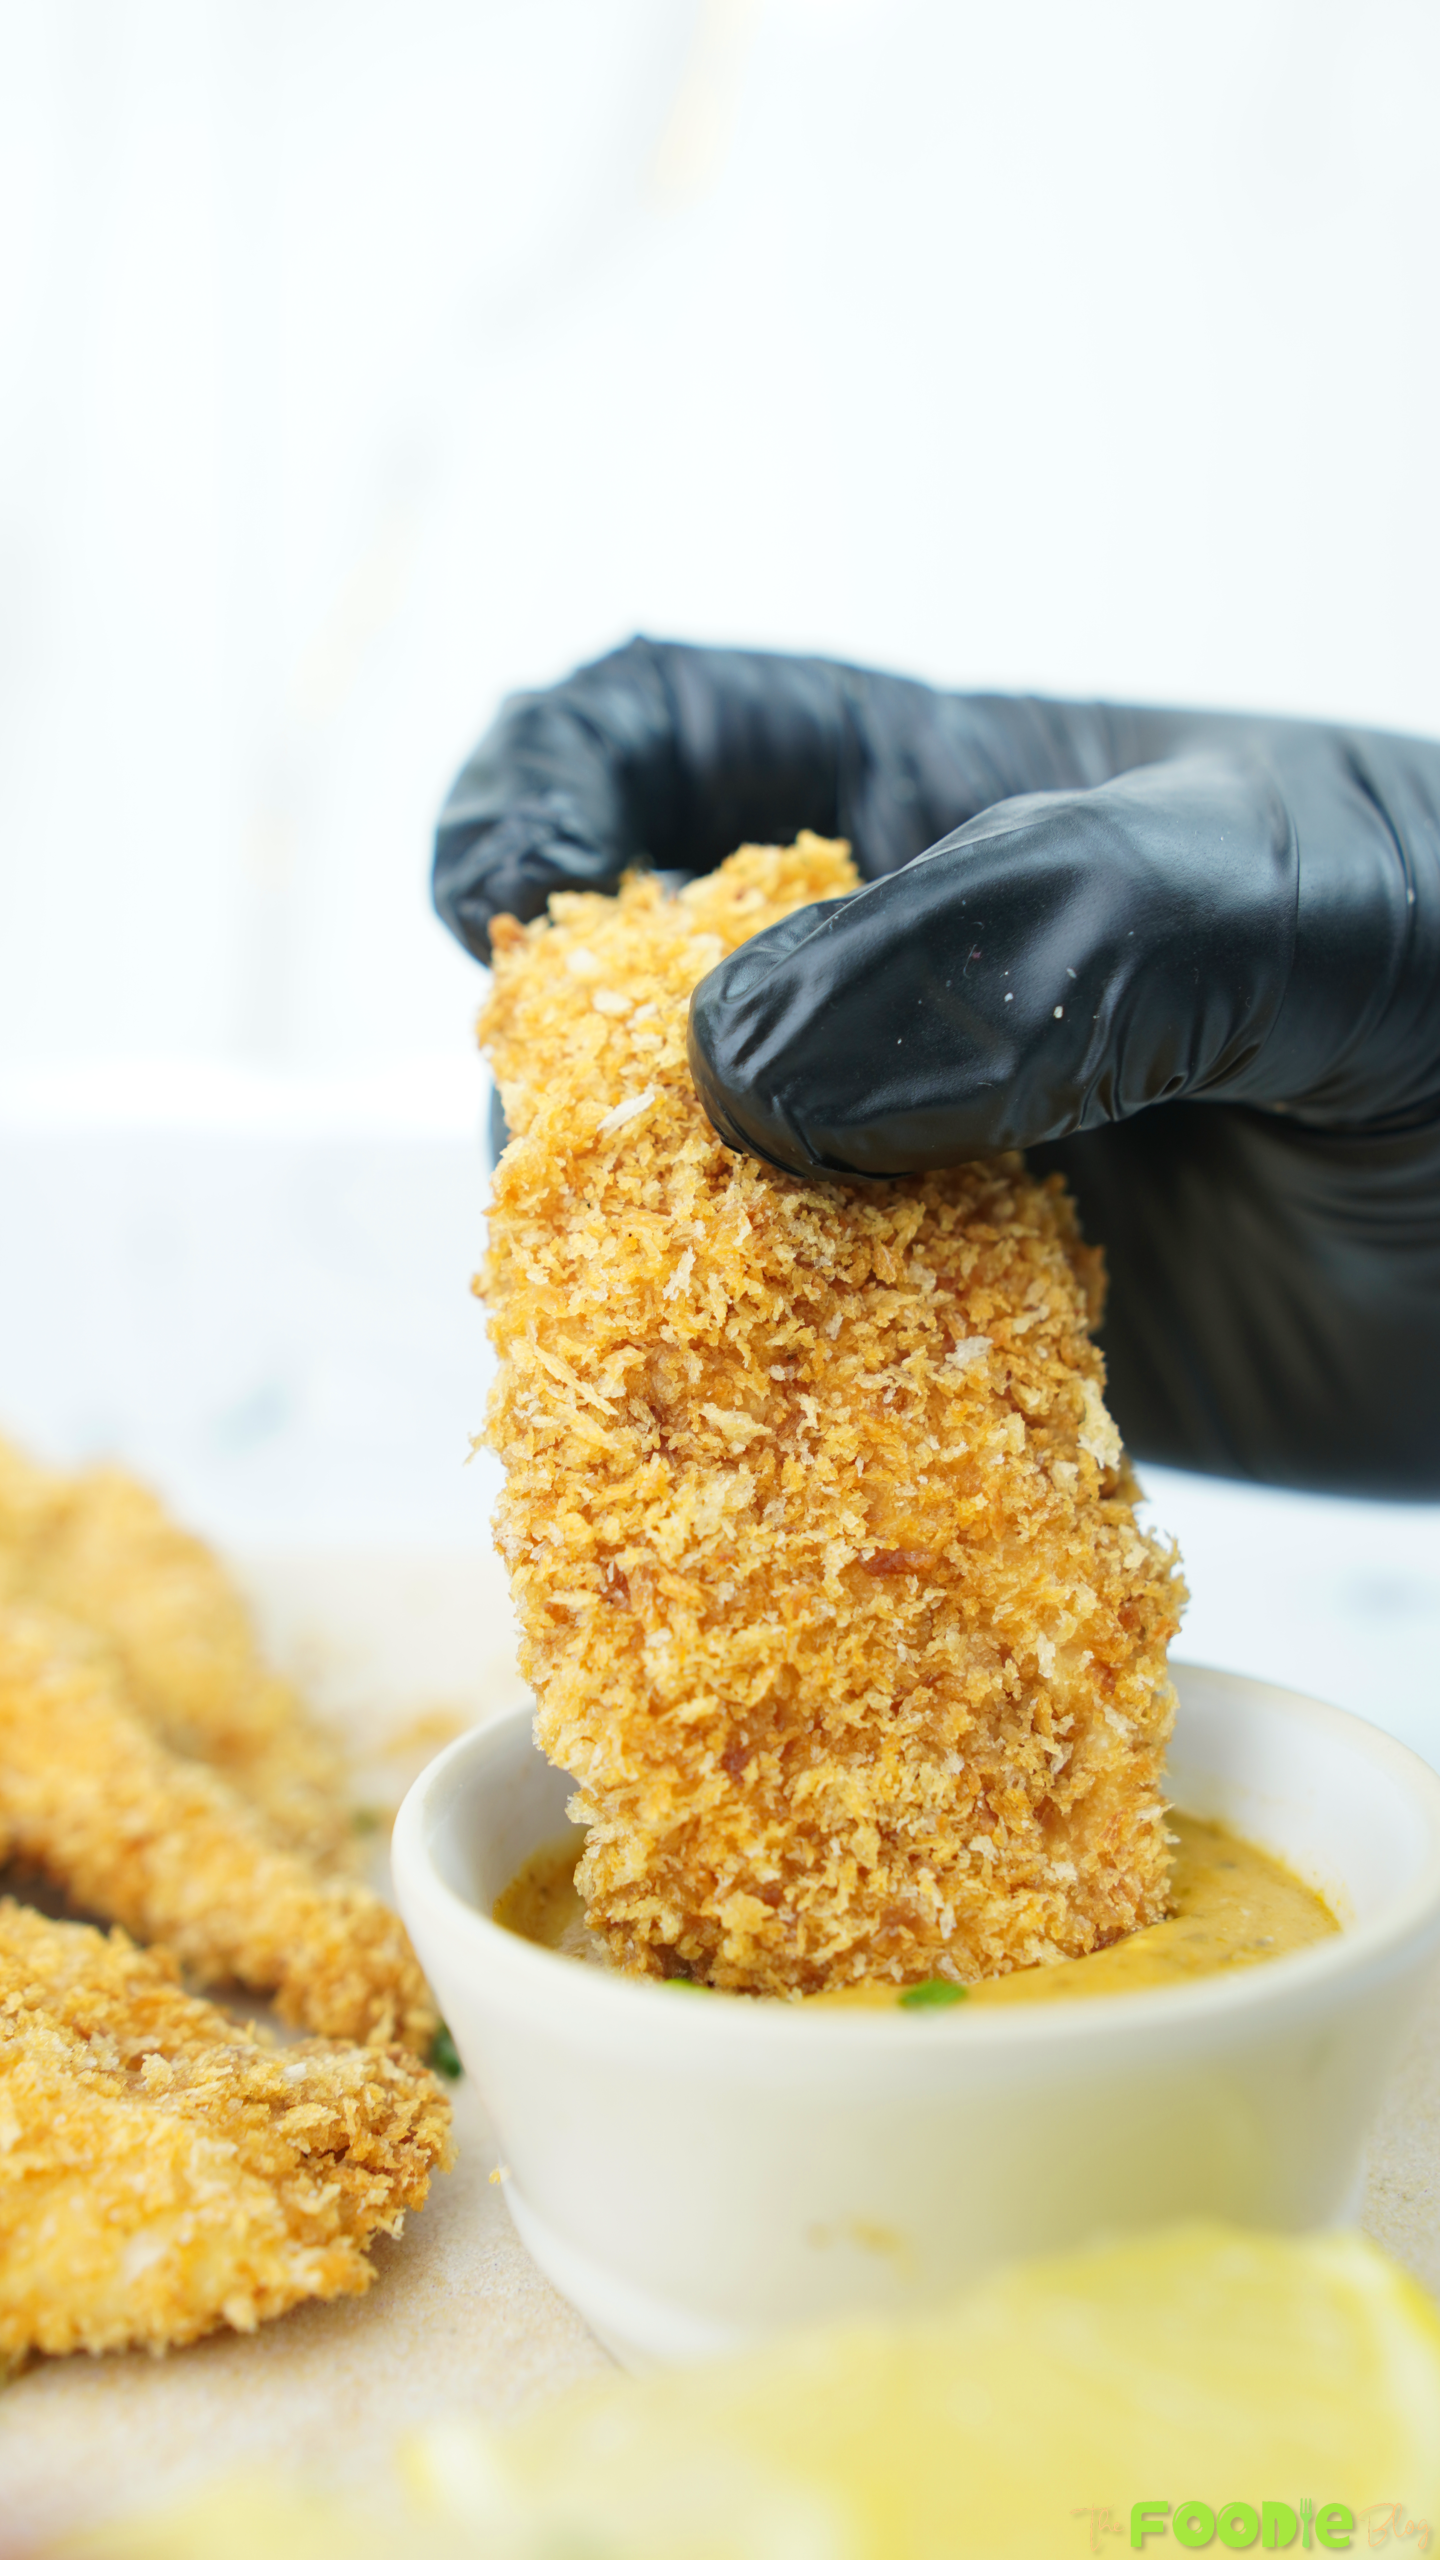
Crunchy Chicken Strips are delicious served with soft tortillas, avocado, lemon wedges, ranch dressing, honey mustard, barbecue sauce, or garlic sauce. They also pair well with fries, coleslaw, tomato cucumber salad, corn salsa, roasted potatoes, or a fresh green salad for an easy dinner.
FAQs
You can toast the panko and slice the chicken several hours ahead. Keep them in separate covered containers and refrigerate the chicken.
Cooked strips can be stored in an airtight container in the refrigerator for 3 to 4 days. They are best during the first day because the coating is at its crispiest.
Yes. Freeze the strips after baking and cooling completely. Reheat them directly from frozen in the oven or air fryer instead of thawing them in the microwave.
Serve them with tortillas, avocado, lemon, salad, roasted vegetables, or Garlic Butter Rice for a more filling dinner.
The most common causes are skipping the panko-toasting step, placing the chicken directly on a flat baking sheet, crowding the pieces, or storing them while still warm. A wire rack and a light coating of oil spray help the surface stay crisp.
You might also like
More Recipes To Try

Swipe to see all 5 recipes
Crunchy Chicken Strips
Ingredients
Equipment
Method
- Preheat the oven to 400°F (200°C).
- Mix the panko, cumin, paprika, garlic powder, onion powder, oregano, cayenne, and 1 teaspoon salt.
- Spread the panko mixture on a baking sheet and spray lightly with olive oil.
- Bake for 7 minutes, stirring once, until lightly golden. Transfer to a shallow dish.
- Place an oven-safe wire rack over the baking sheet and lightly grease it.
- Whisk the eggs, flour, mayonnaise, and ¼ teaspoon salt until smooth.
- Slice each chicken tenderloin lengthwise into thin, evenly sized strips.
- Add the chicken to the egg batter and toss until completely coated.
- Allow the excess batter to drip away, then press each strip into the toasted panko.
- Arrange the coated chicken in a single layer on the prepared wire rack.
- Spray the tops evenly with olive oil.
- Bake for 10 to 12 minutes, until crisp and the thickest pieces reach 165°F (74°C).
- Rest for 2 to 3 minutes.
- Serve with warm tortillas, avocado, lemon wedges, and optional toppings.
Nutrition
Video
Tried this recipe?
Let us know how it was!Estimated reading time: 7 minutes